So here goes nothing! I've never taken any carburetors a part, so this will be a first. I knew in principle how they work (open throttle sucks in air and fuel, and boom) but mechanically I had no idea.
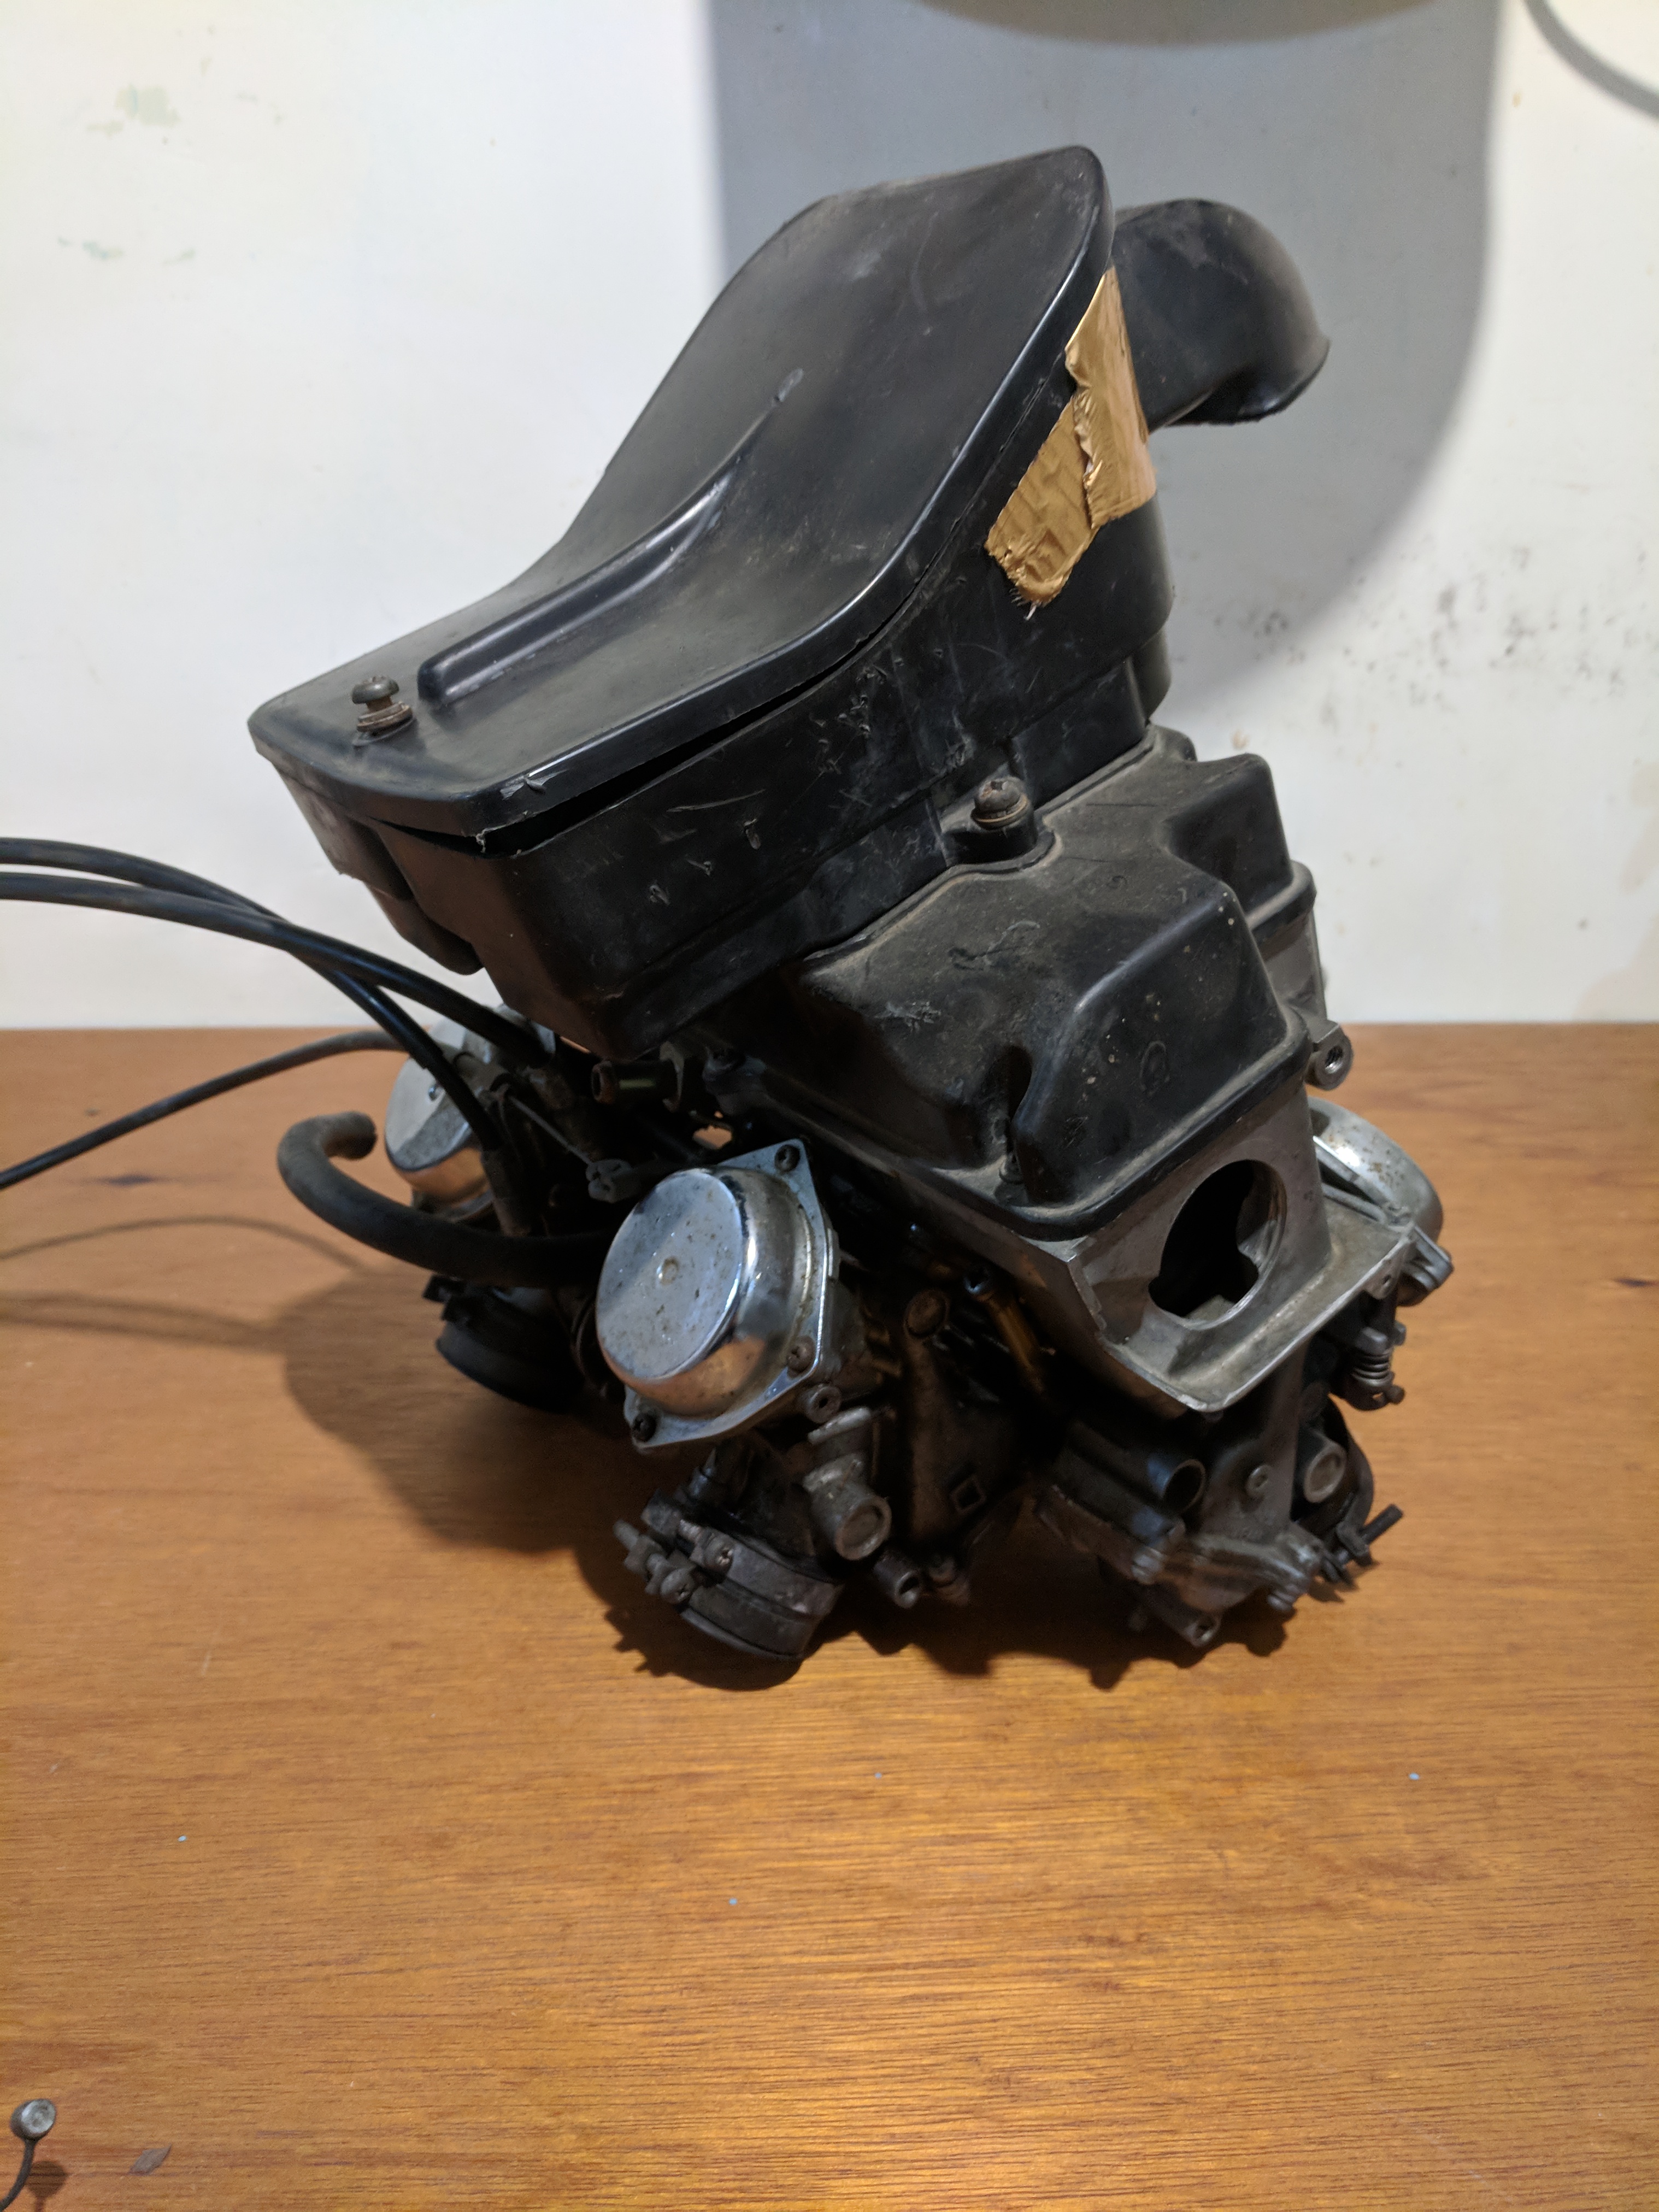
First impressions were, that these don't seem that dirty. Ye they had gas, oil, and dirty all over but nothing too caked on. Once I started taking them apart however, it was a different story. The plastic airbox/filter came off pretty easily. It was just held in place by a few screws. Some were even missing.
However the bottom bowl of the air box (the metal bit), had its bolts really in there. That's where it occurred to me how fragile these devices were. Out of 8 screws (2 for each carb) I only managed to unscrew 1 with ease. The other seven took some soaking in Carb Cleaner, WD-40, and engine de-greaser to loosen up.
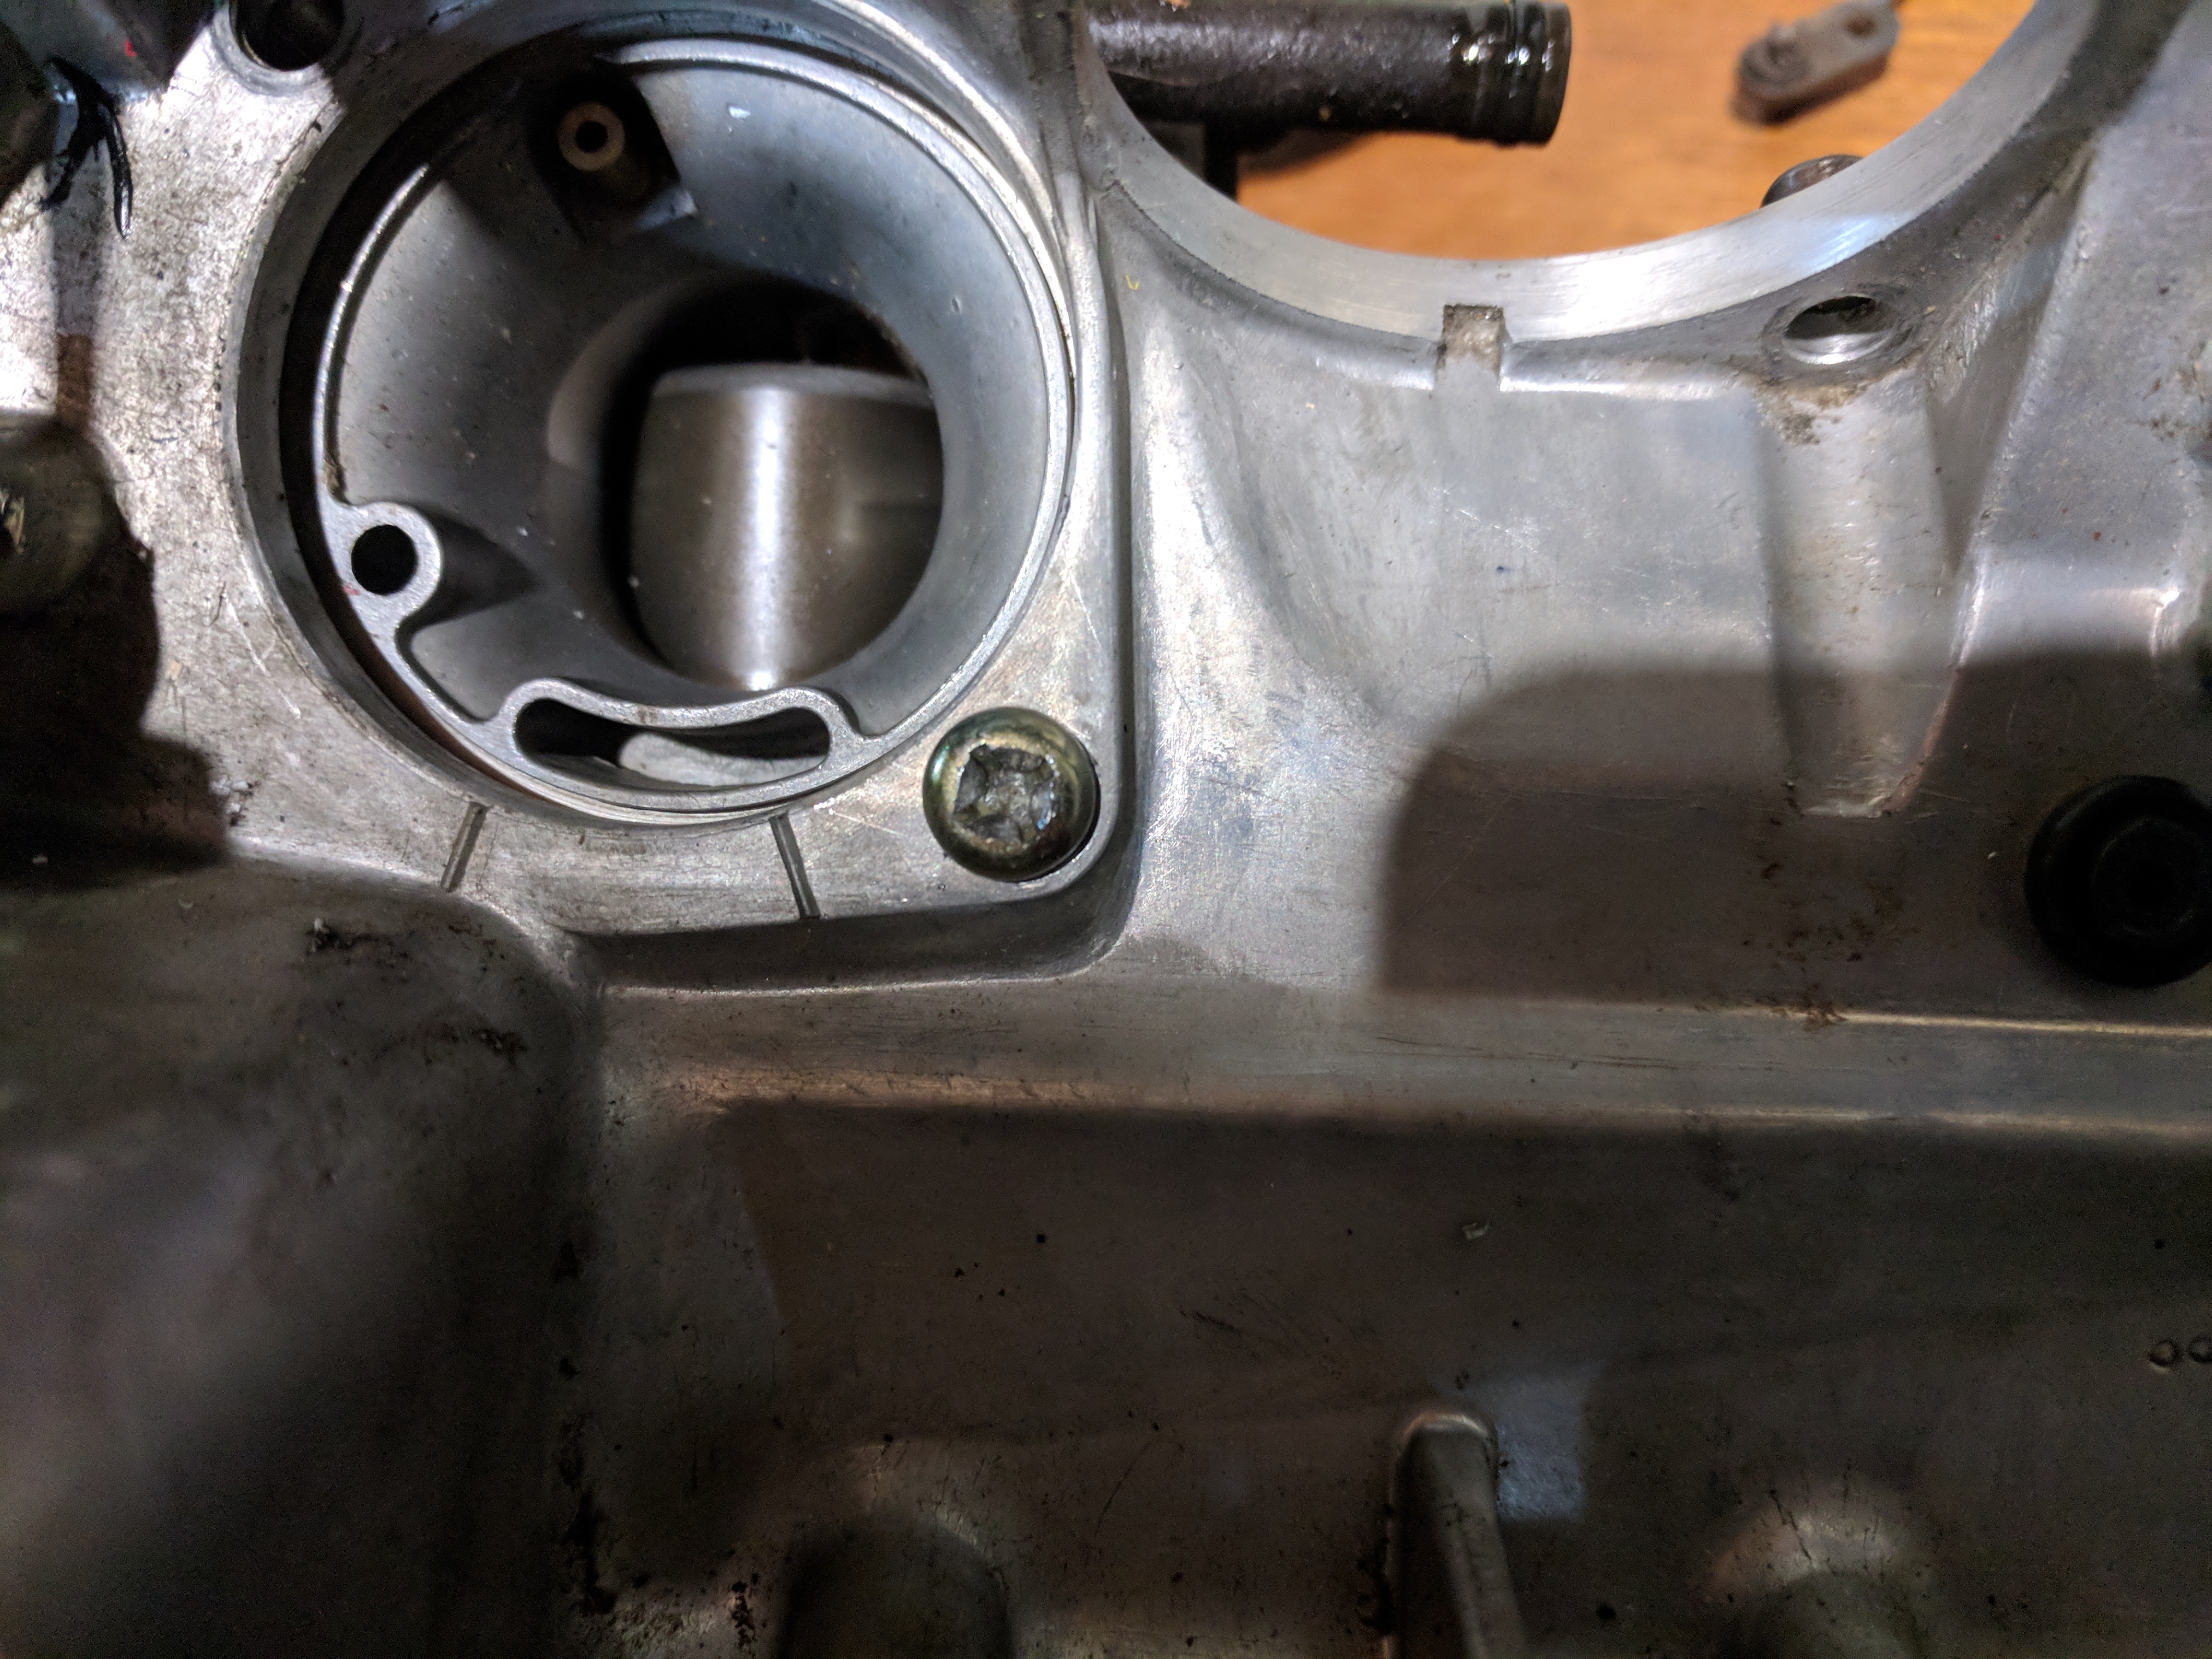
One of those 7 screws unfortunately would not budge. And of course I had already tried to muscle it out, and stripped the Philips head of the screw pretty bad.
Struggled for about another hour and decided to call it a day and go do some research on the topic. If the screws were this soft I definitely didn't feel comfortable taking some drastic measures to remove that screw. So after an evening of watching YouTube videos and having an open discussion with the experts on CafeRacer.net Forum, it was brought to my noob attention that such a thing as a Hand Impact Screw Driver exists
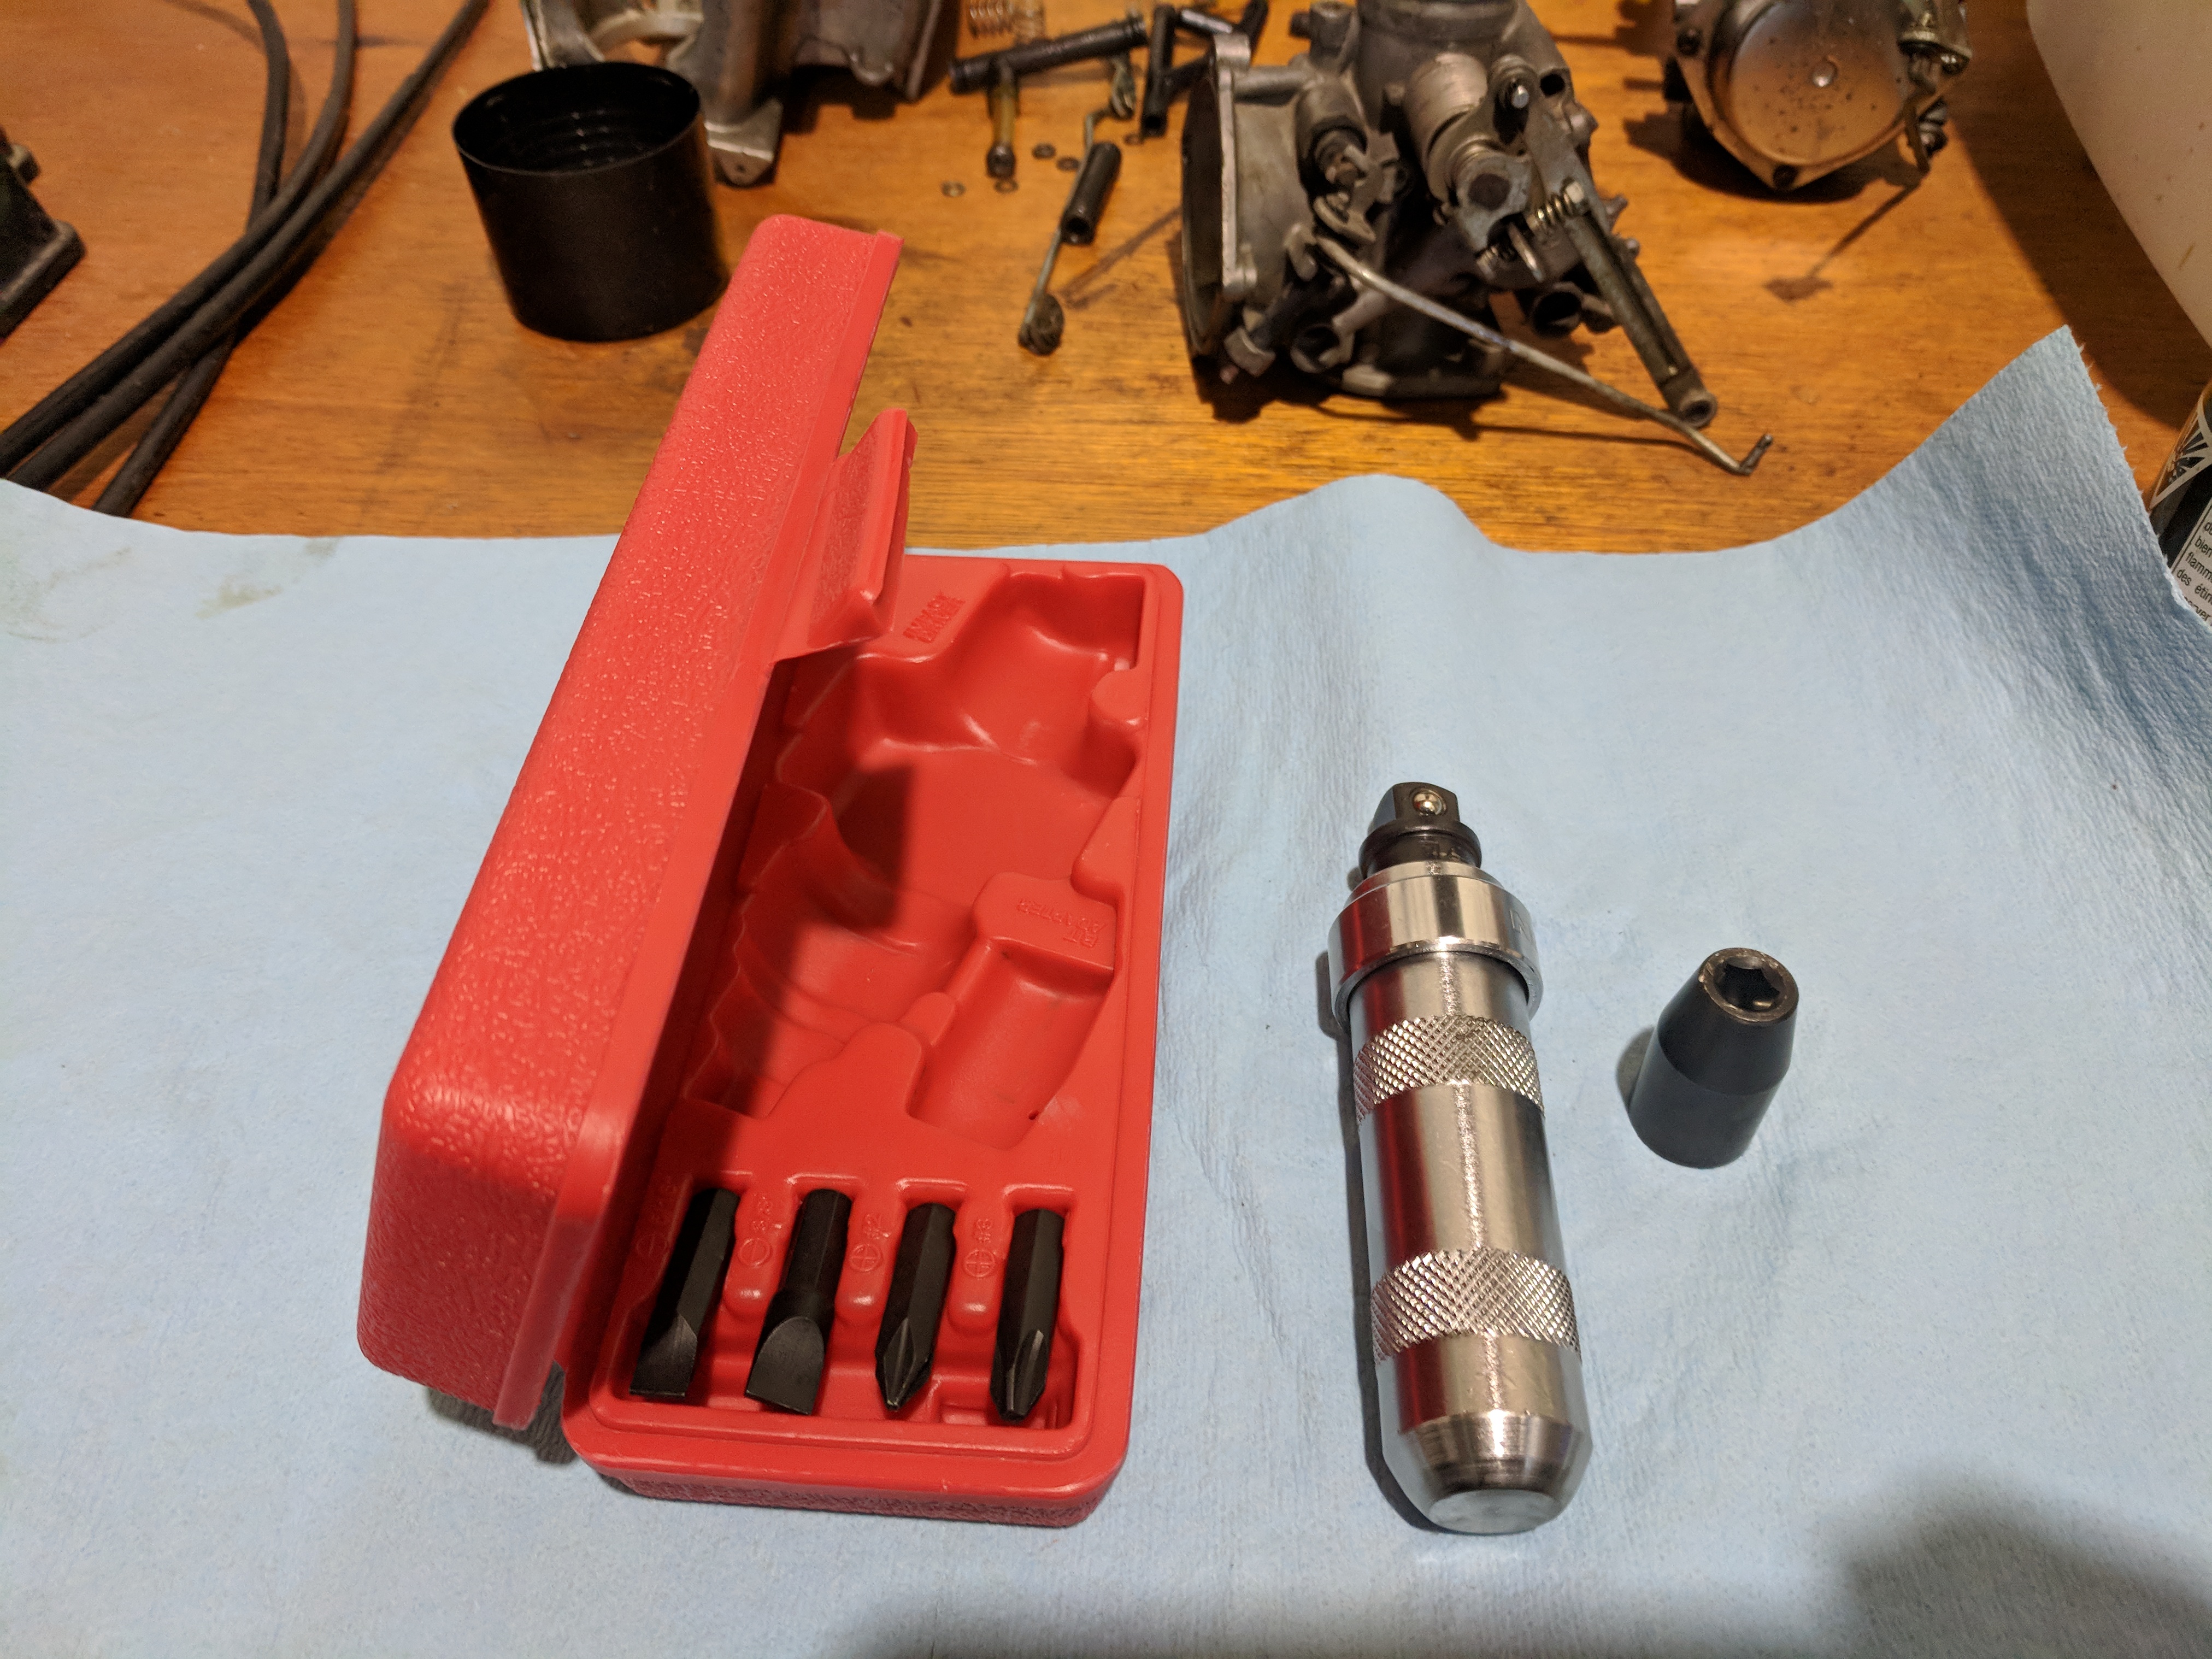
24 hours later and one Amazon Prime order delivered, I had one in my hands. It is an invaluable tool, that every mechanic needs. It is essentially a spring loaded chisel with a socket/screw driver tip. You preload it, such that when released it will rotate in the direction you need it to. Give it the right tip. Place it in the screw/bolt, and hit it with a hammer...
I know I said I wasn't comfortable with drastic measures (a.k.a. hammering it until it came out), but this was actually an elegant solution. It works on the same principle as an impact drill, or does the drill work on the principal of the hand impact driver? The pressure/jolt on the screw from the hammer hit loosens it up just enough in that split of second for the pre-loaded spring to just crack the screw loose. No more stripped screws.
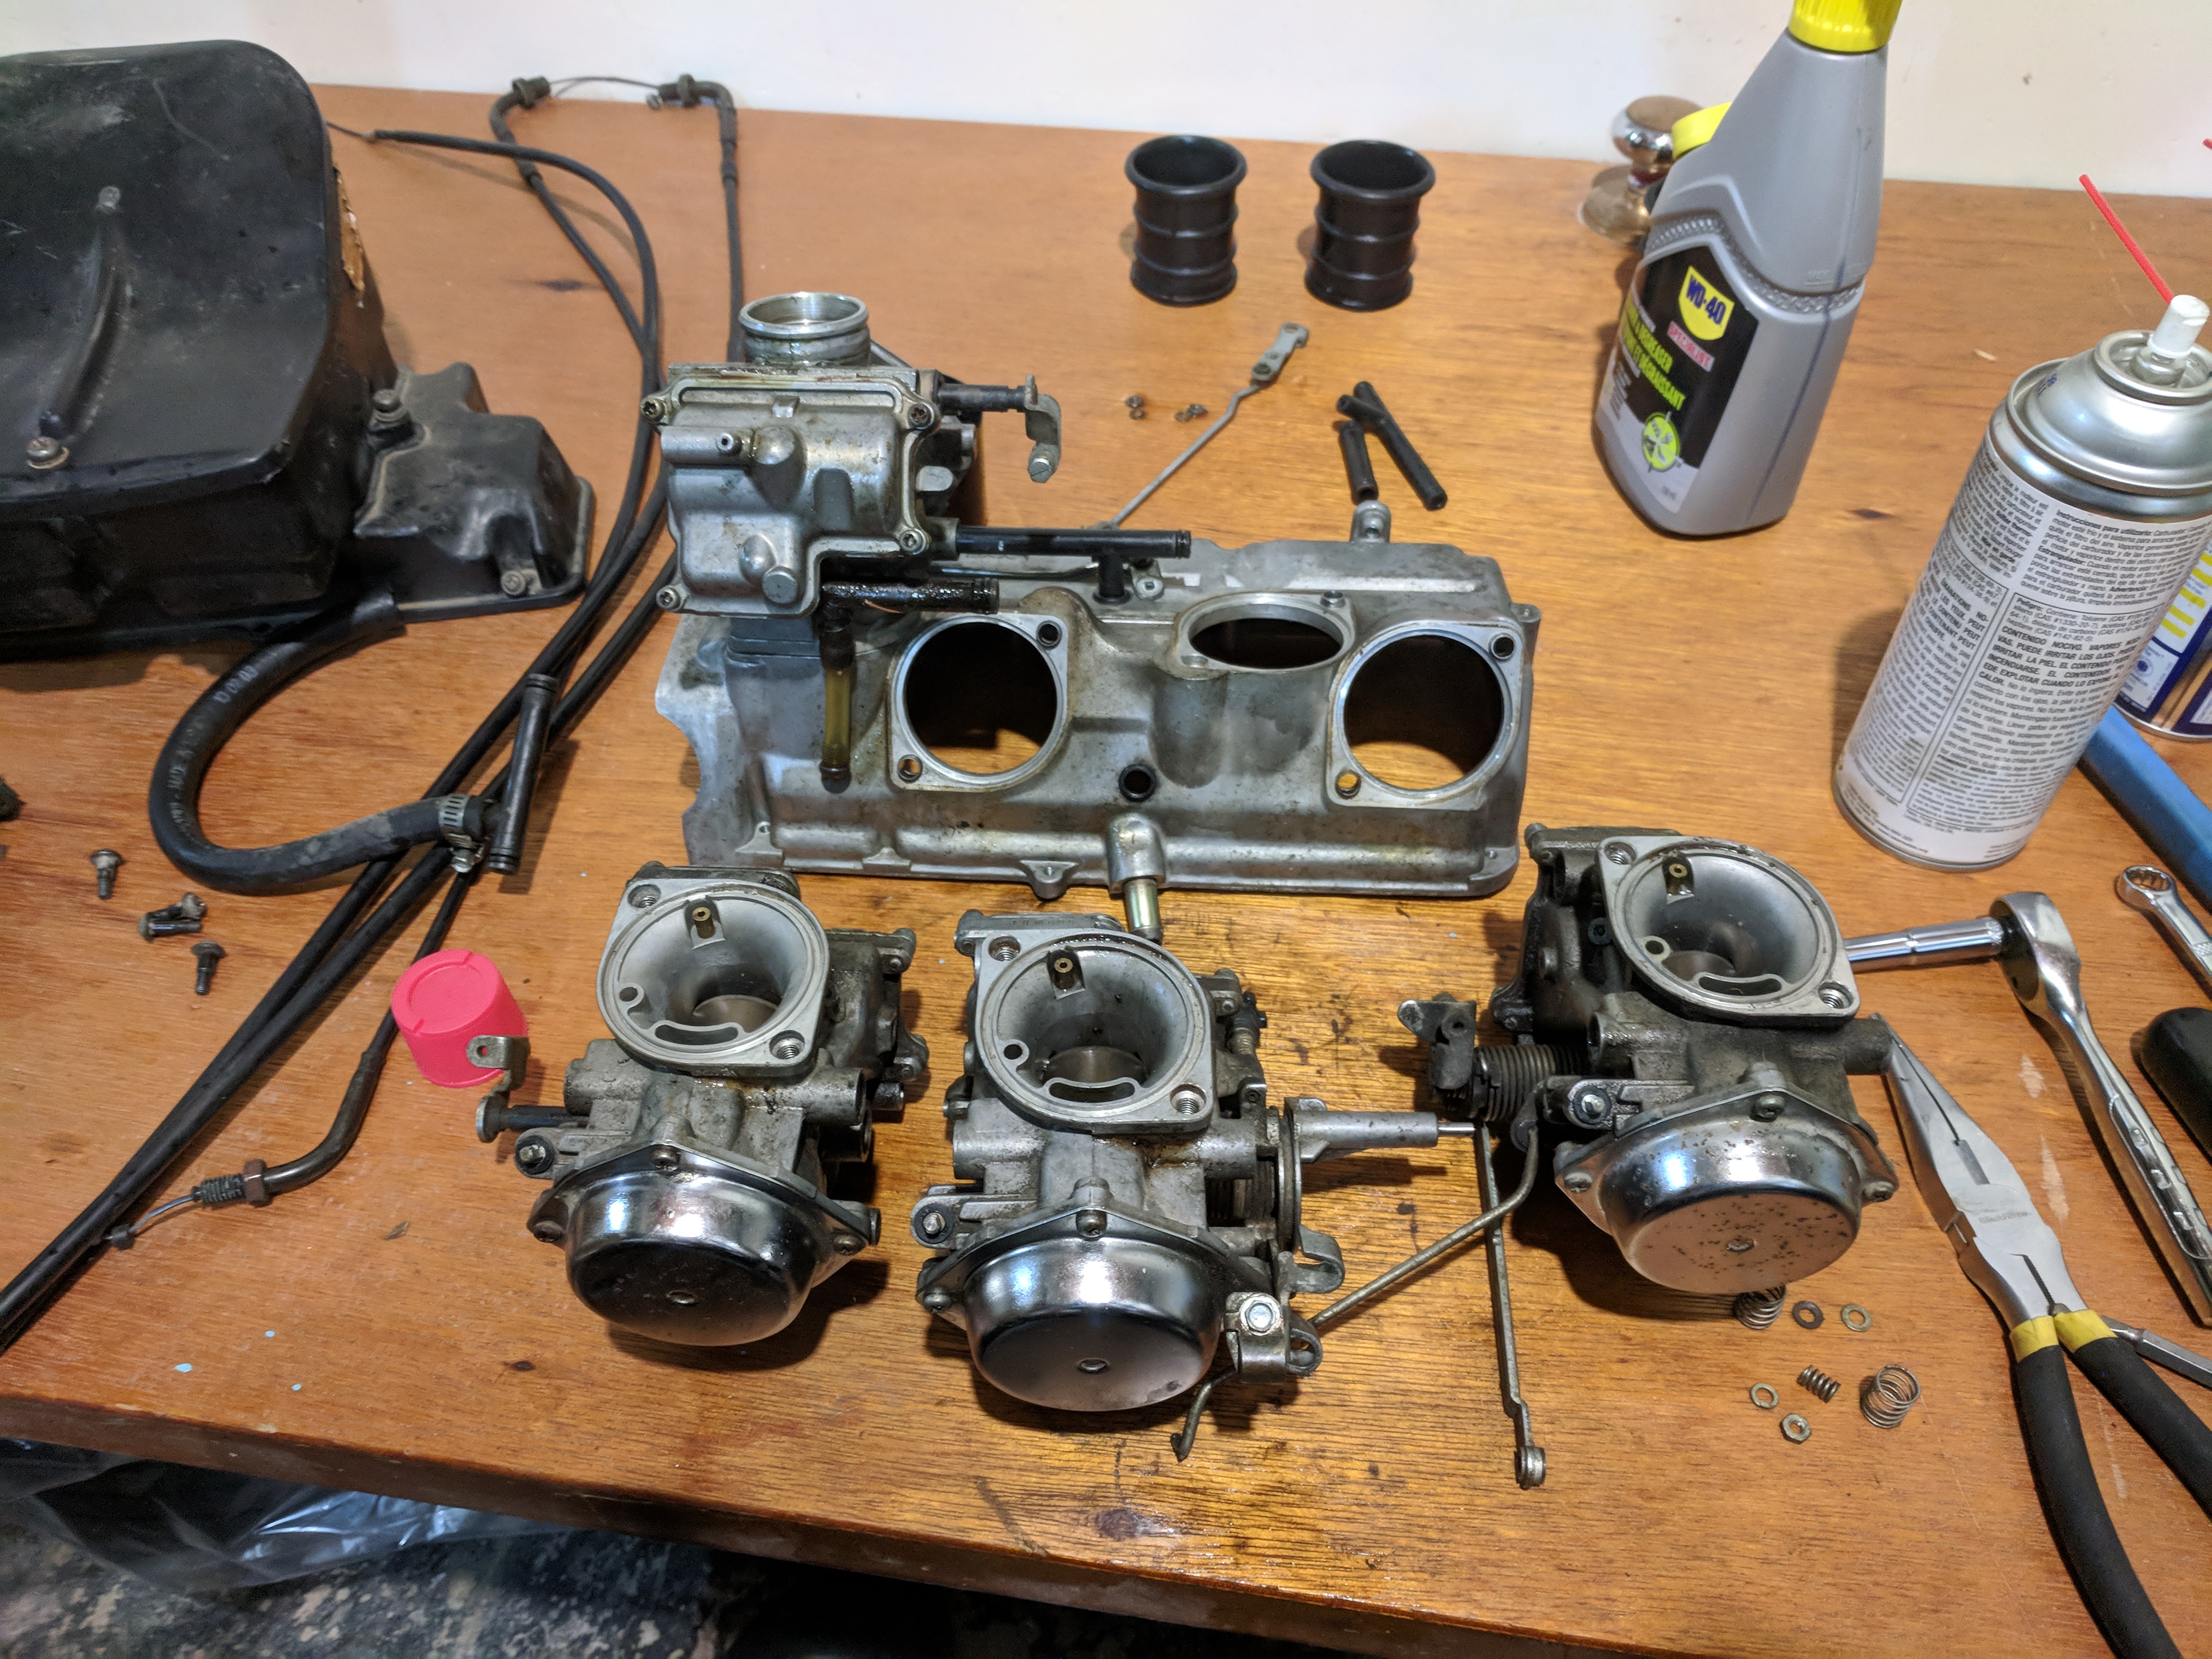
My problematic screw freed, I continued to disassemble the carburetors. Mind you like I said i have no prior experience in doing this, so there was a lot of flipping them over and looking at what every piece was connected to.
Long store short I managed to do it. Here is what one could find in each of the carburetors on the early 80s Honda V45 engine.
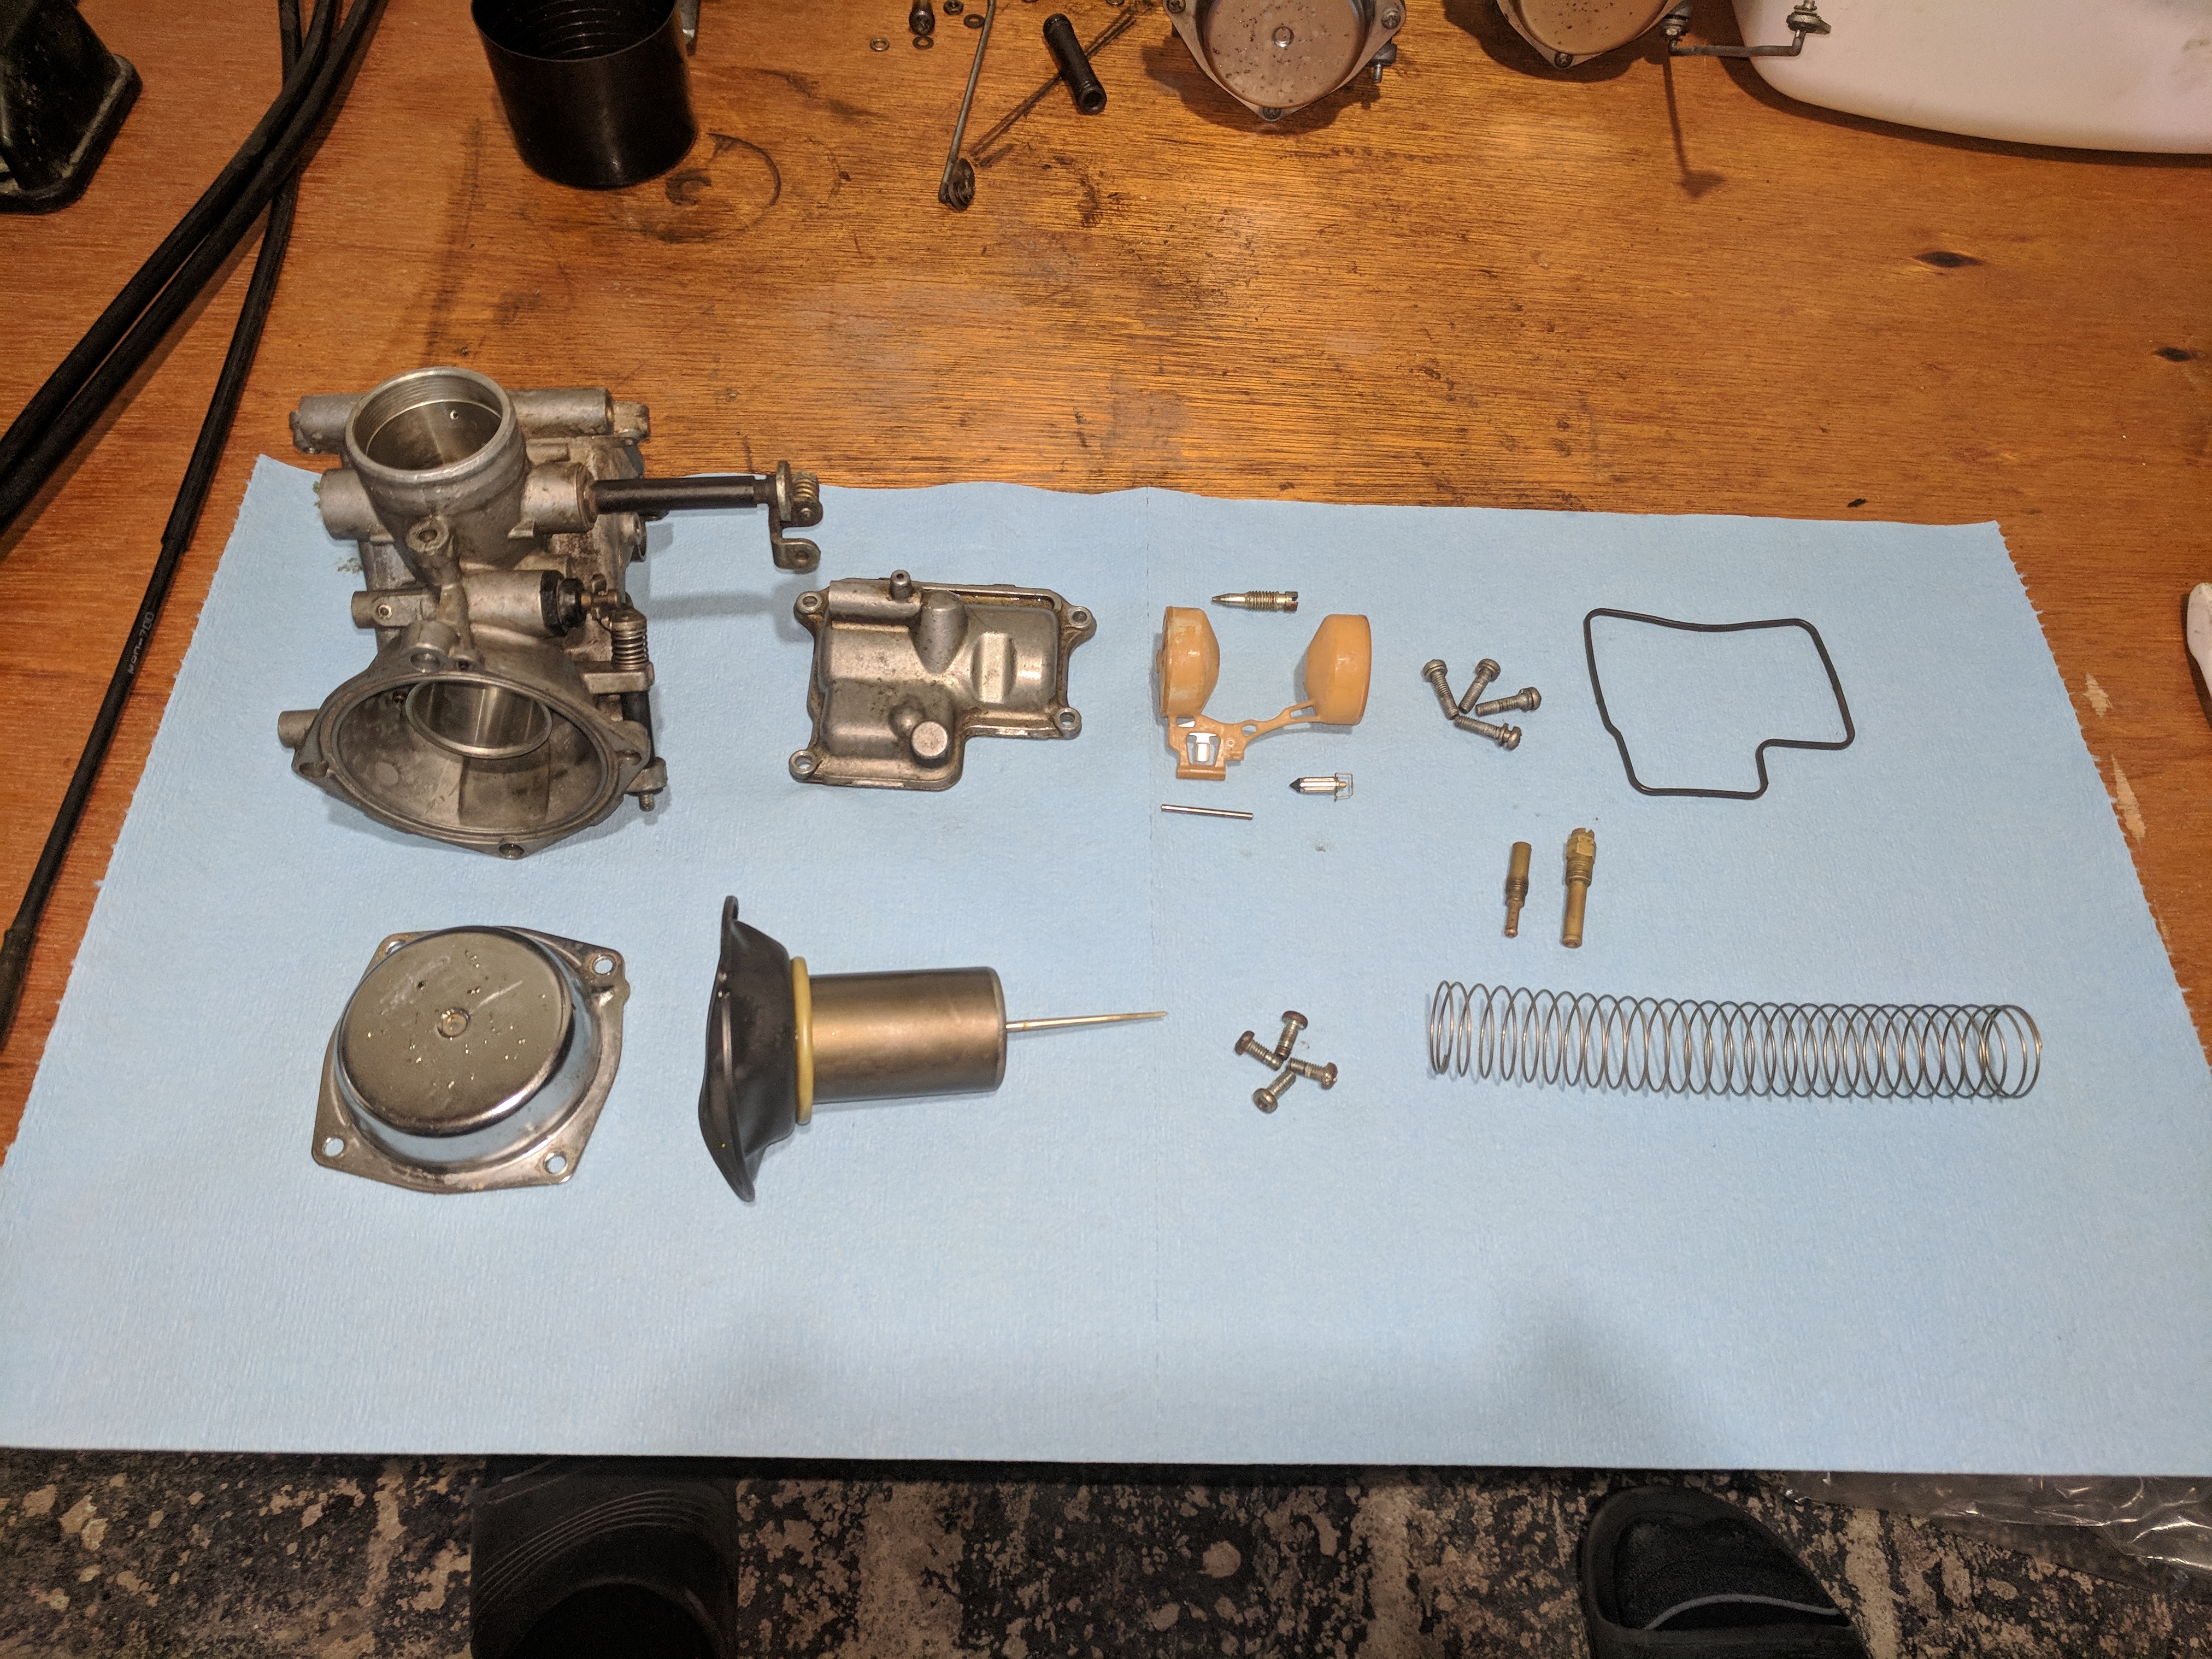
I assessed each piece for re-usability and made piles of good/bad things. Thankfully there was a lot less in the bad pile. Here is a few close ups of some of the components
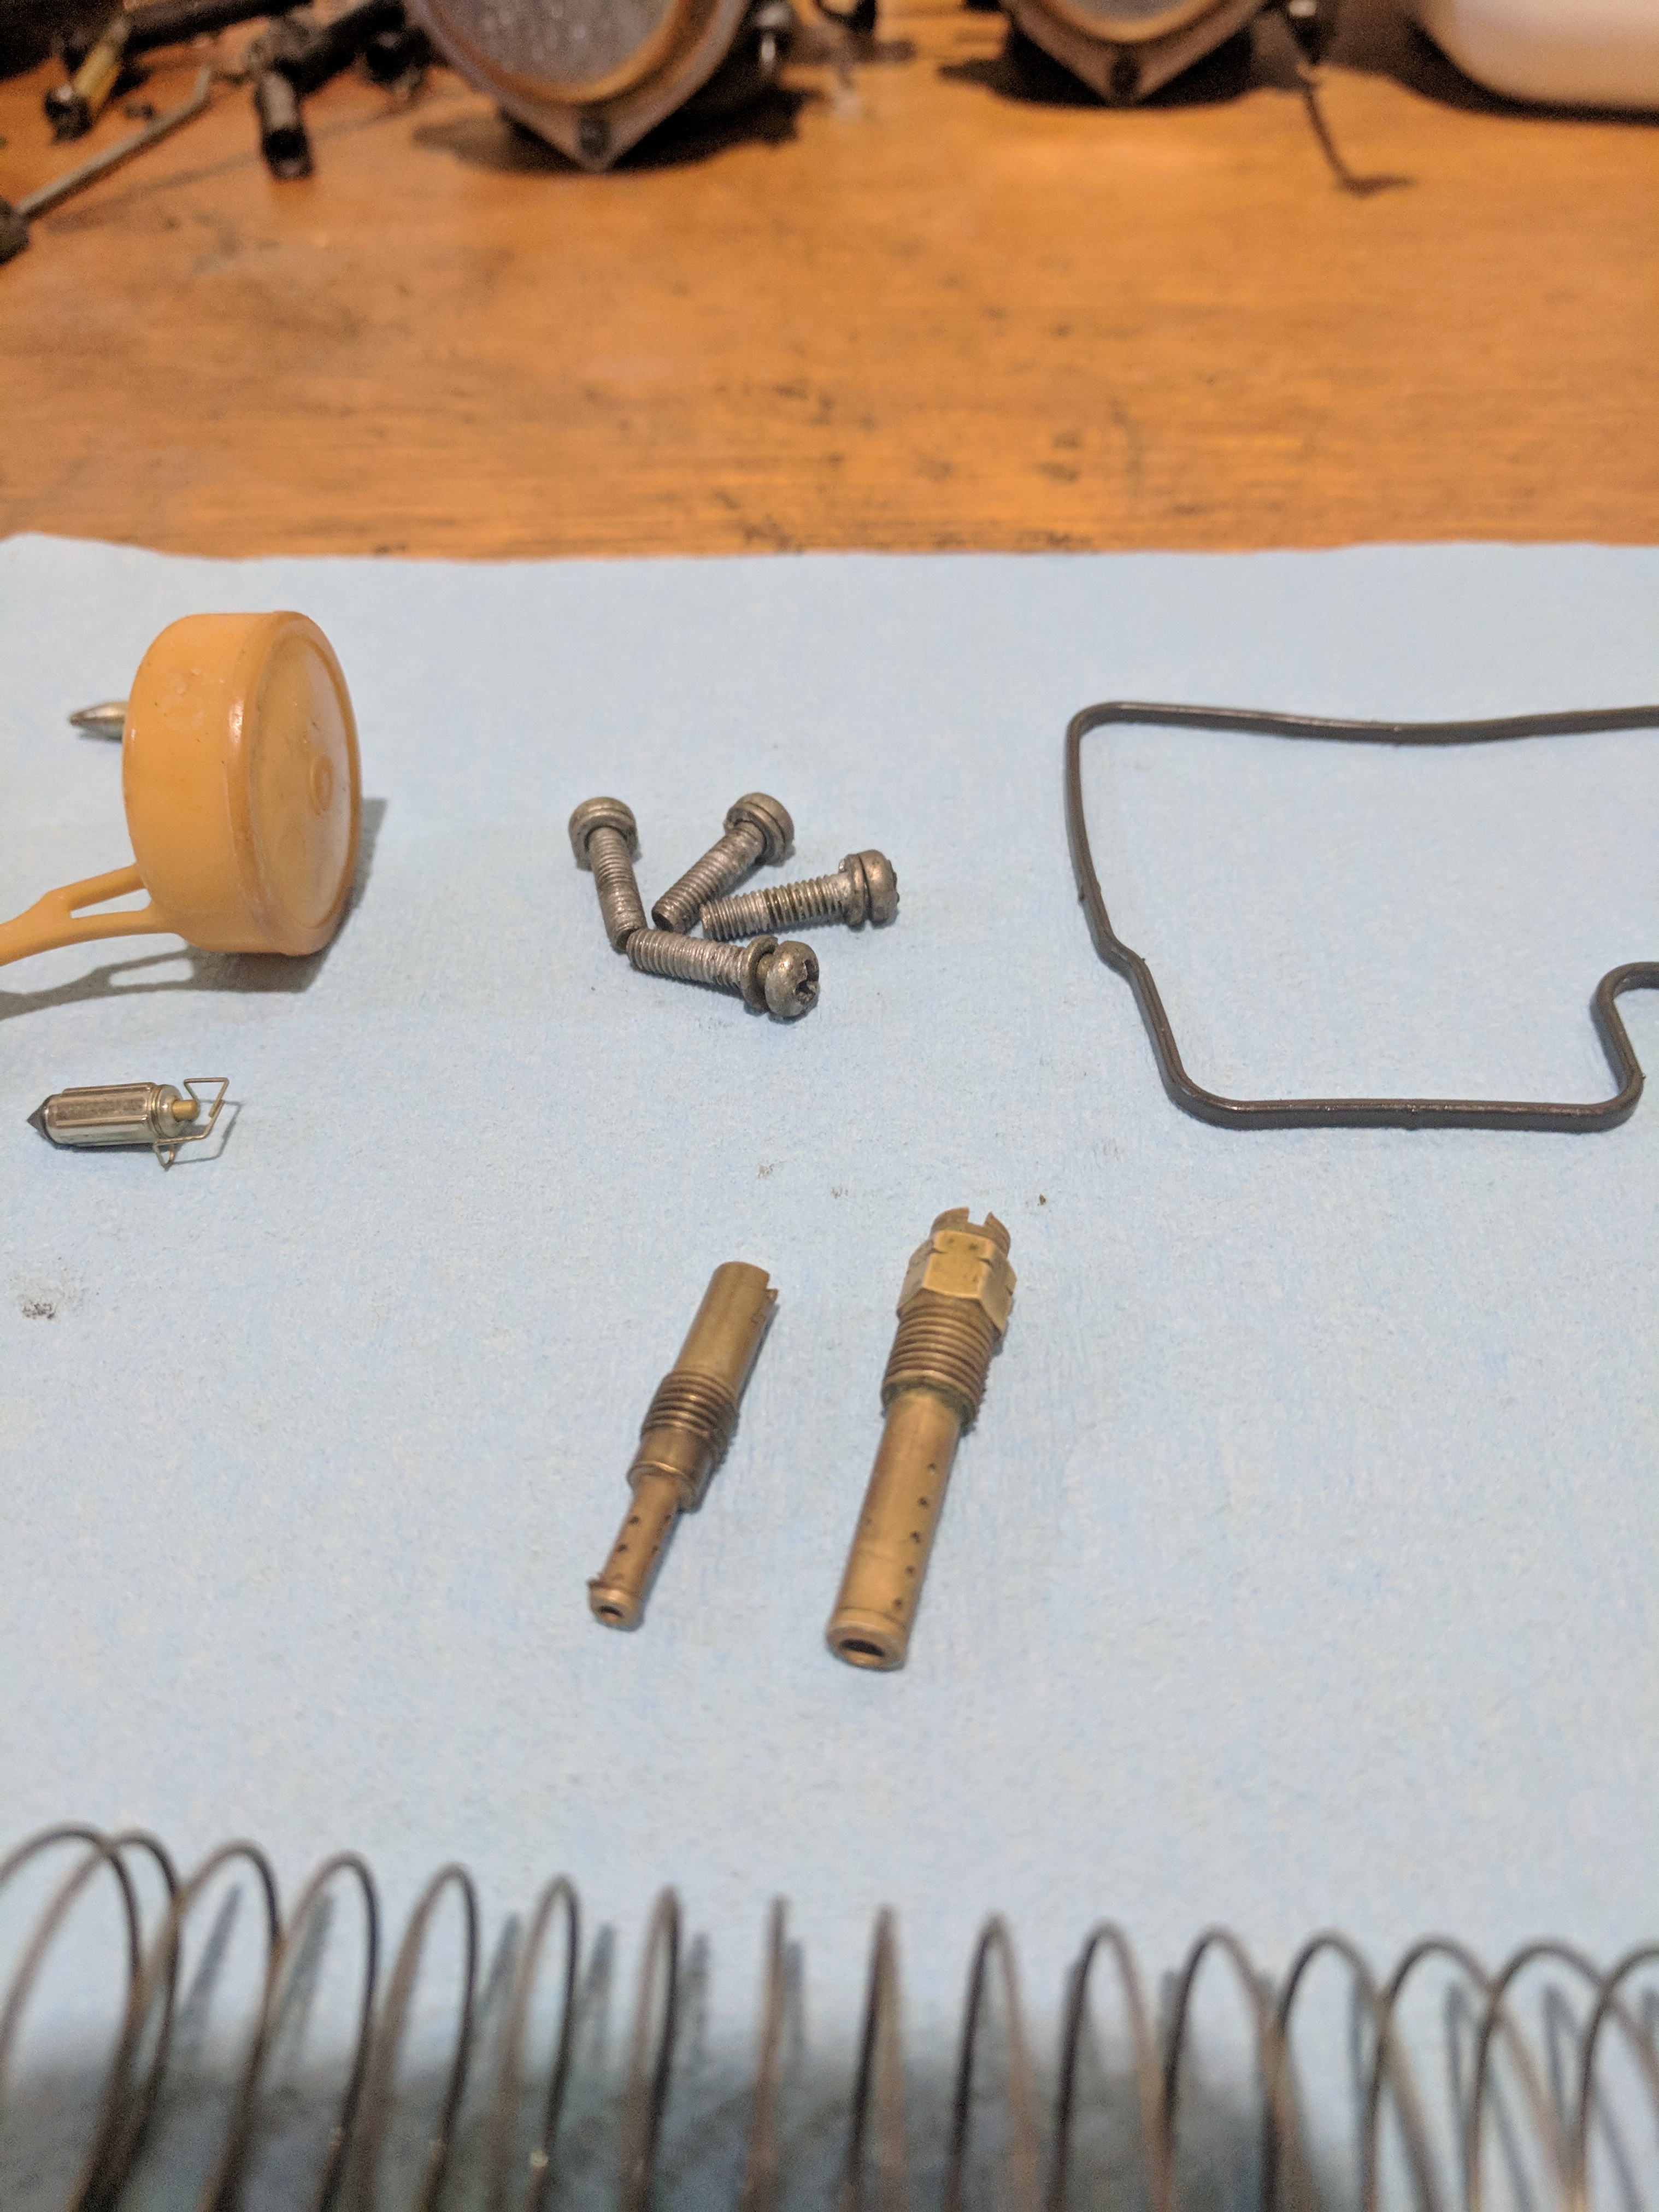
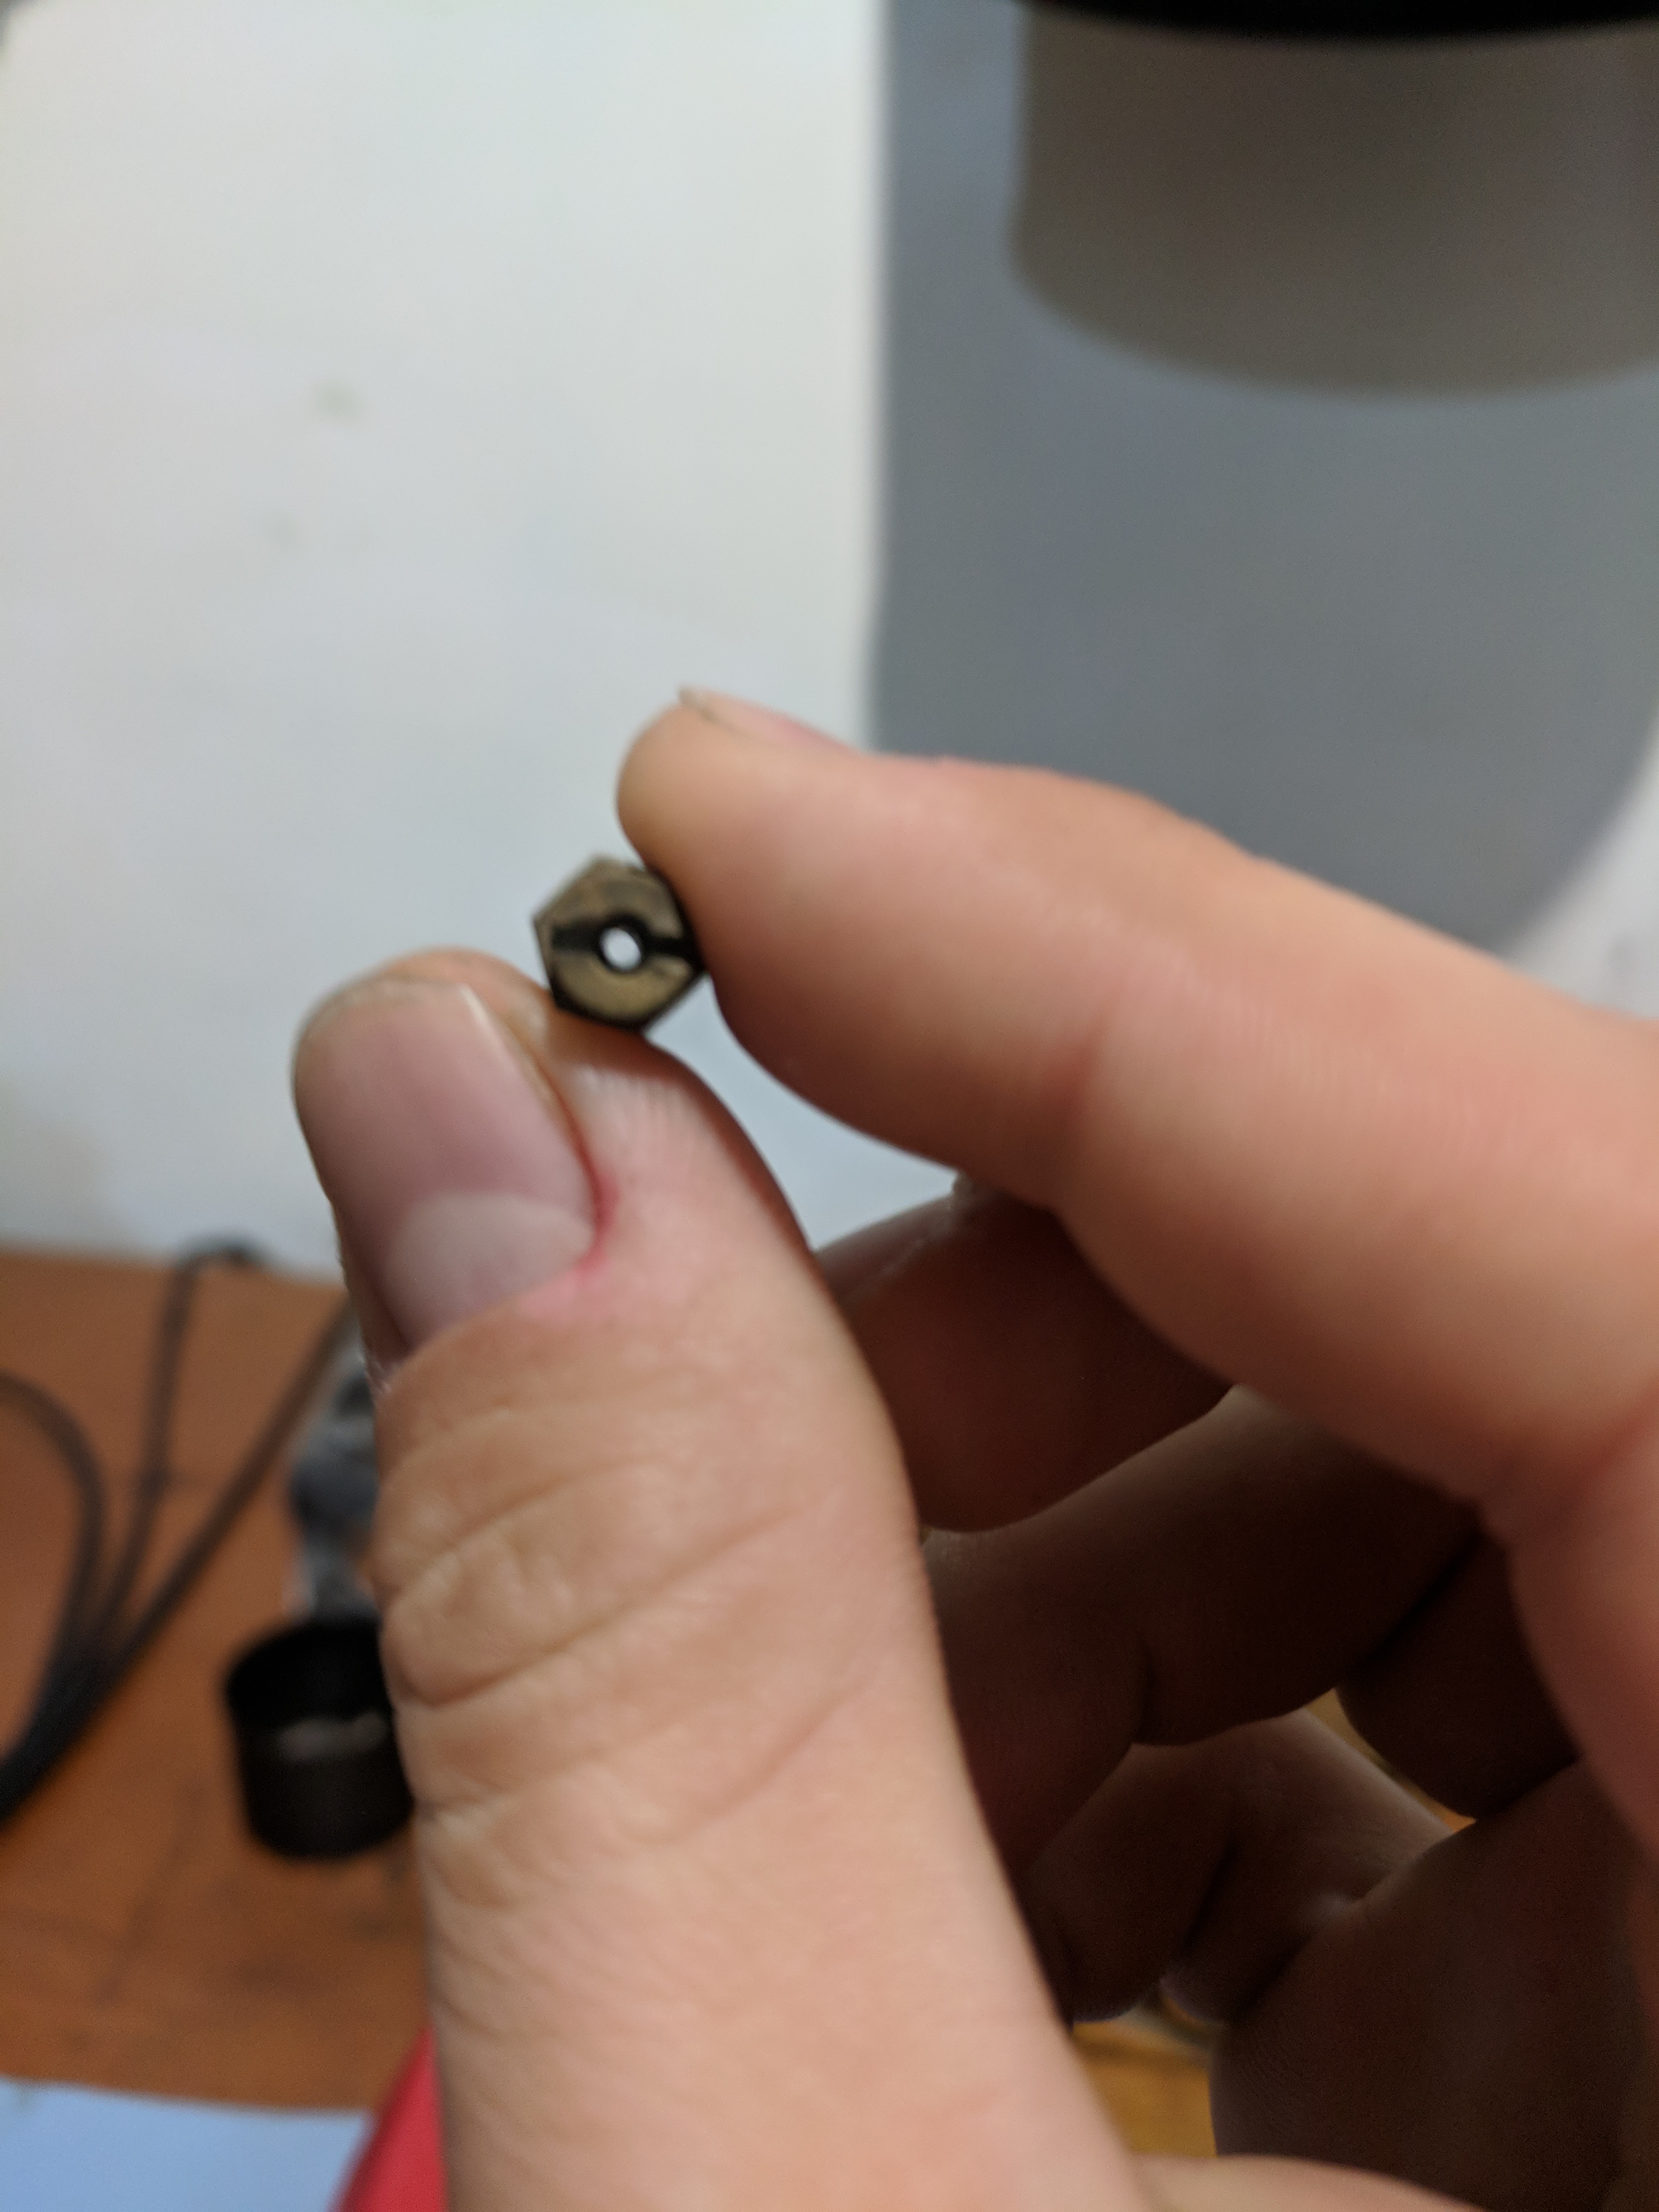
The main Jet
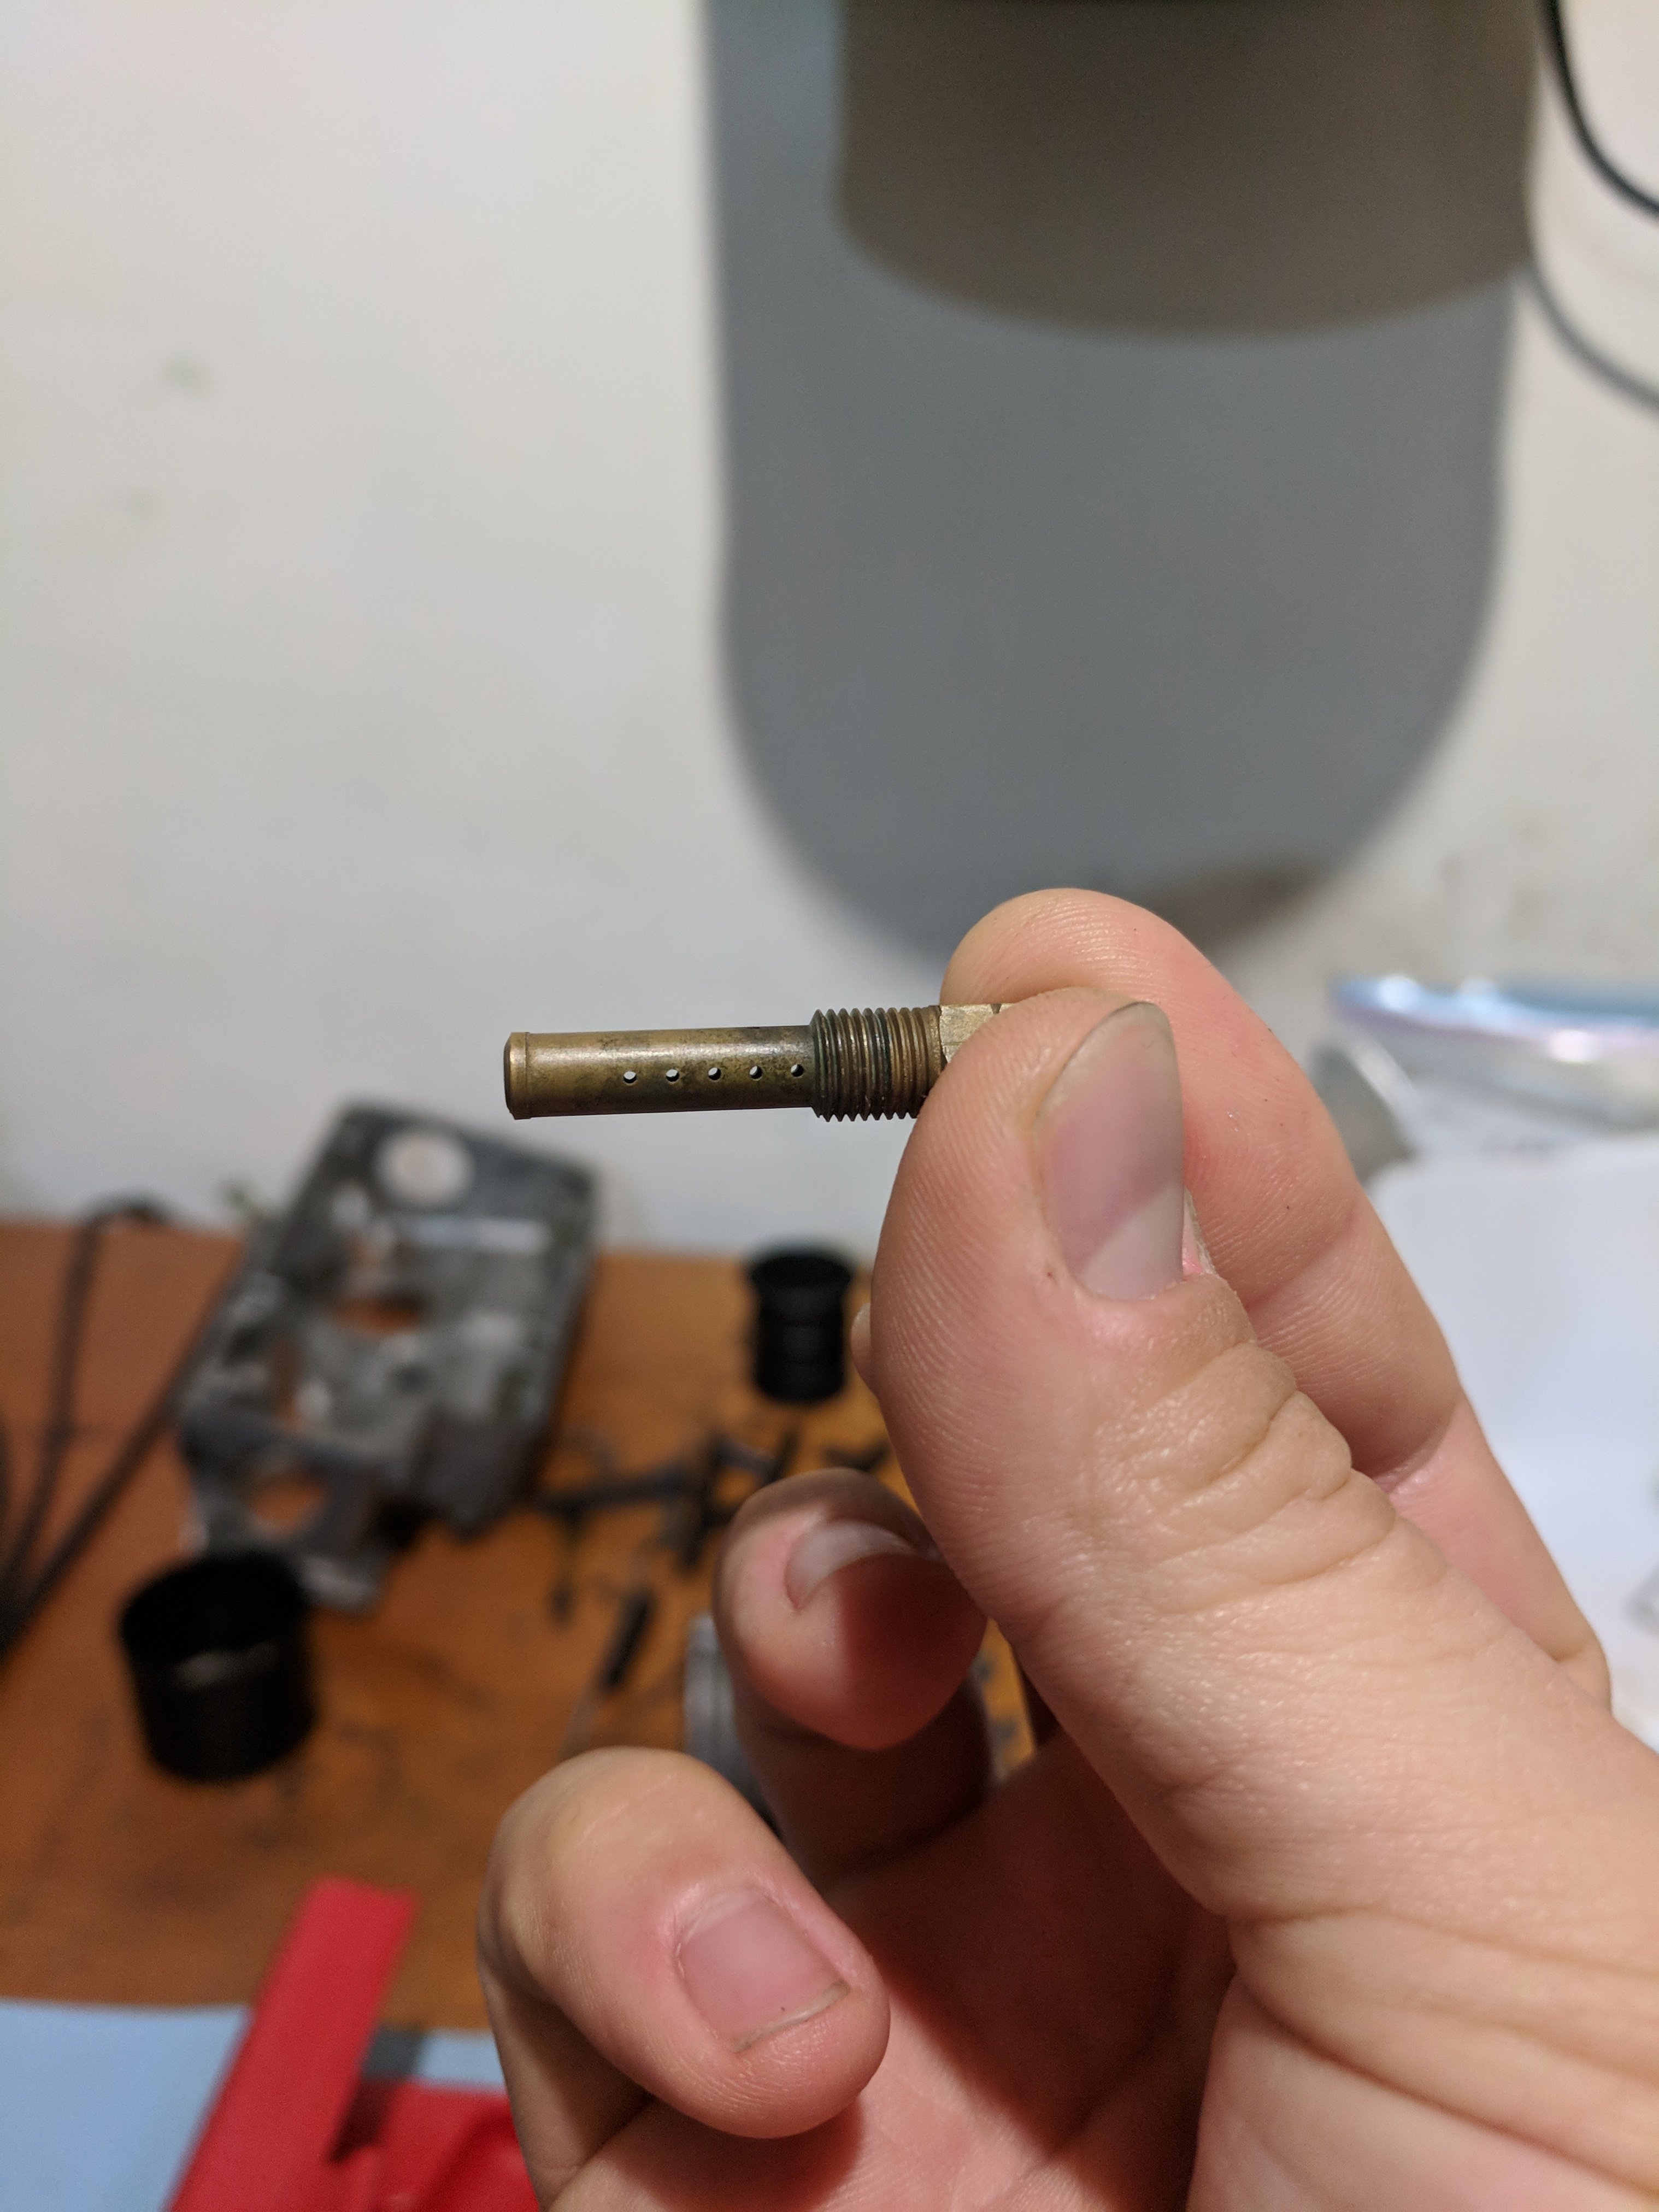
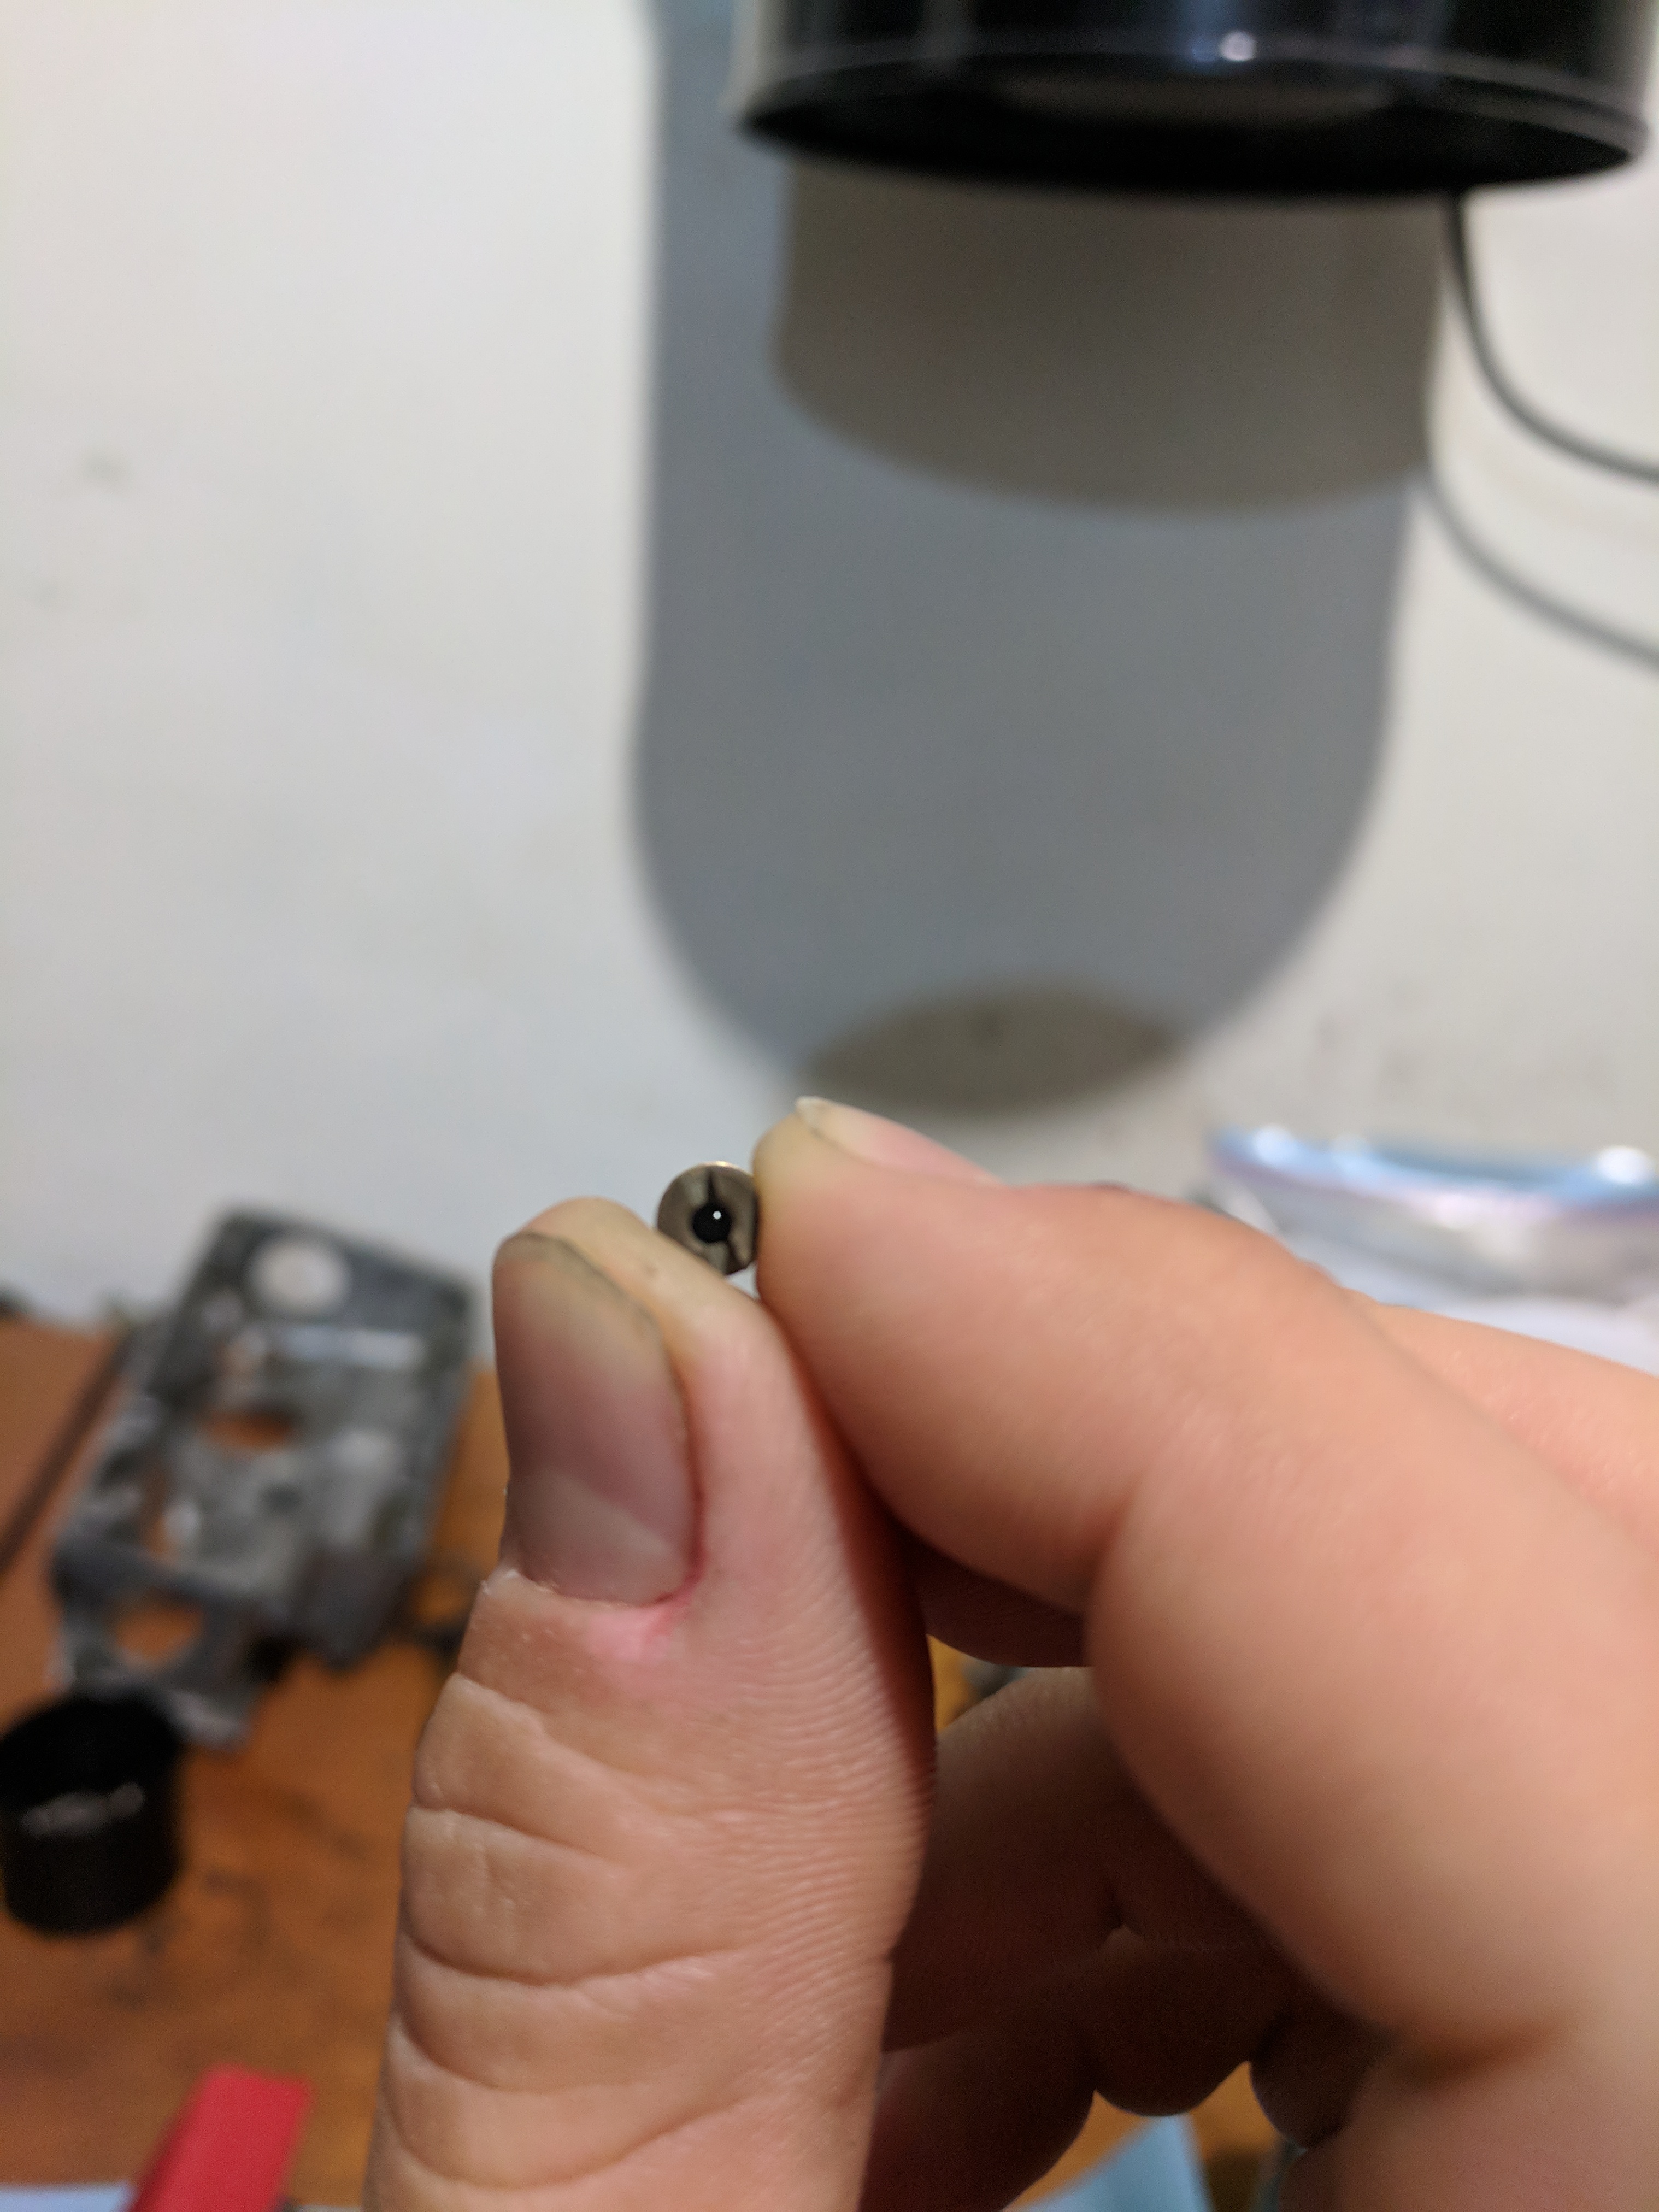
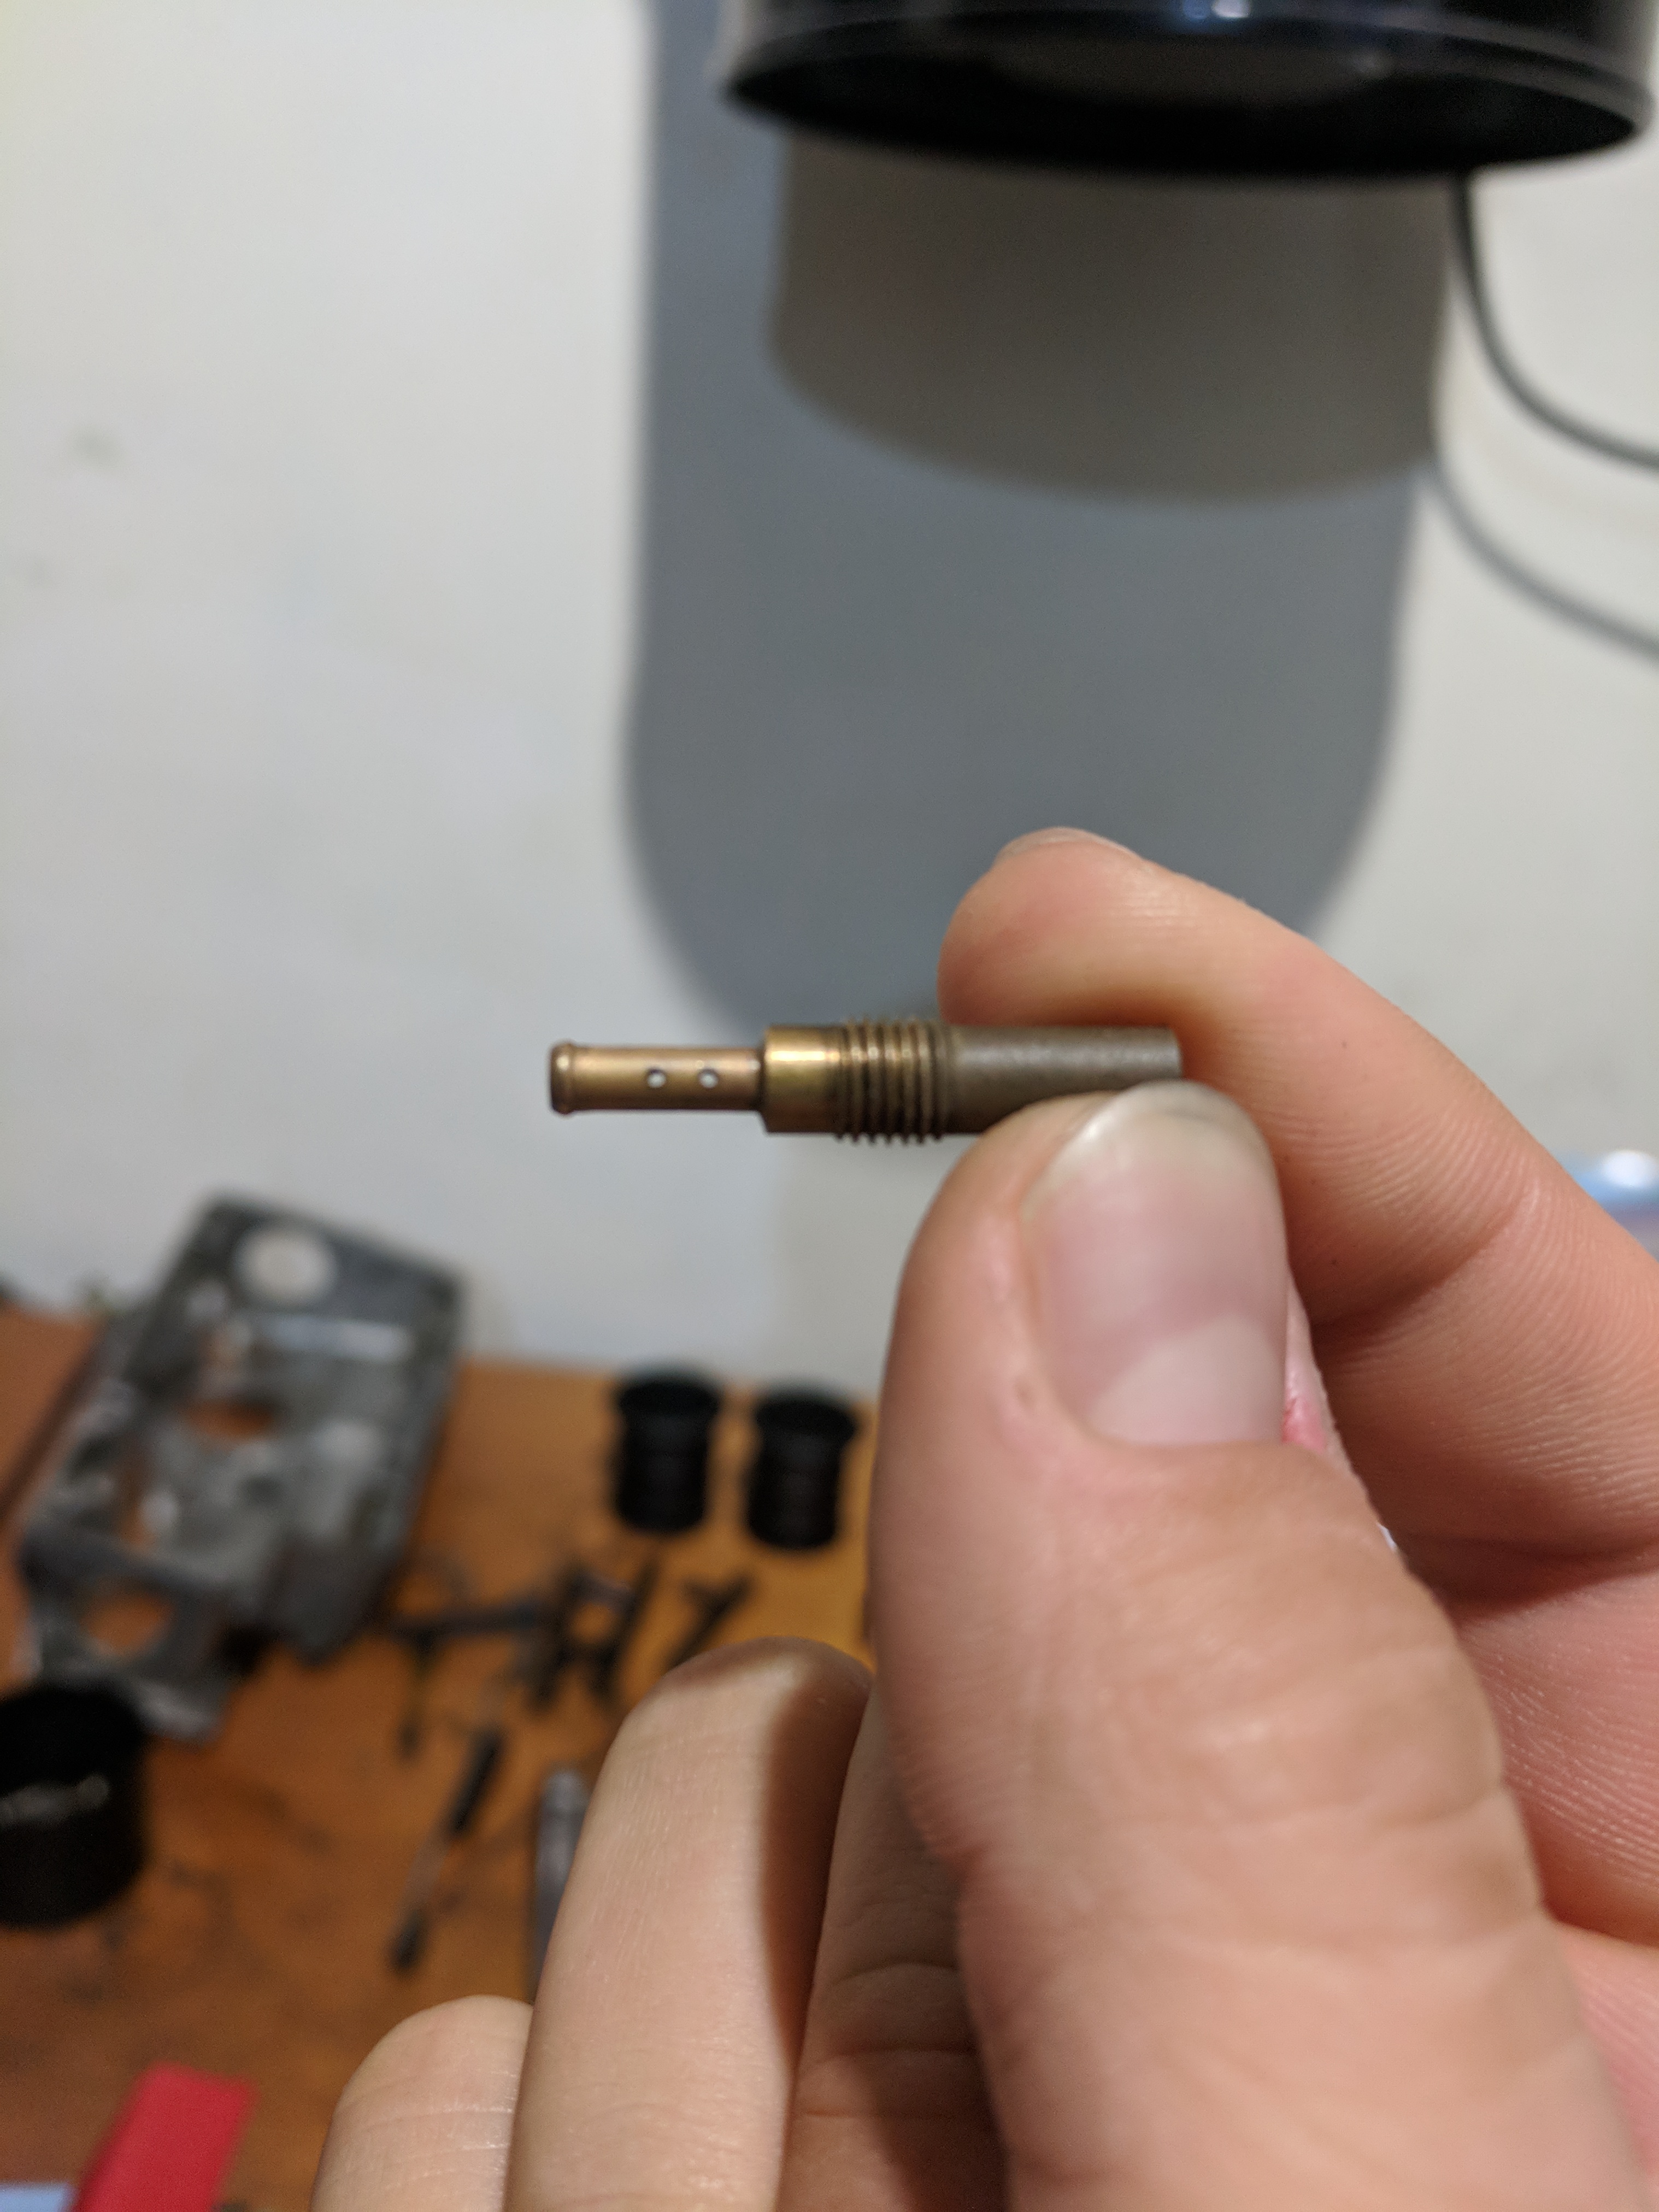
The slow Jet (I think)
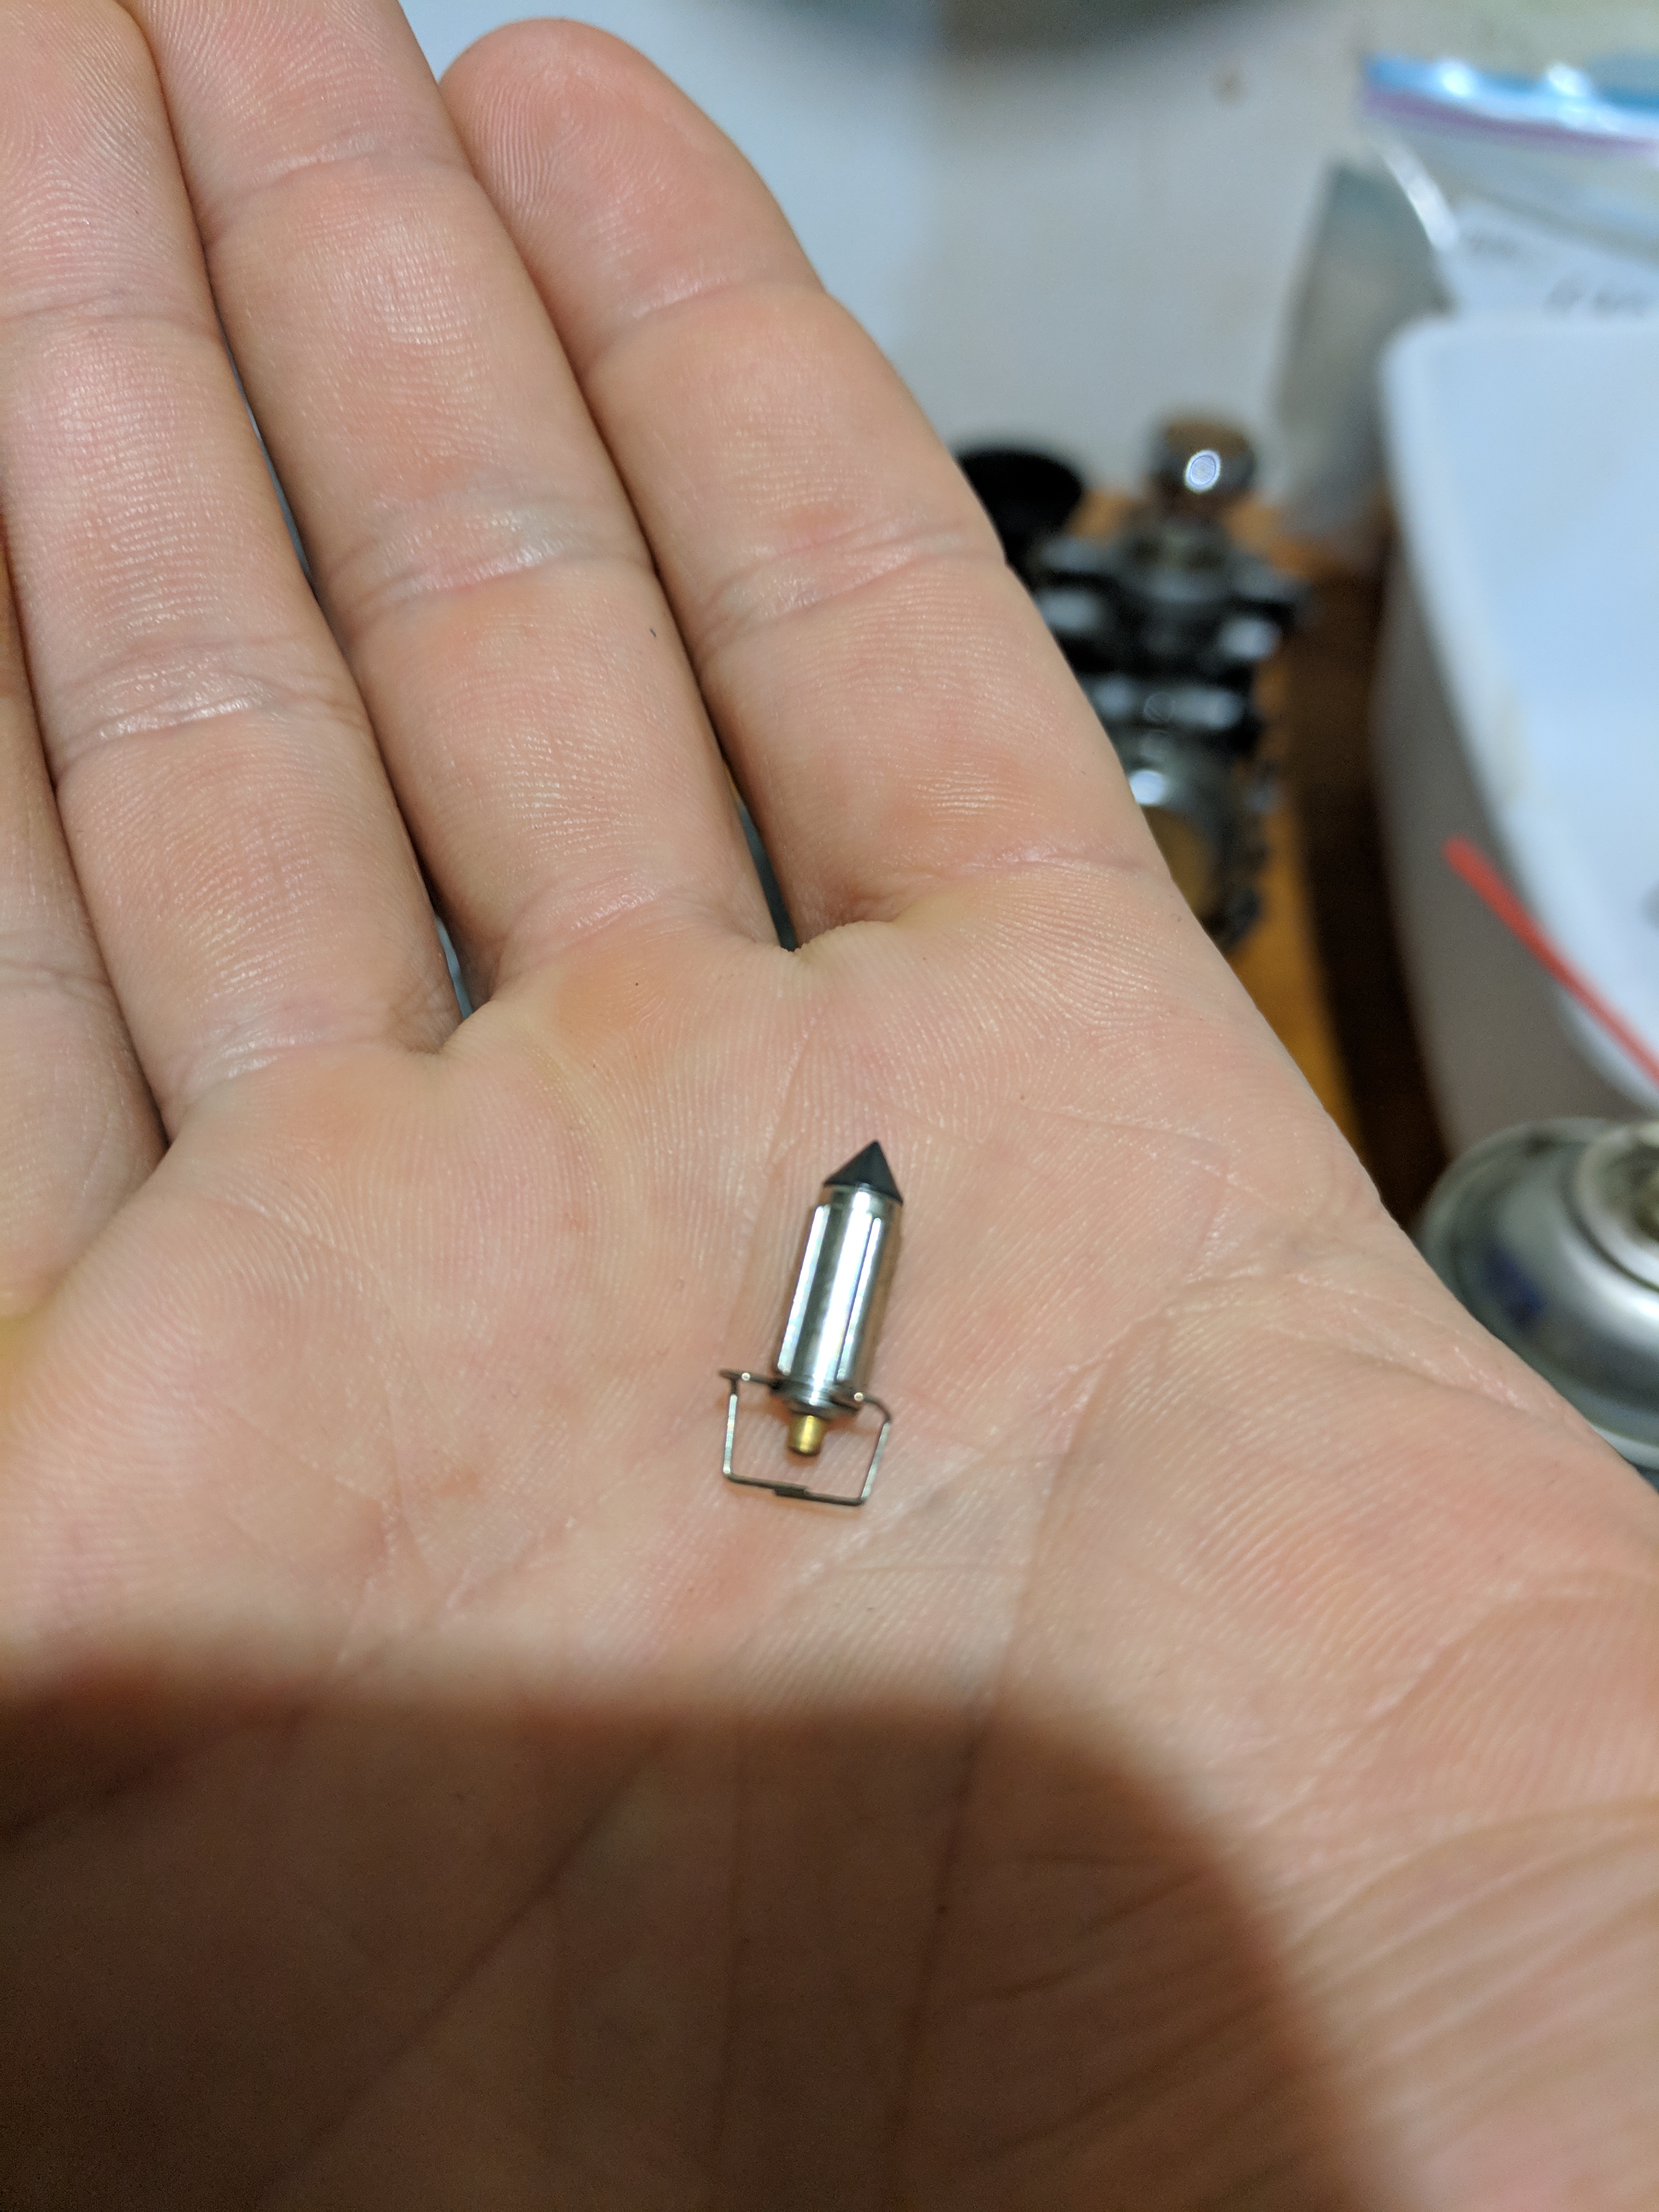
The little spring loaded pin for the floater
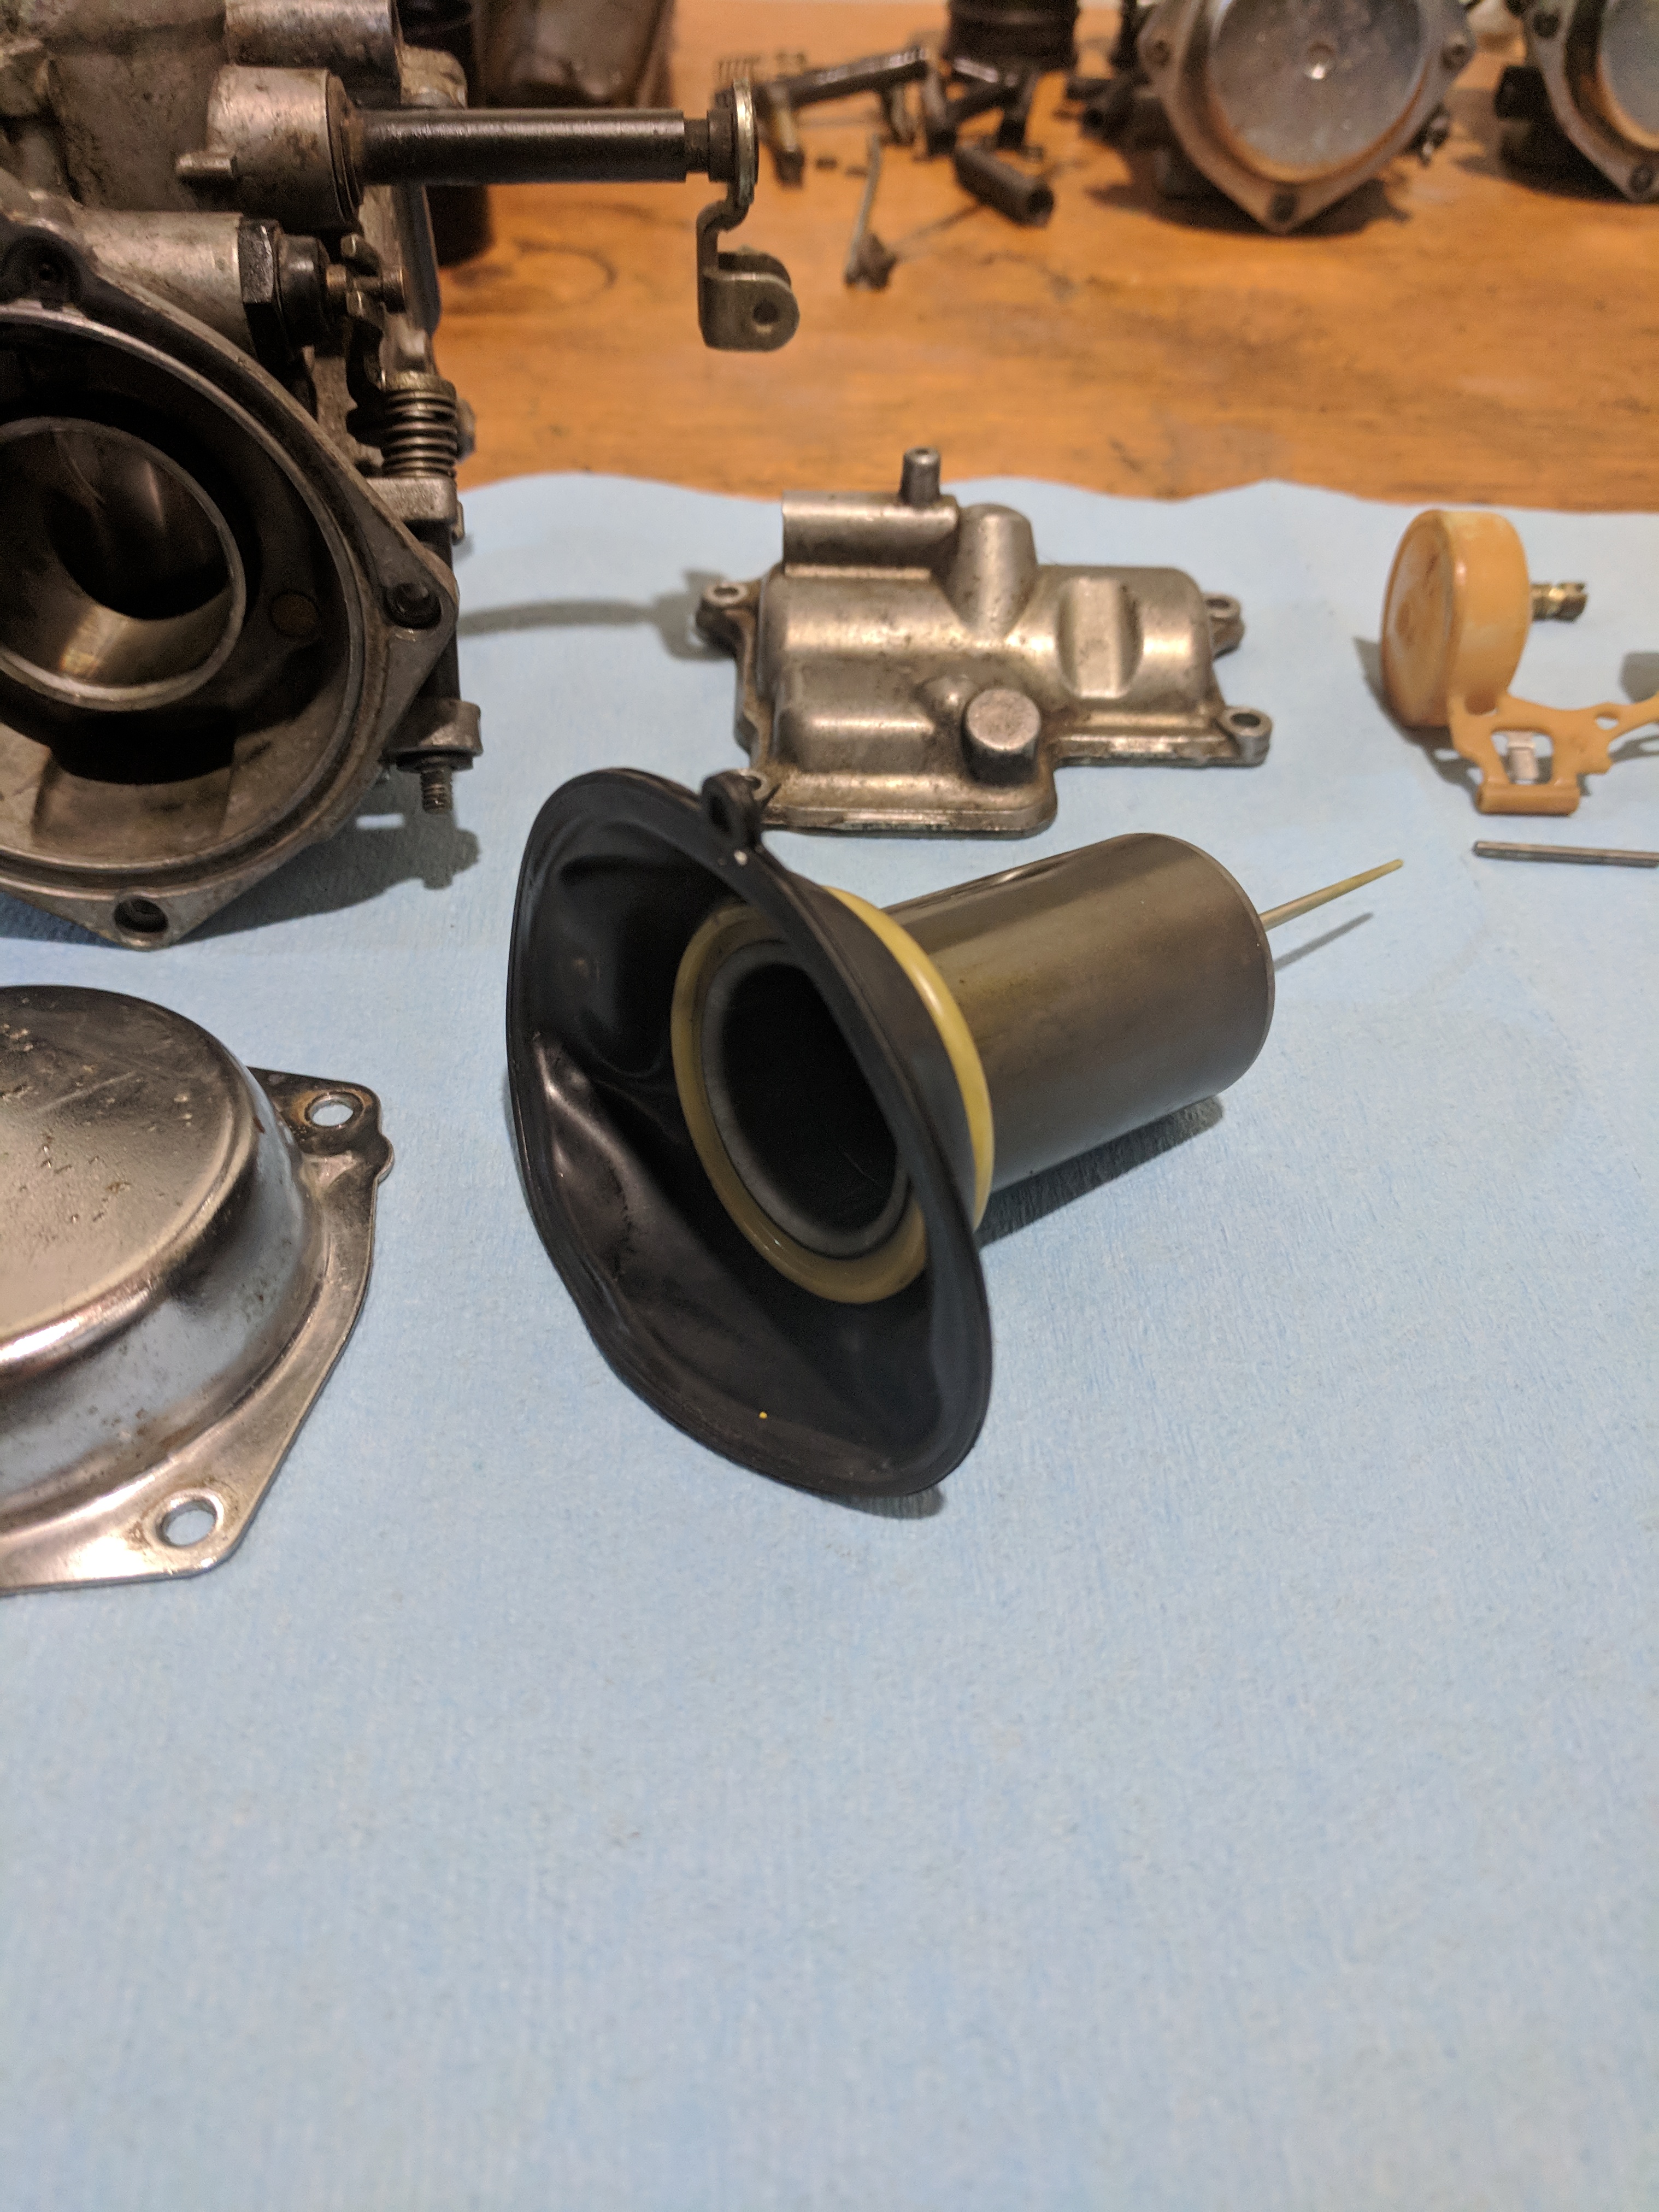
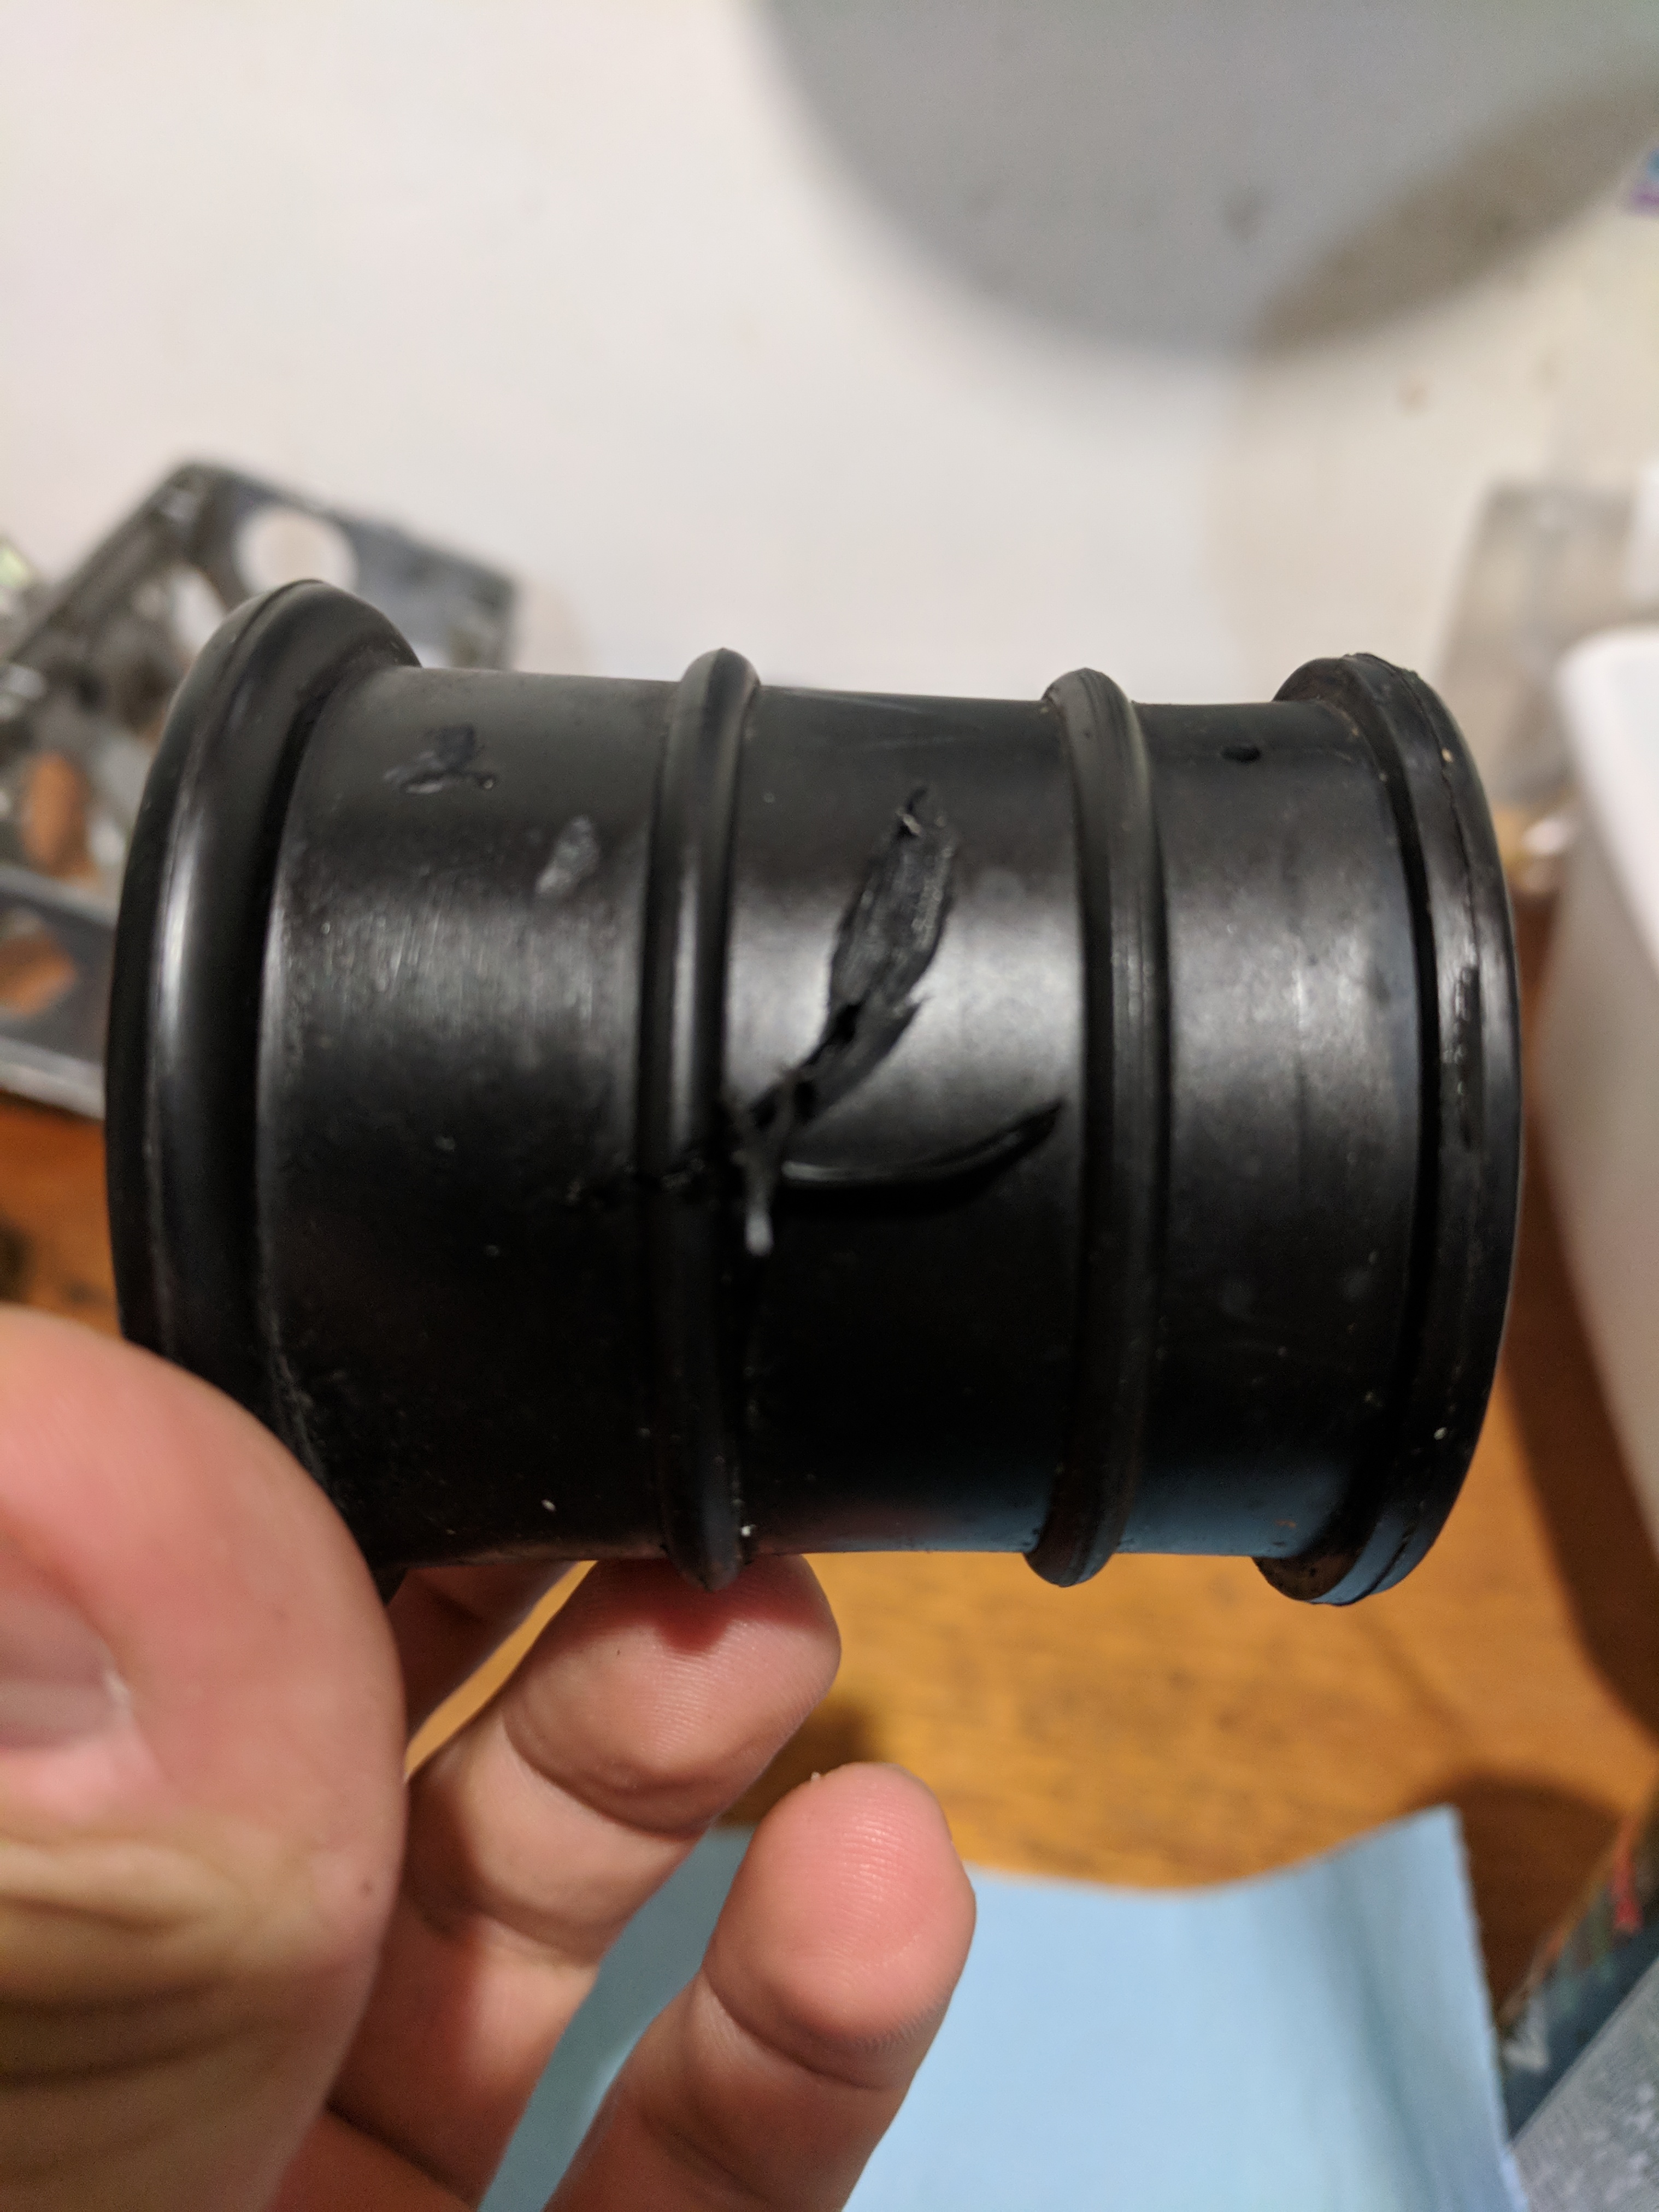
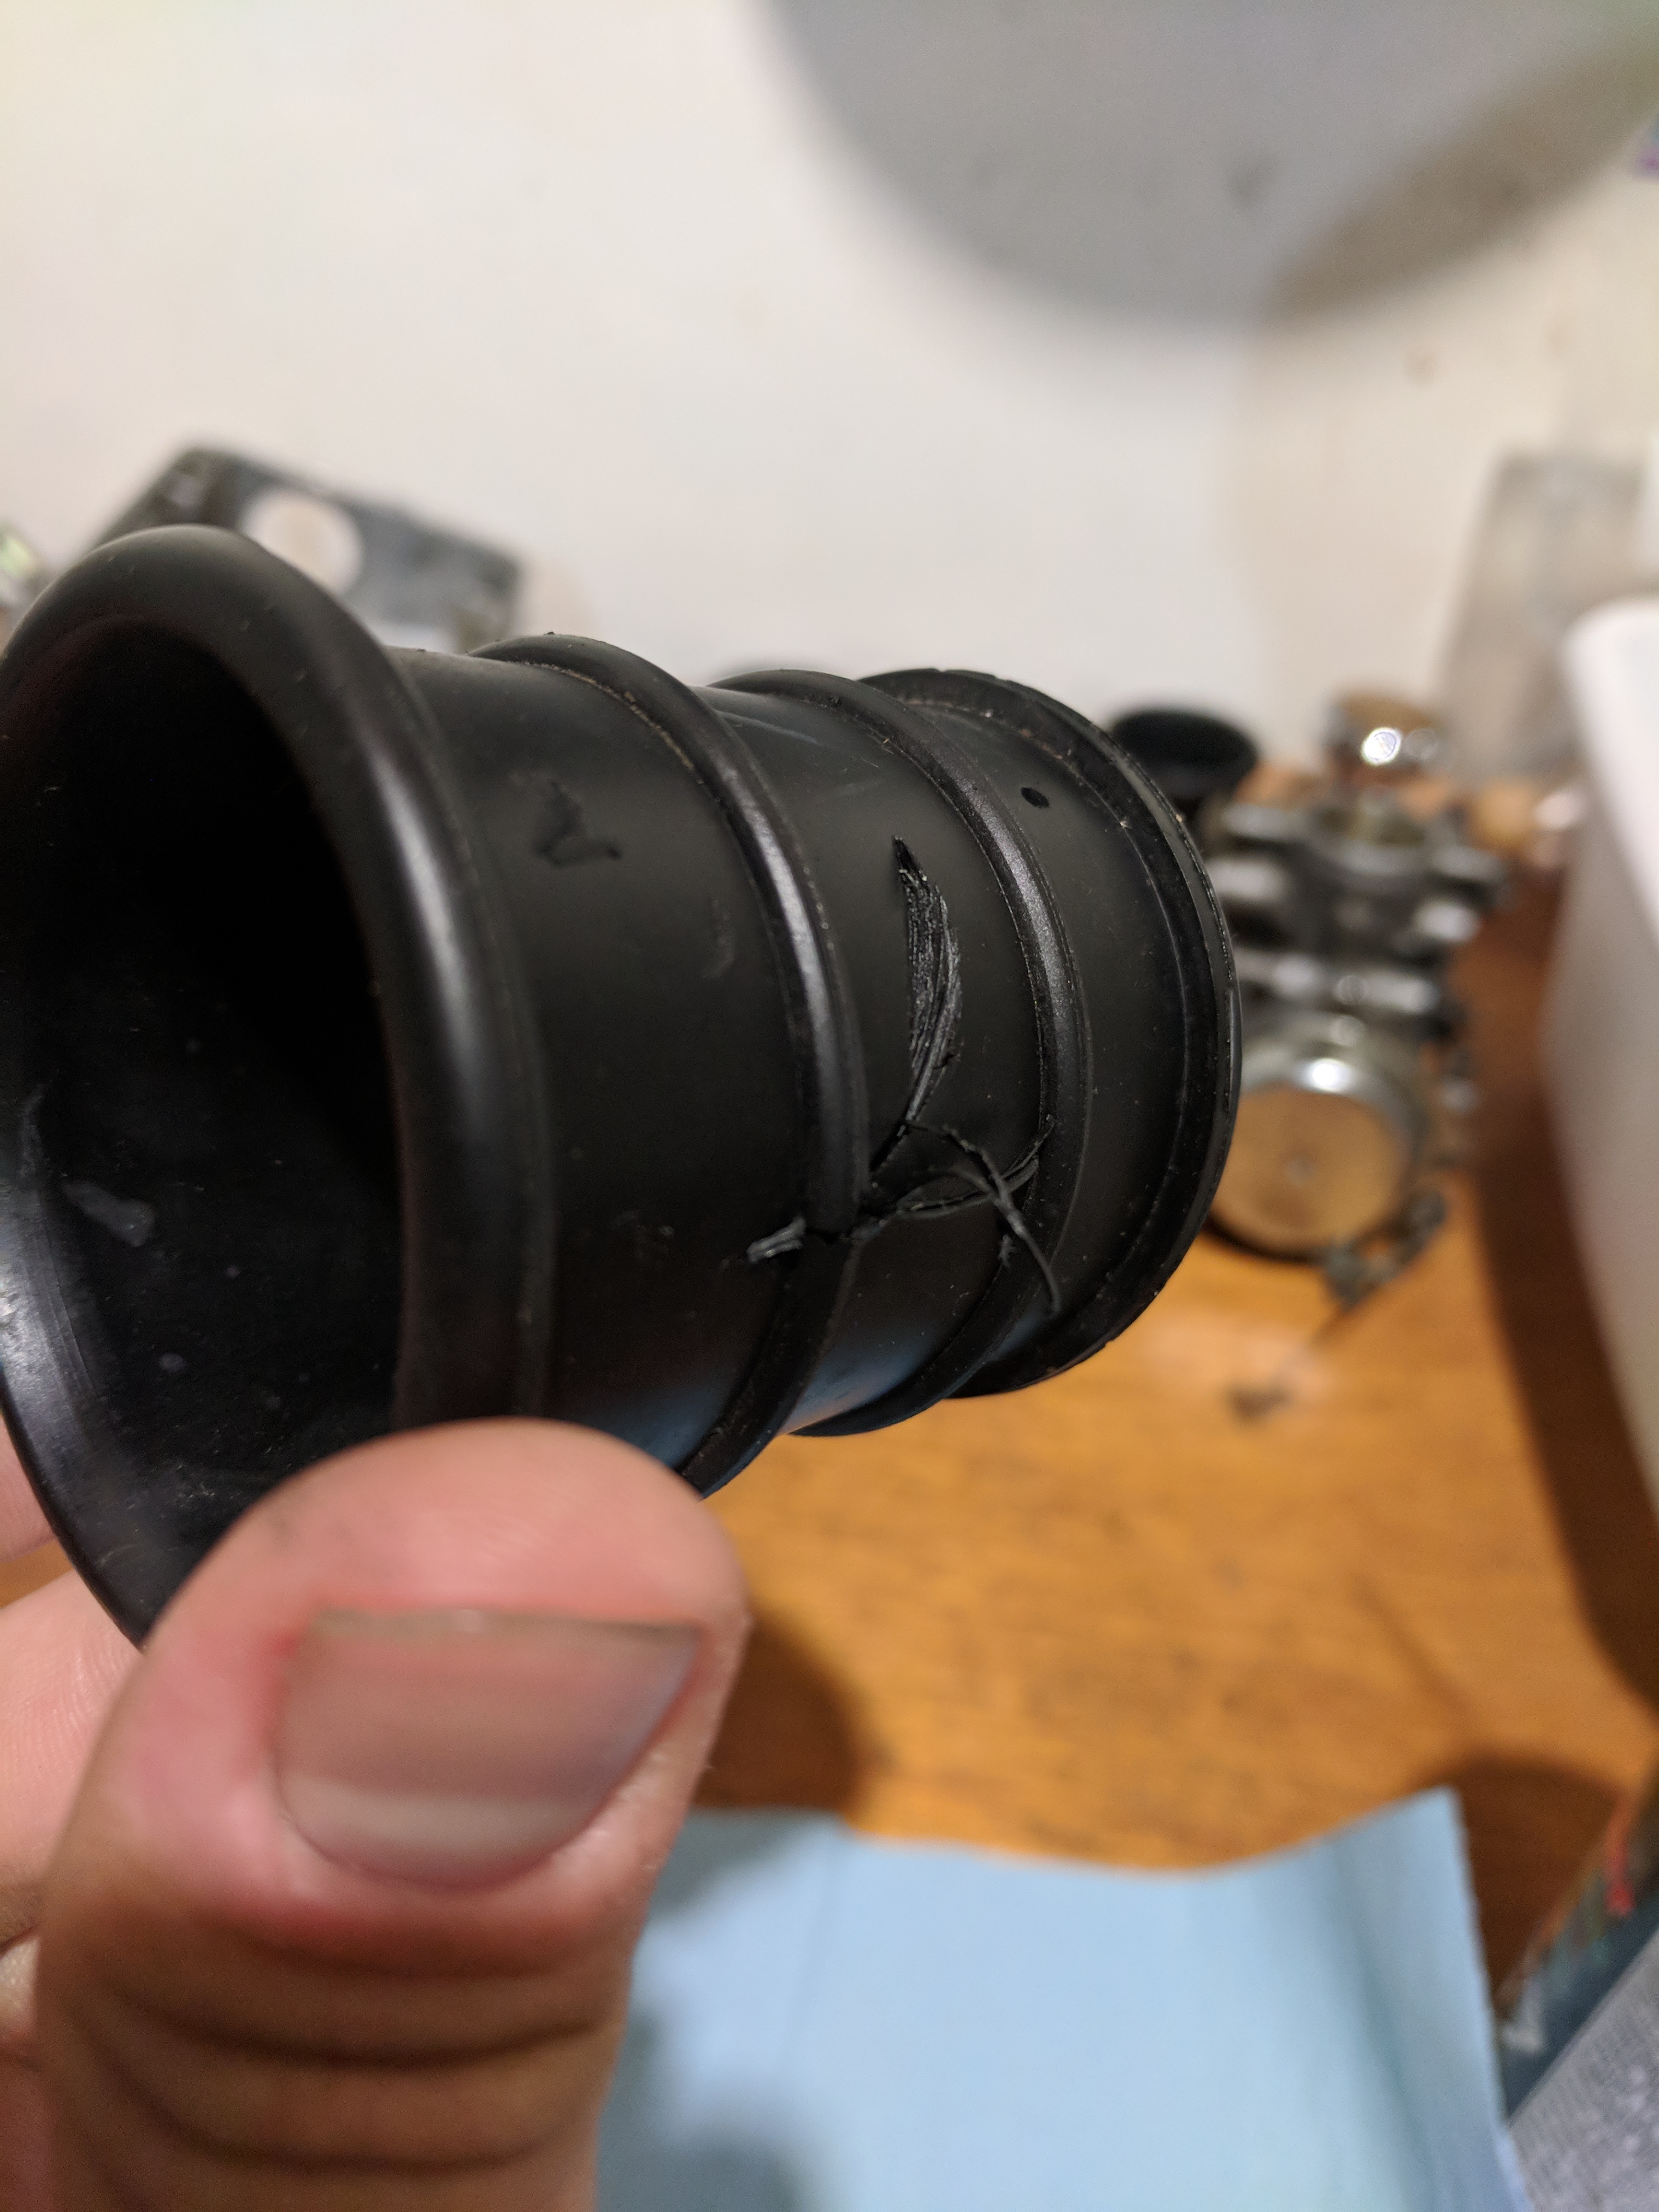
Damaged rubber air tube
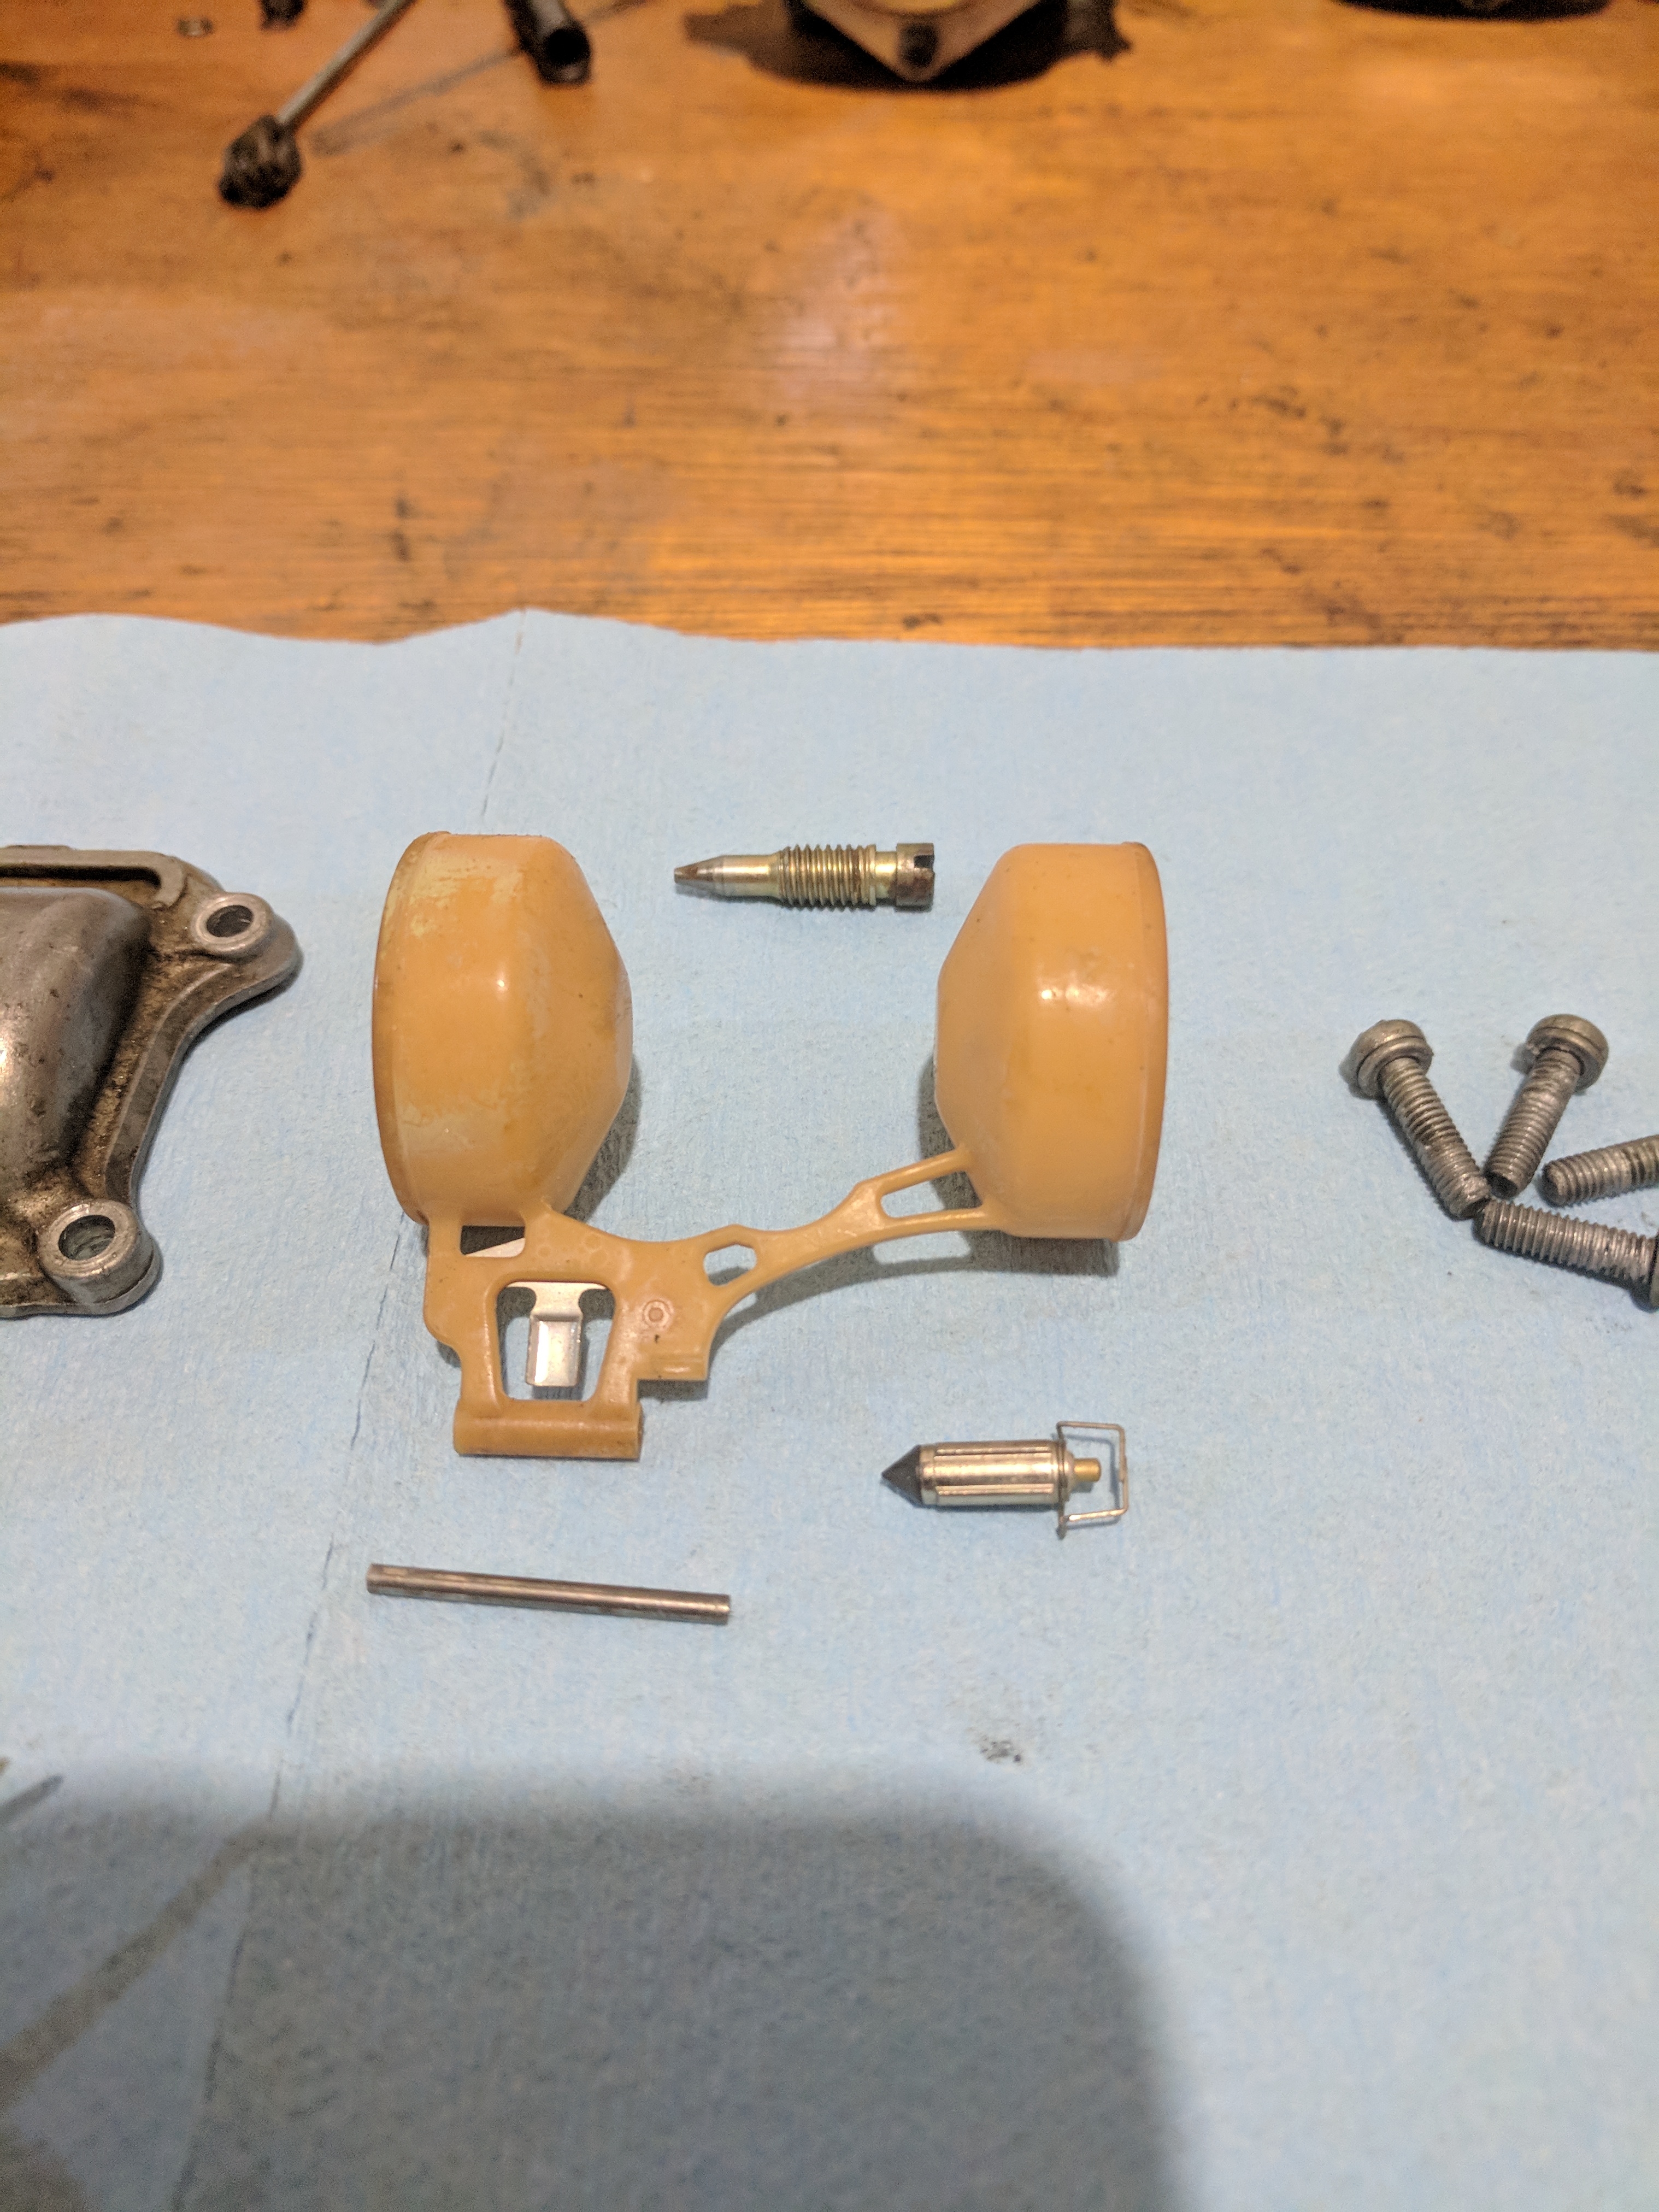
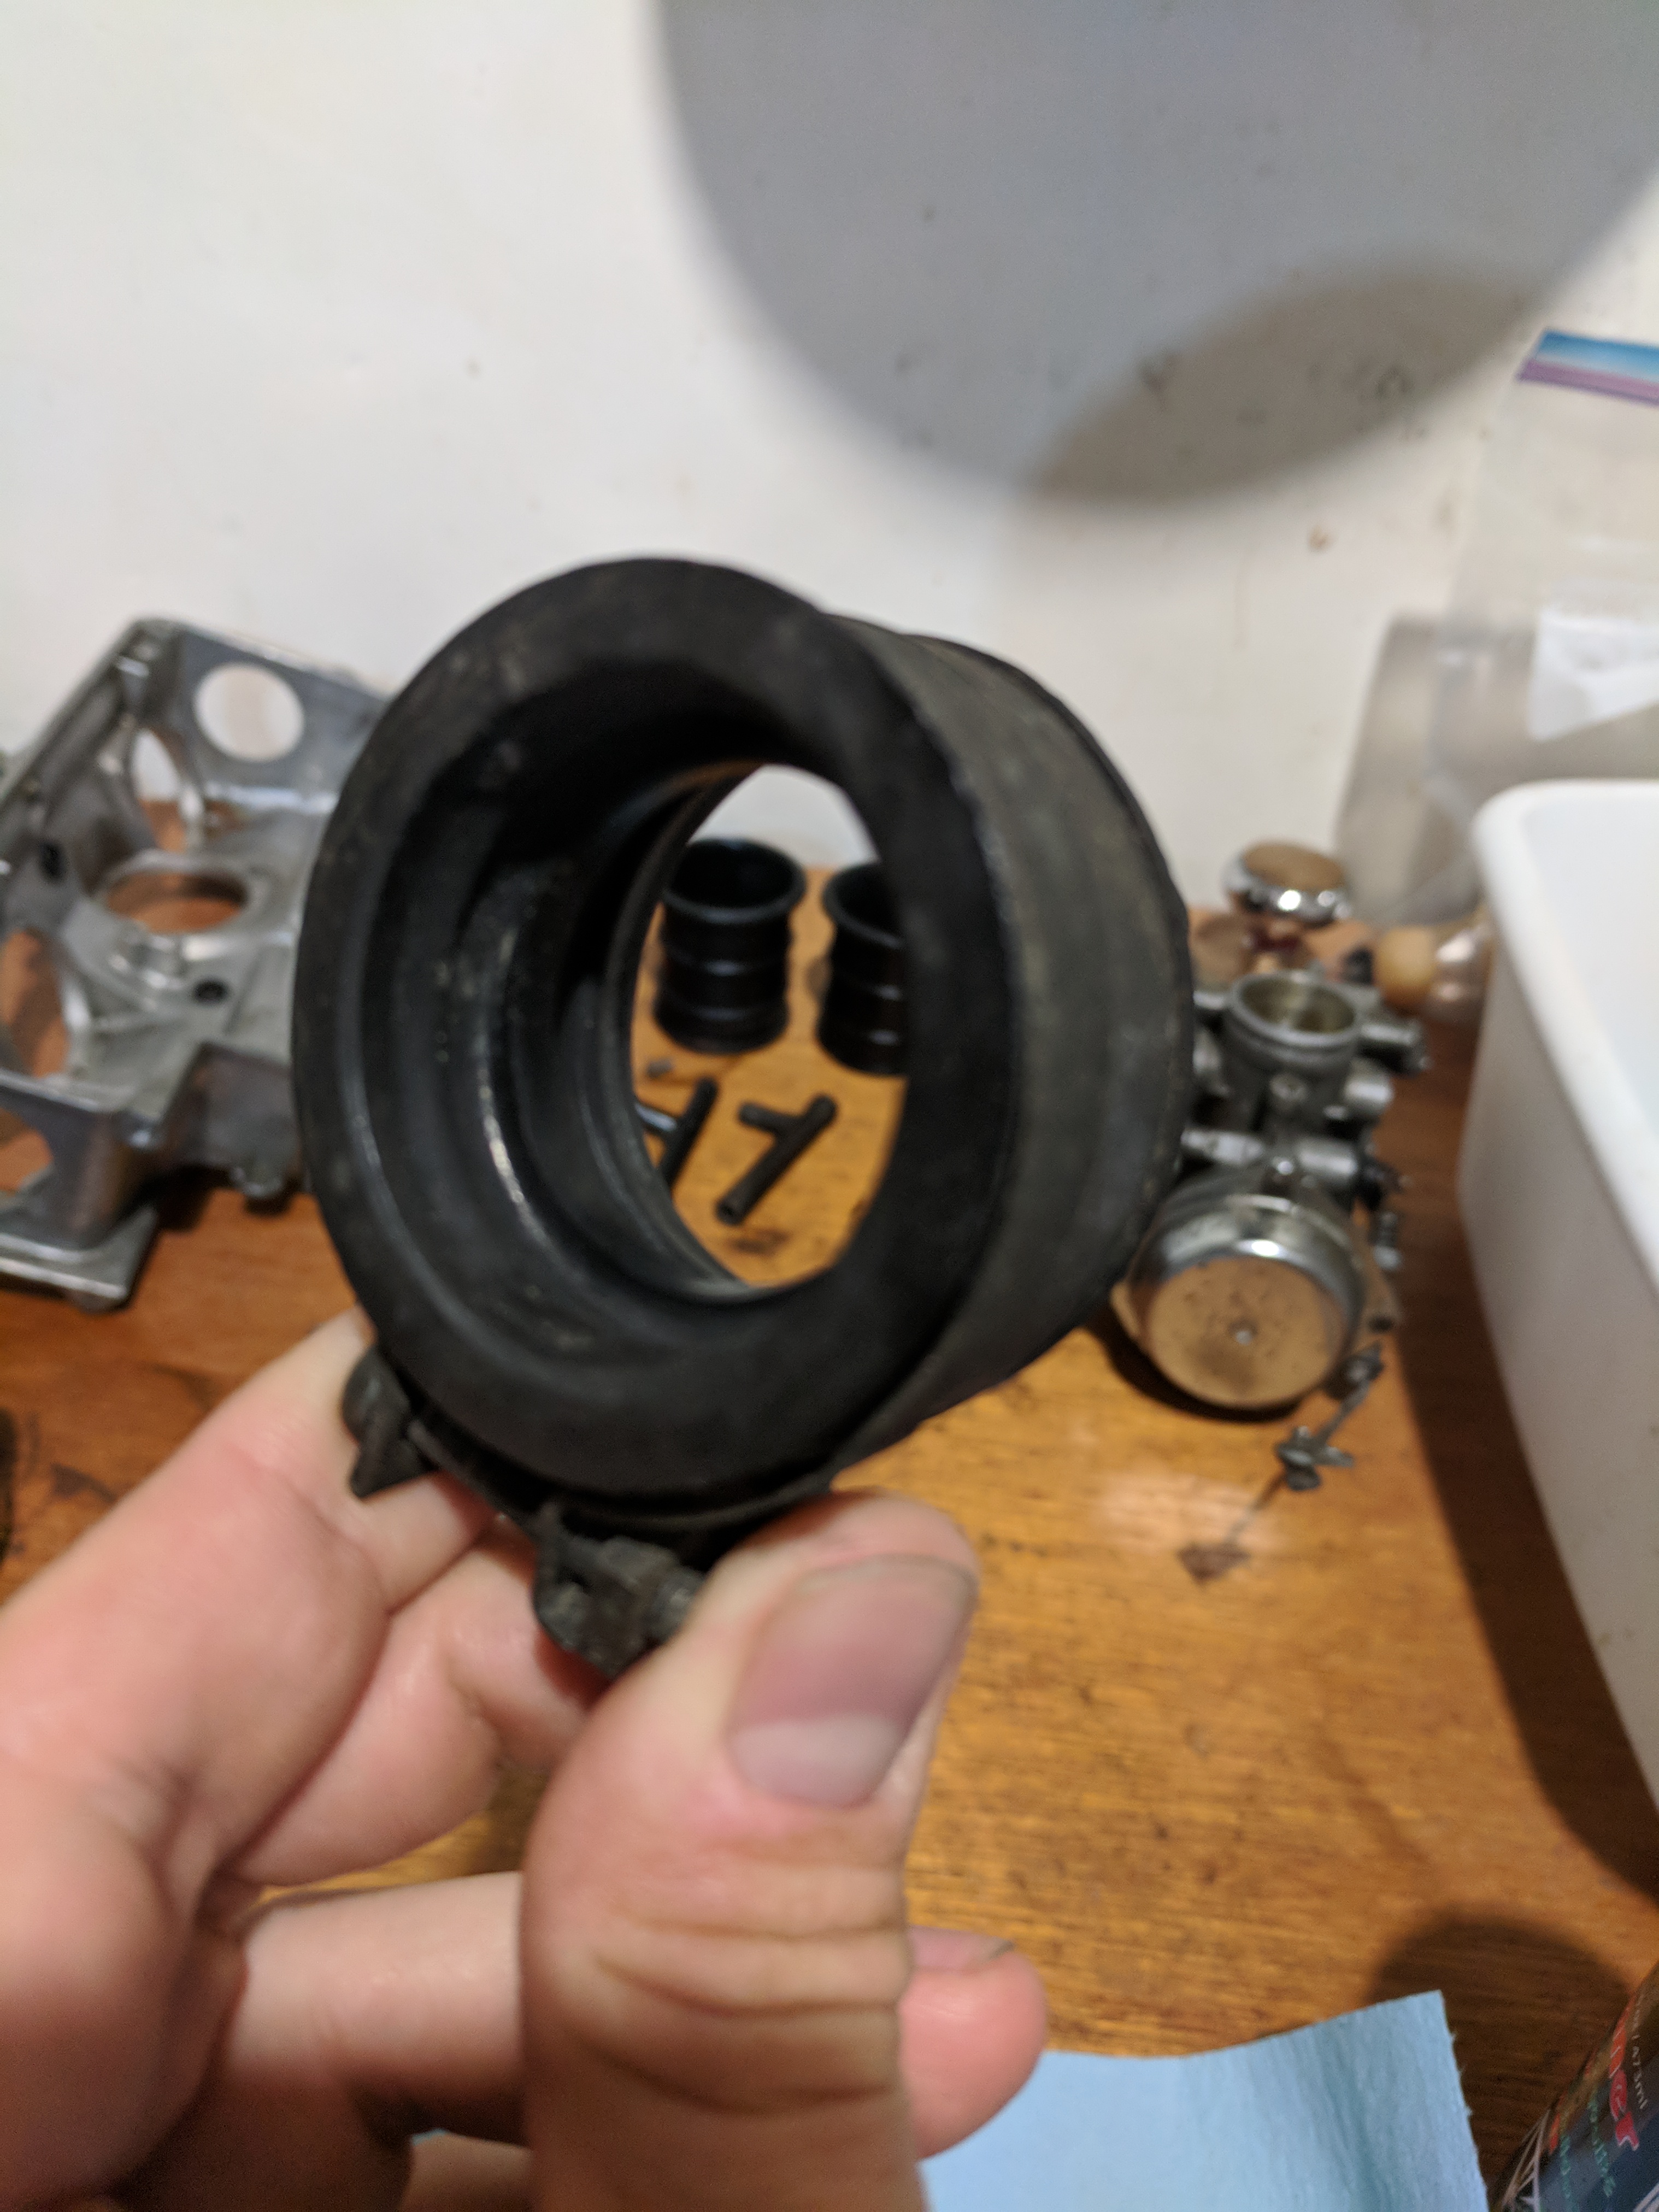
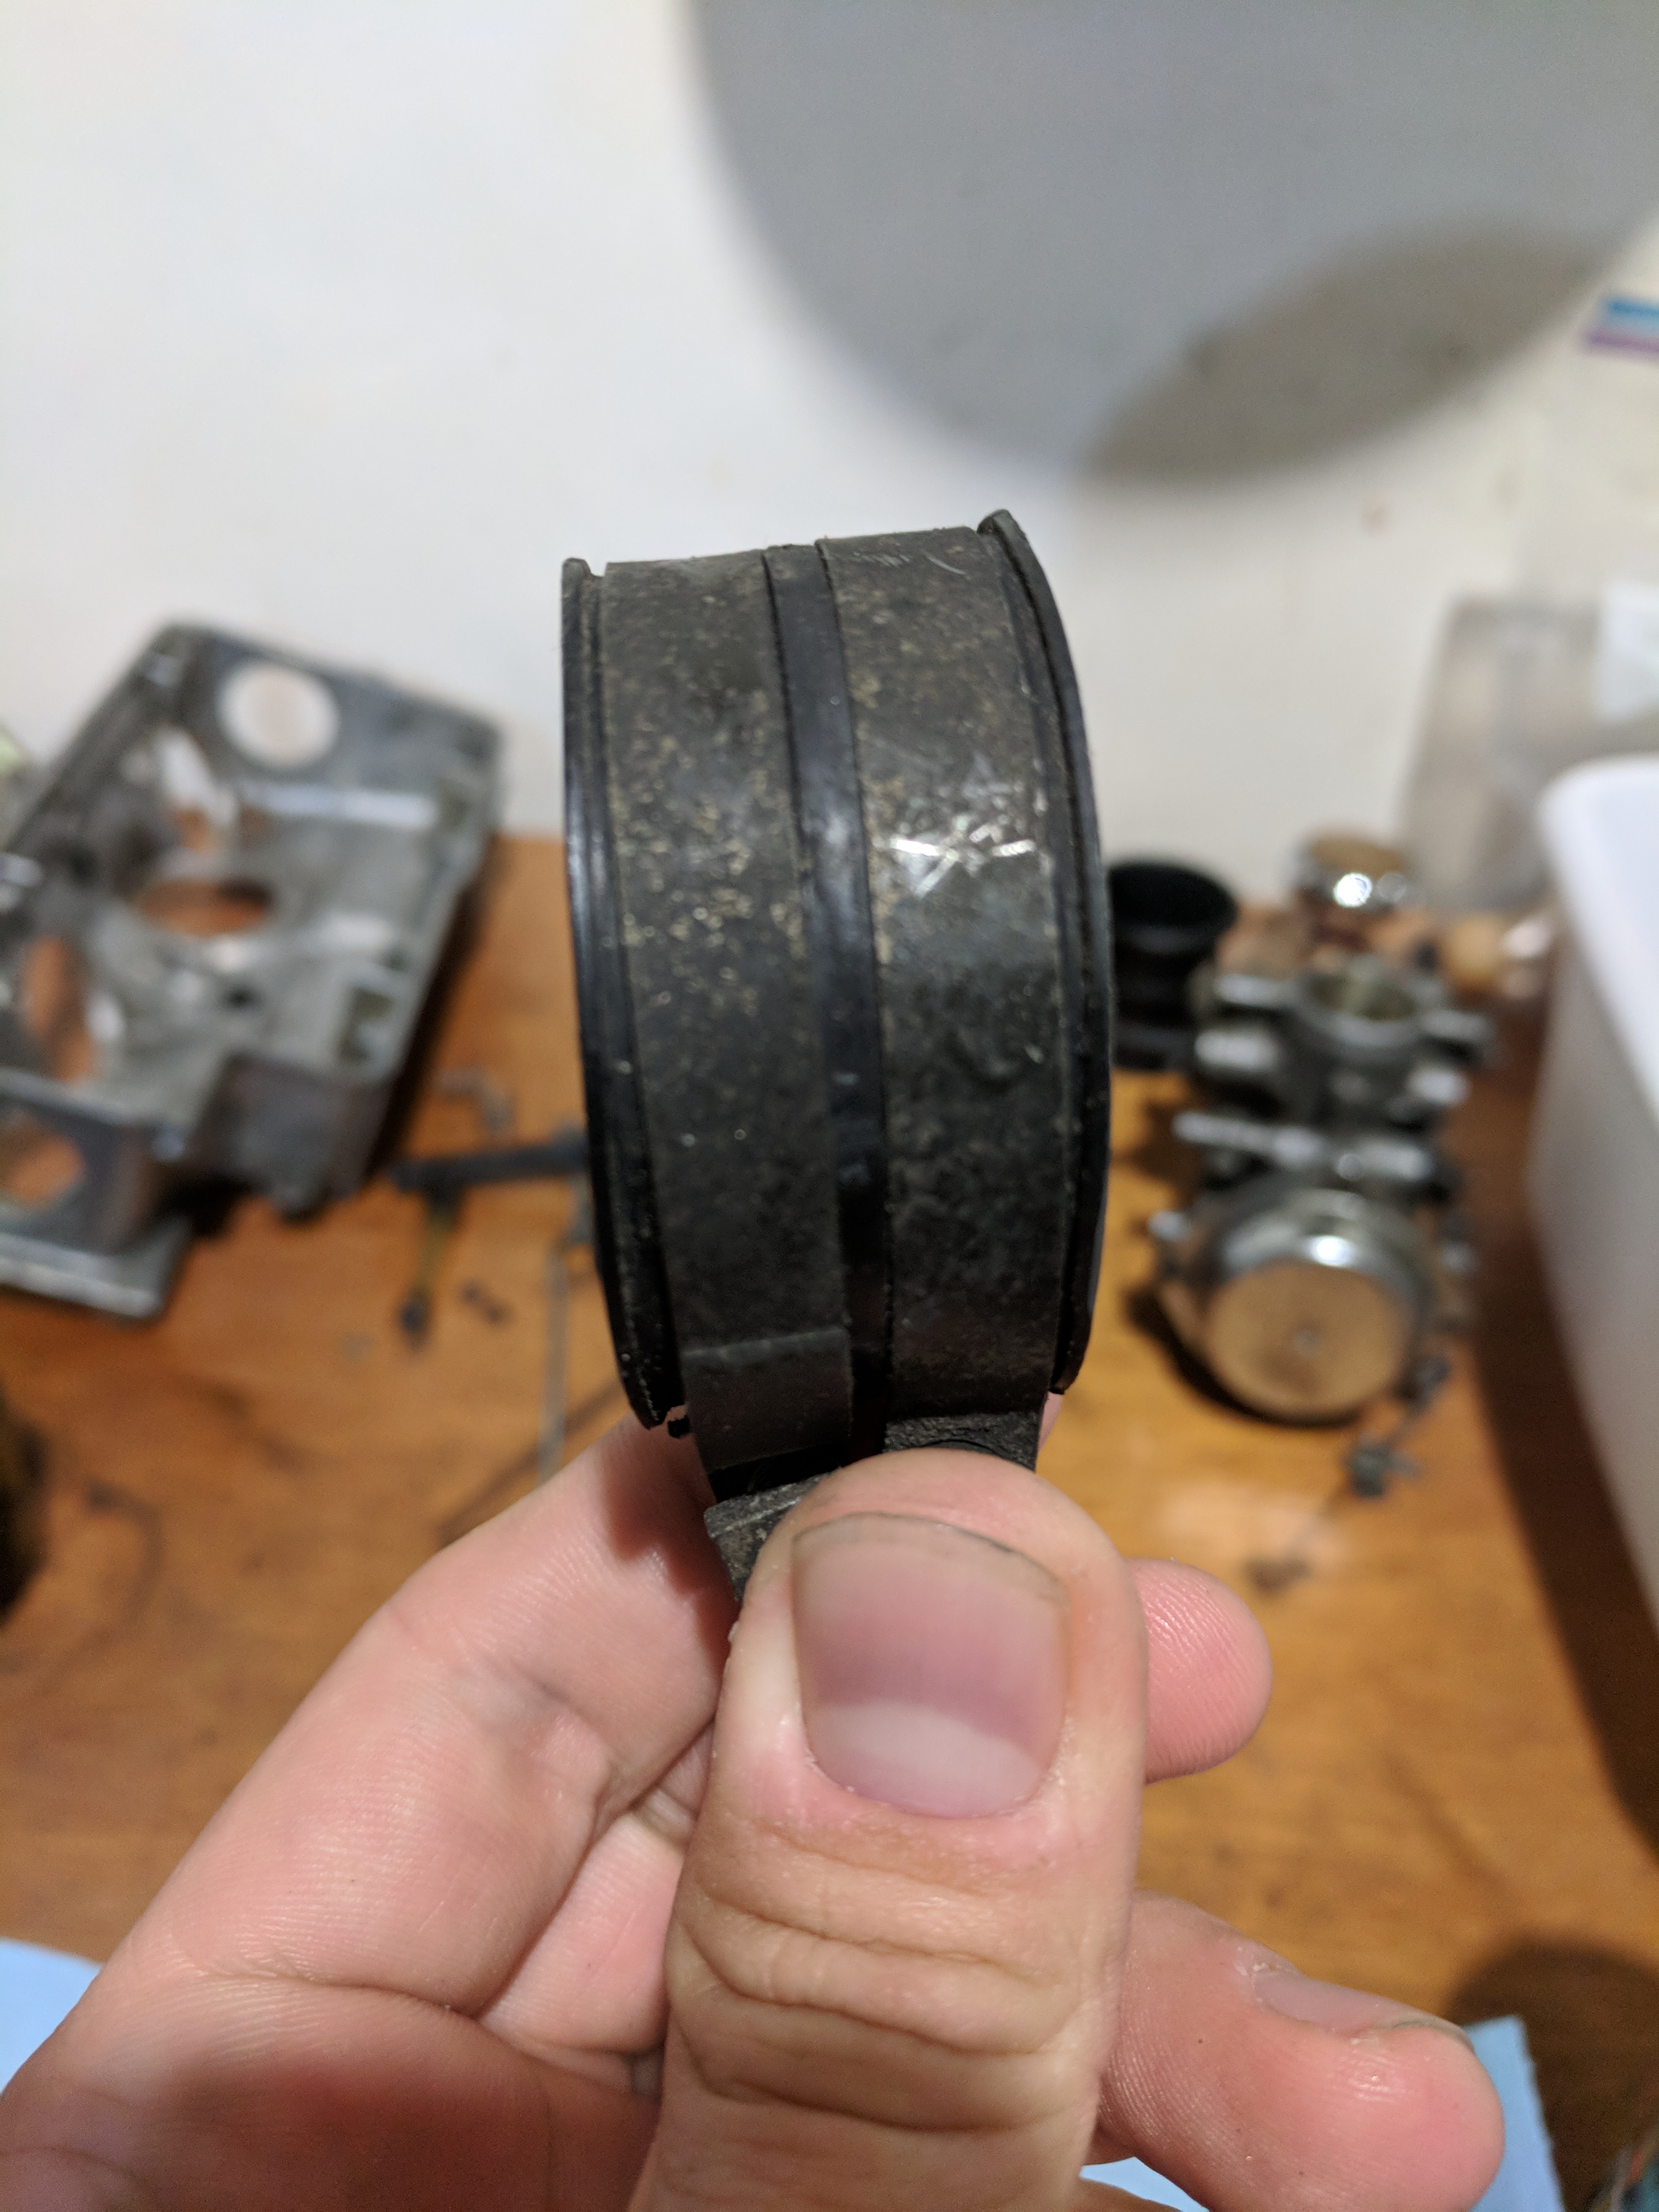
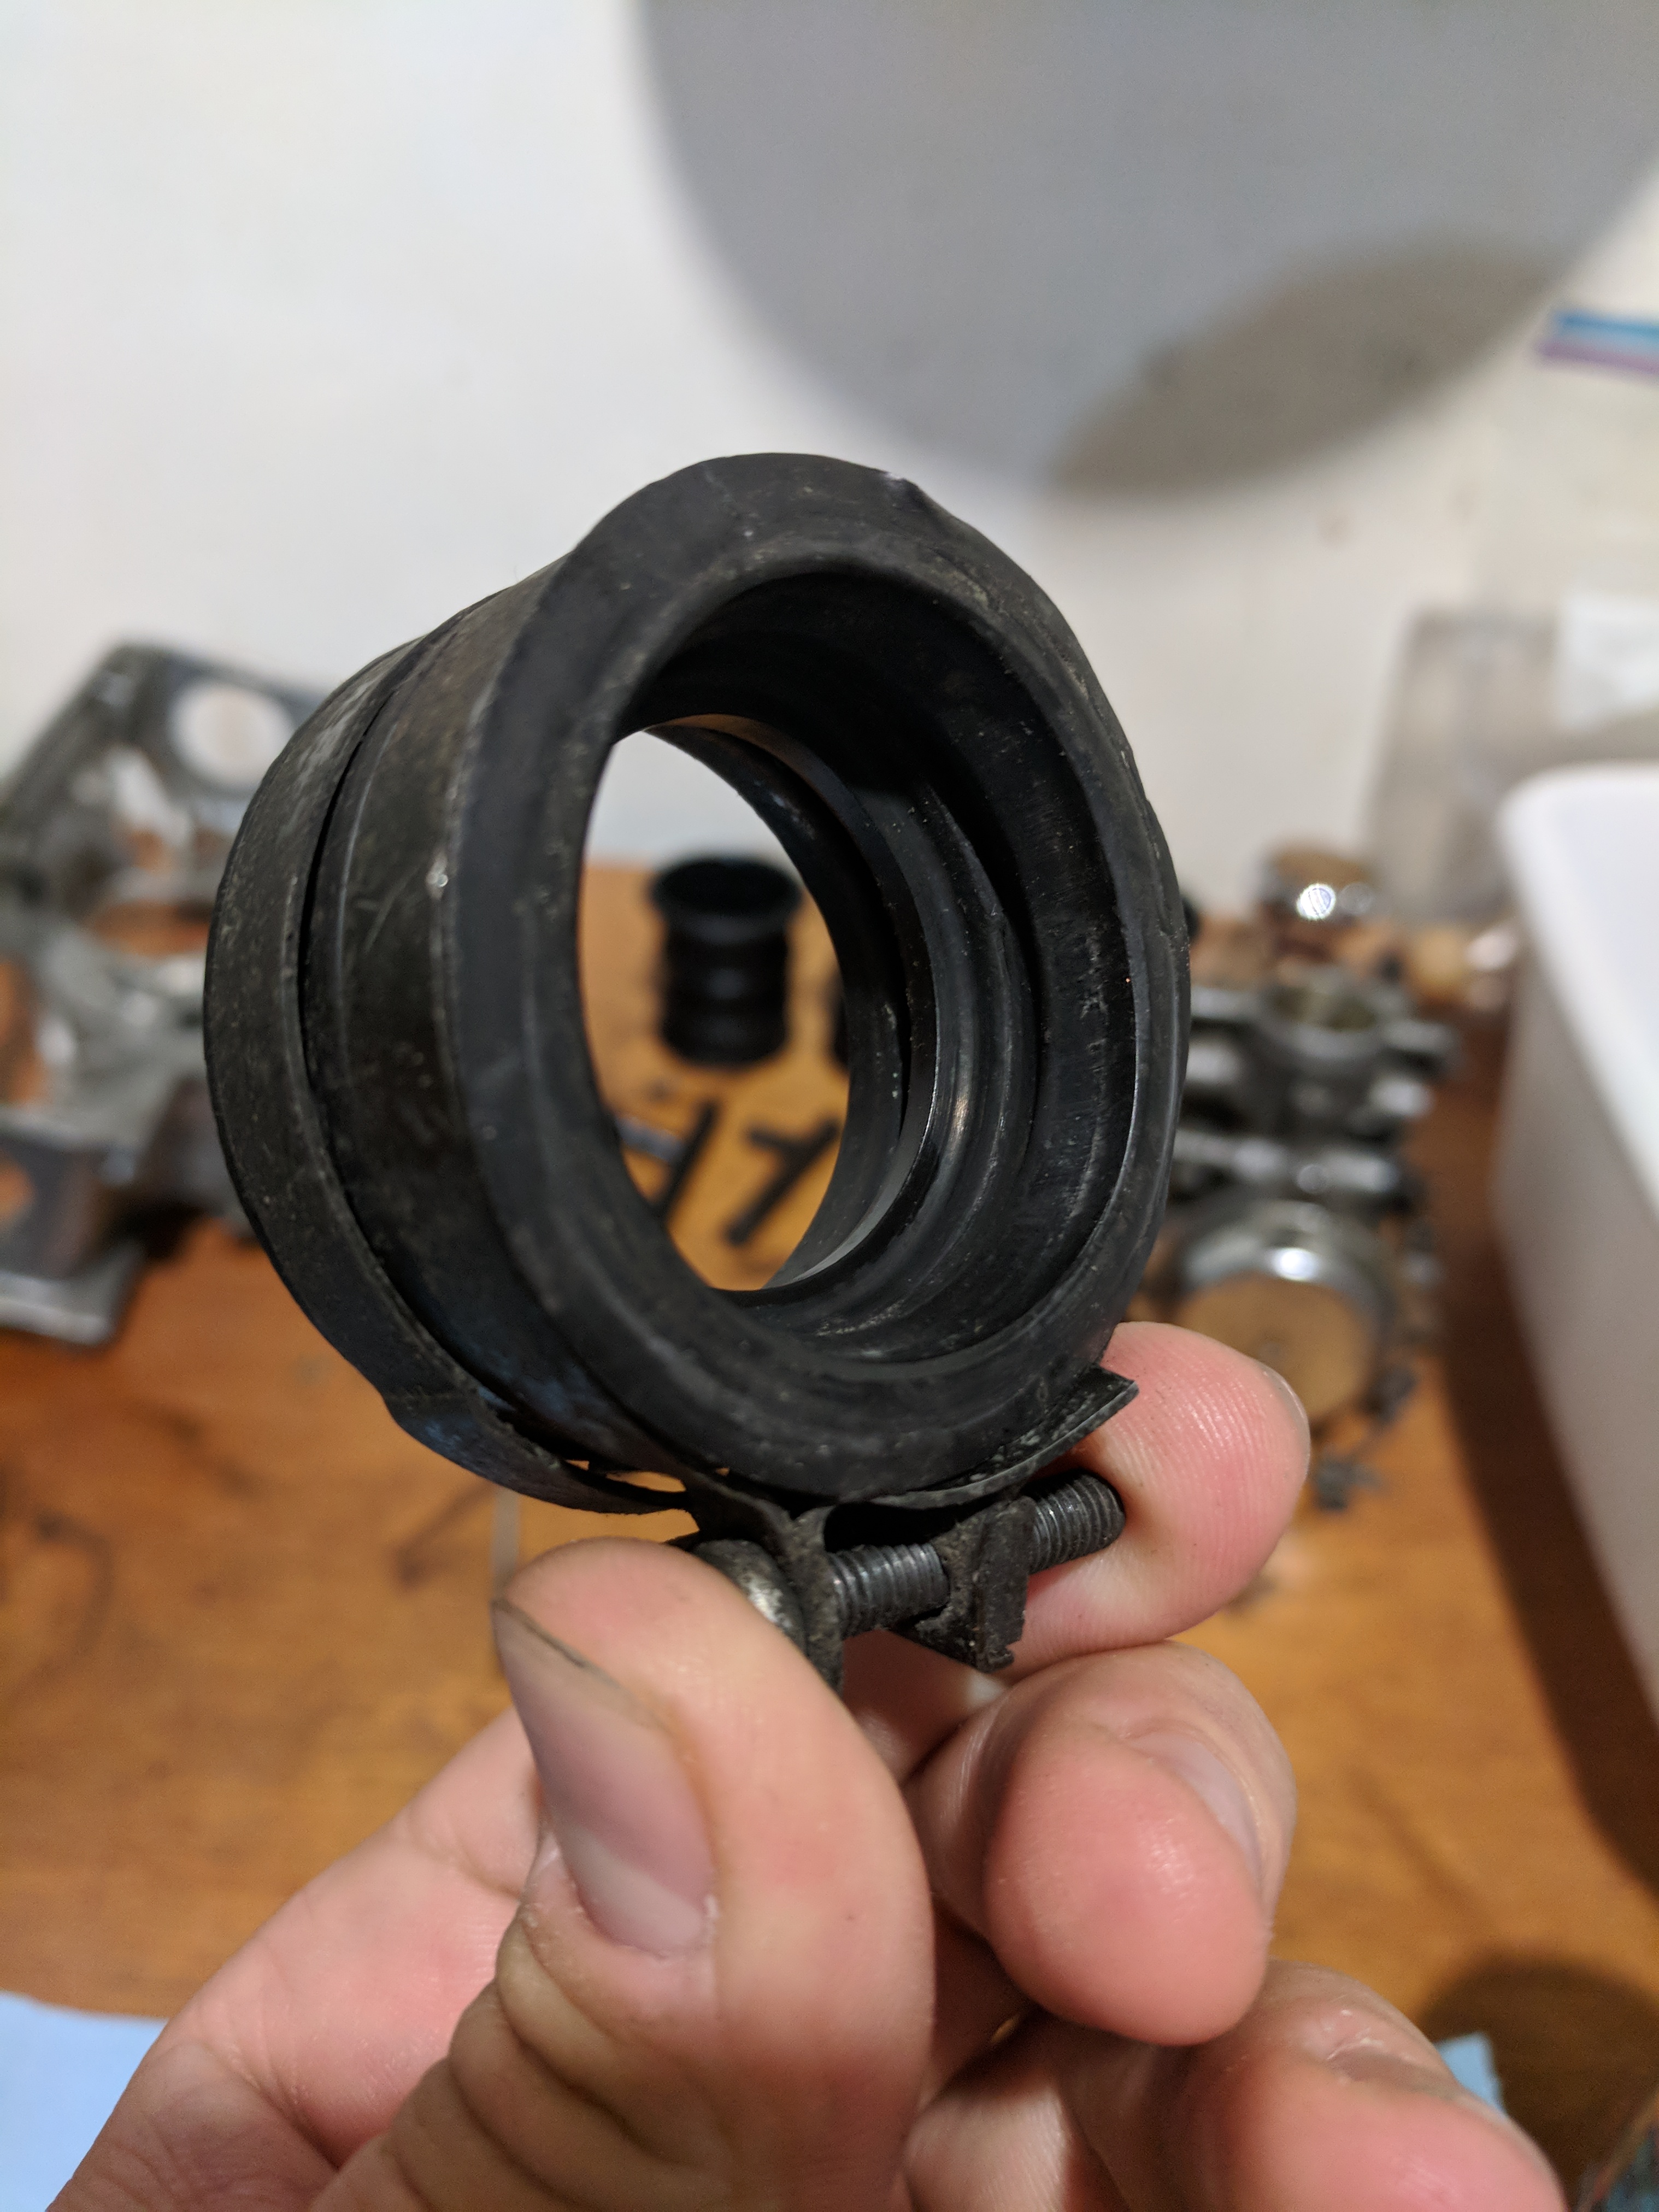
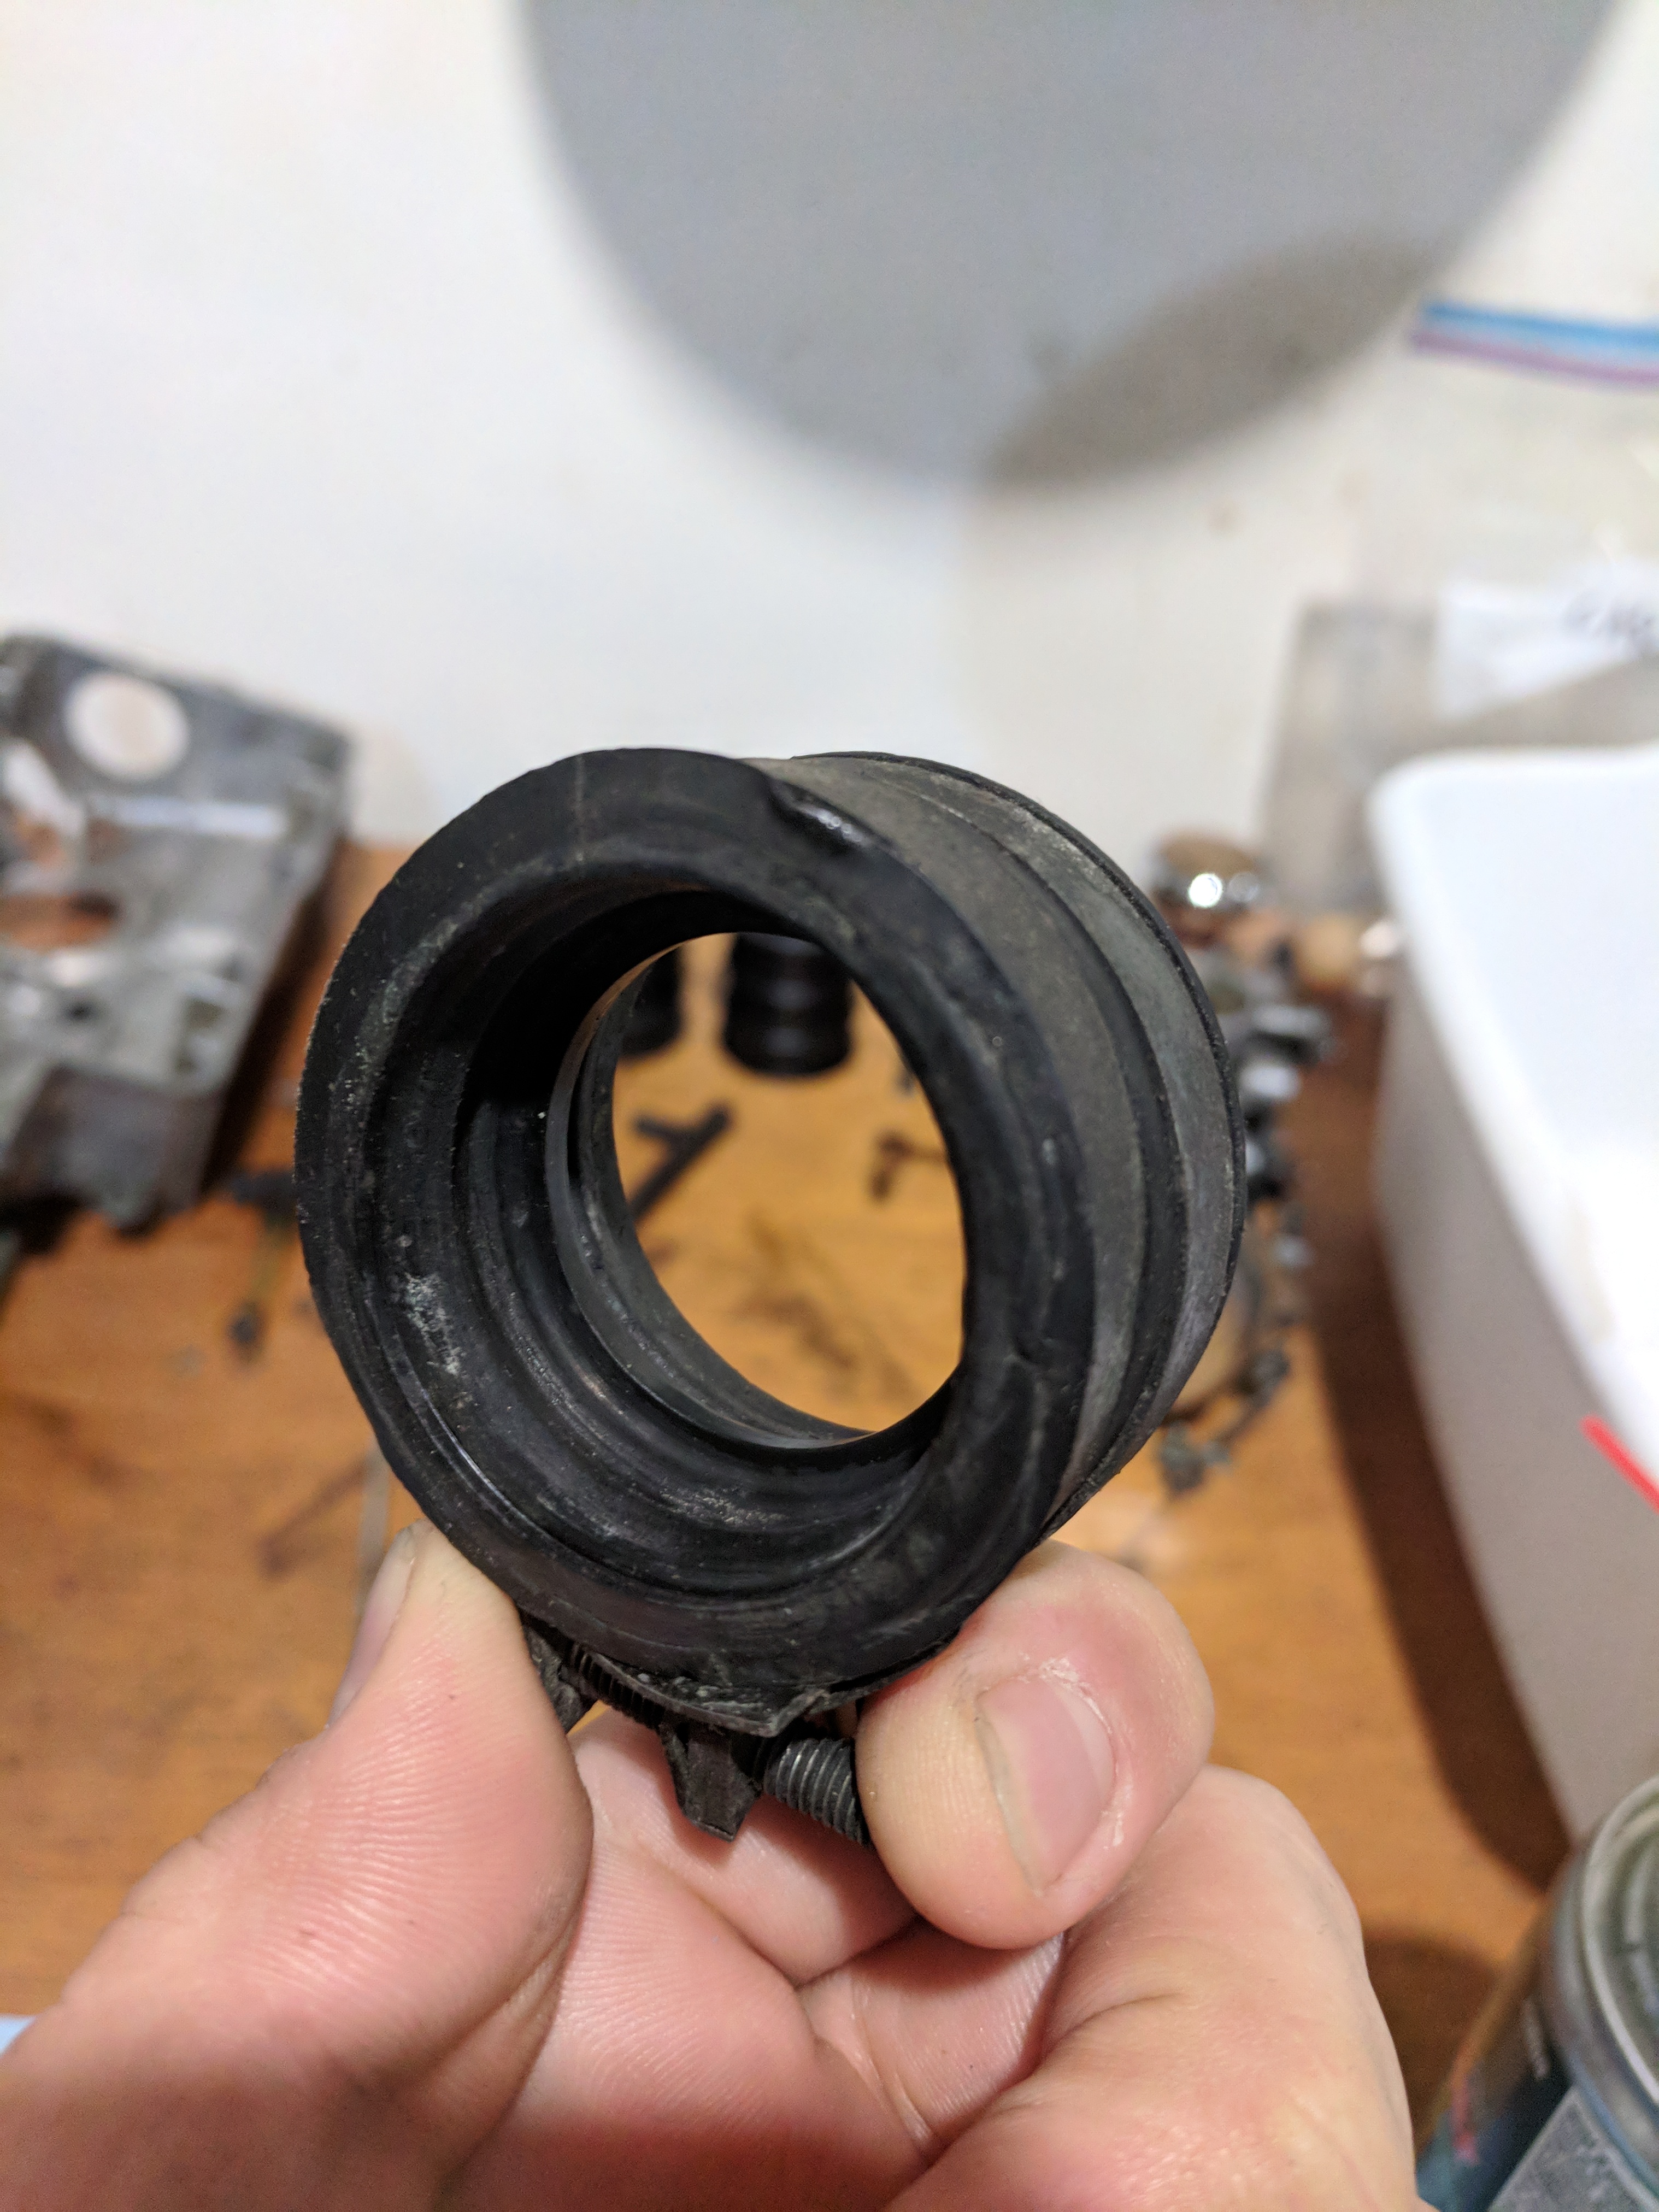
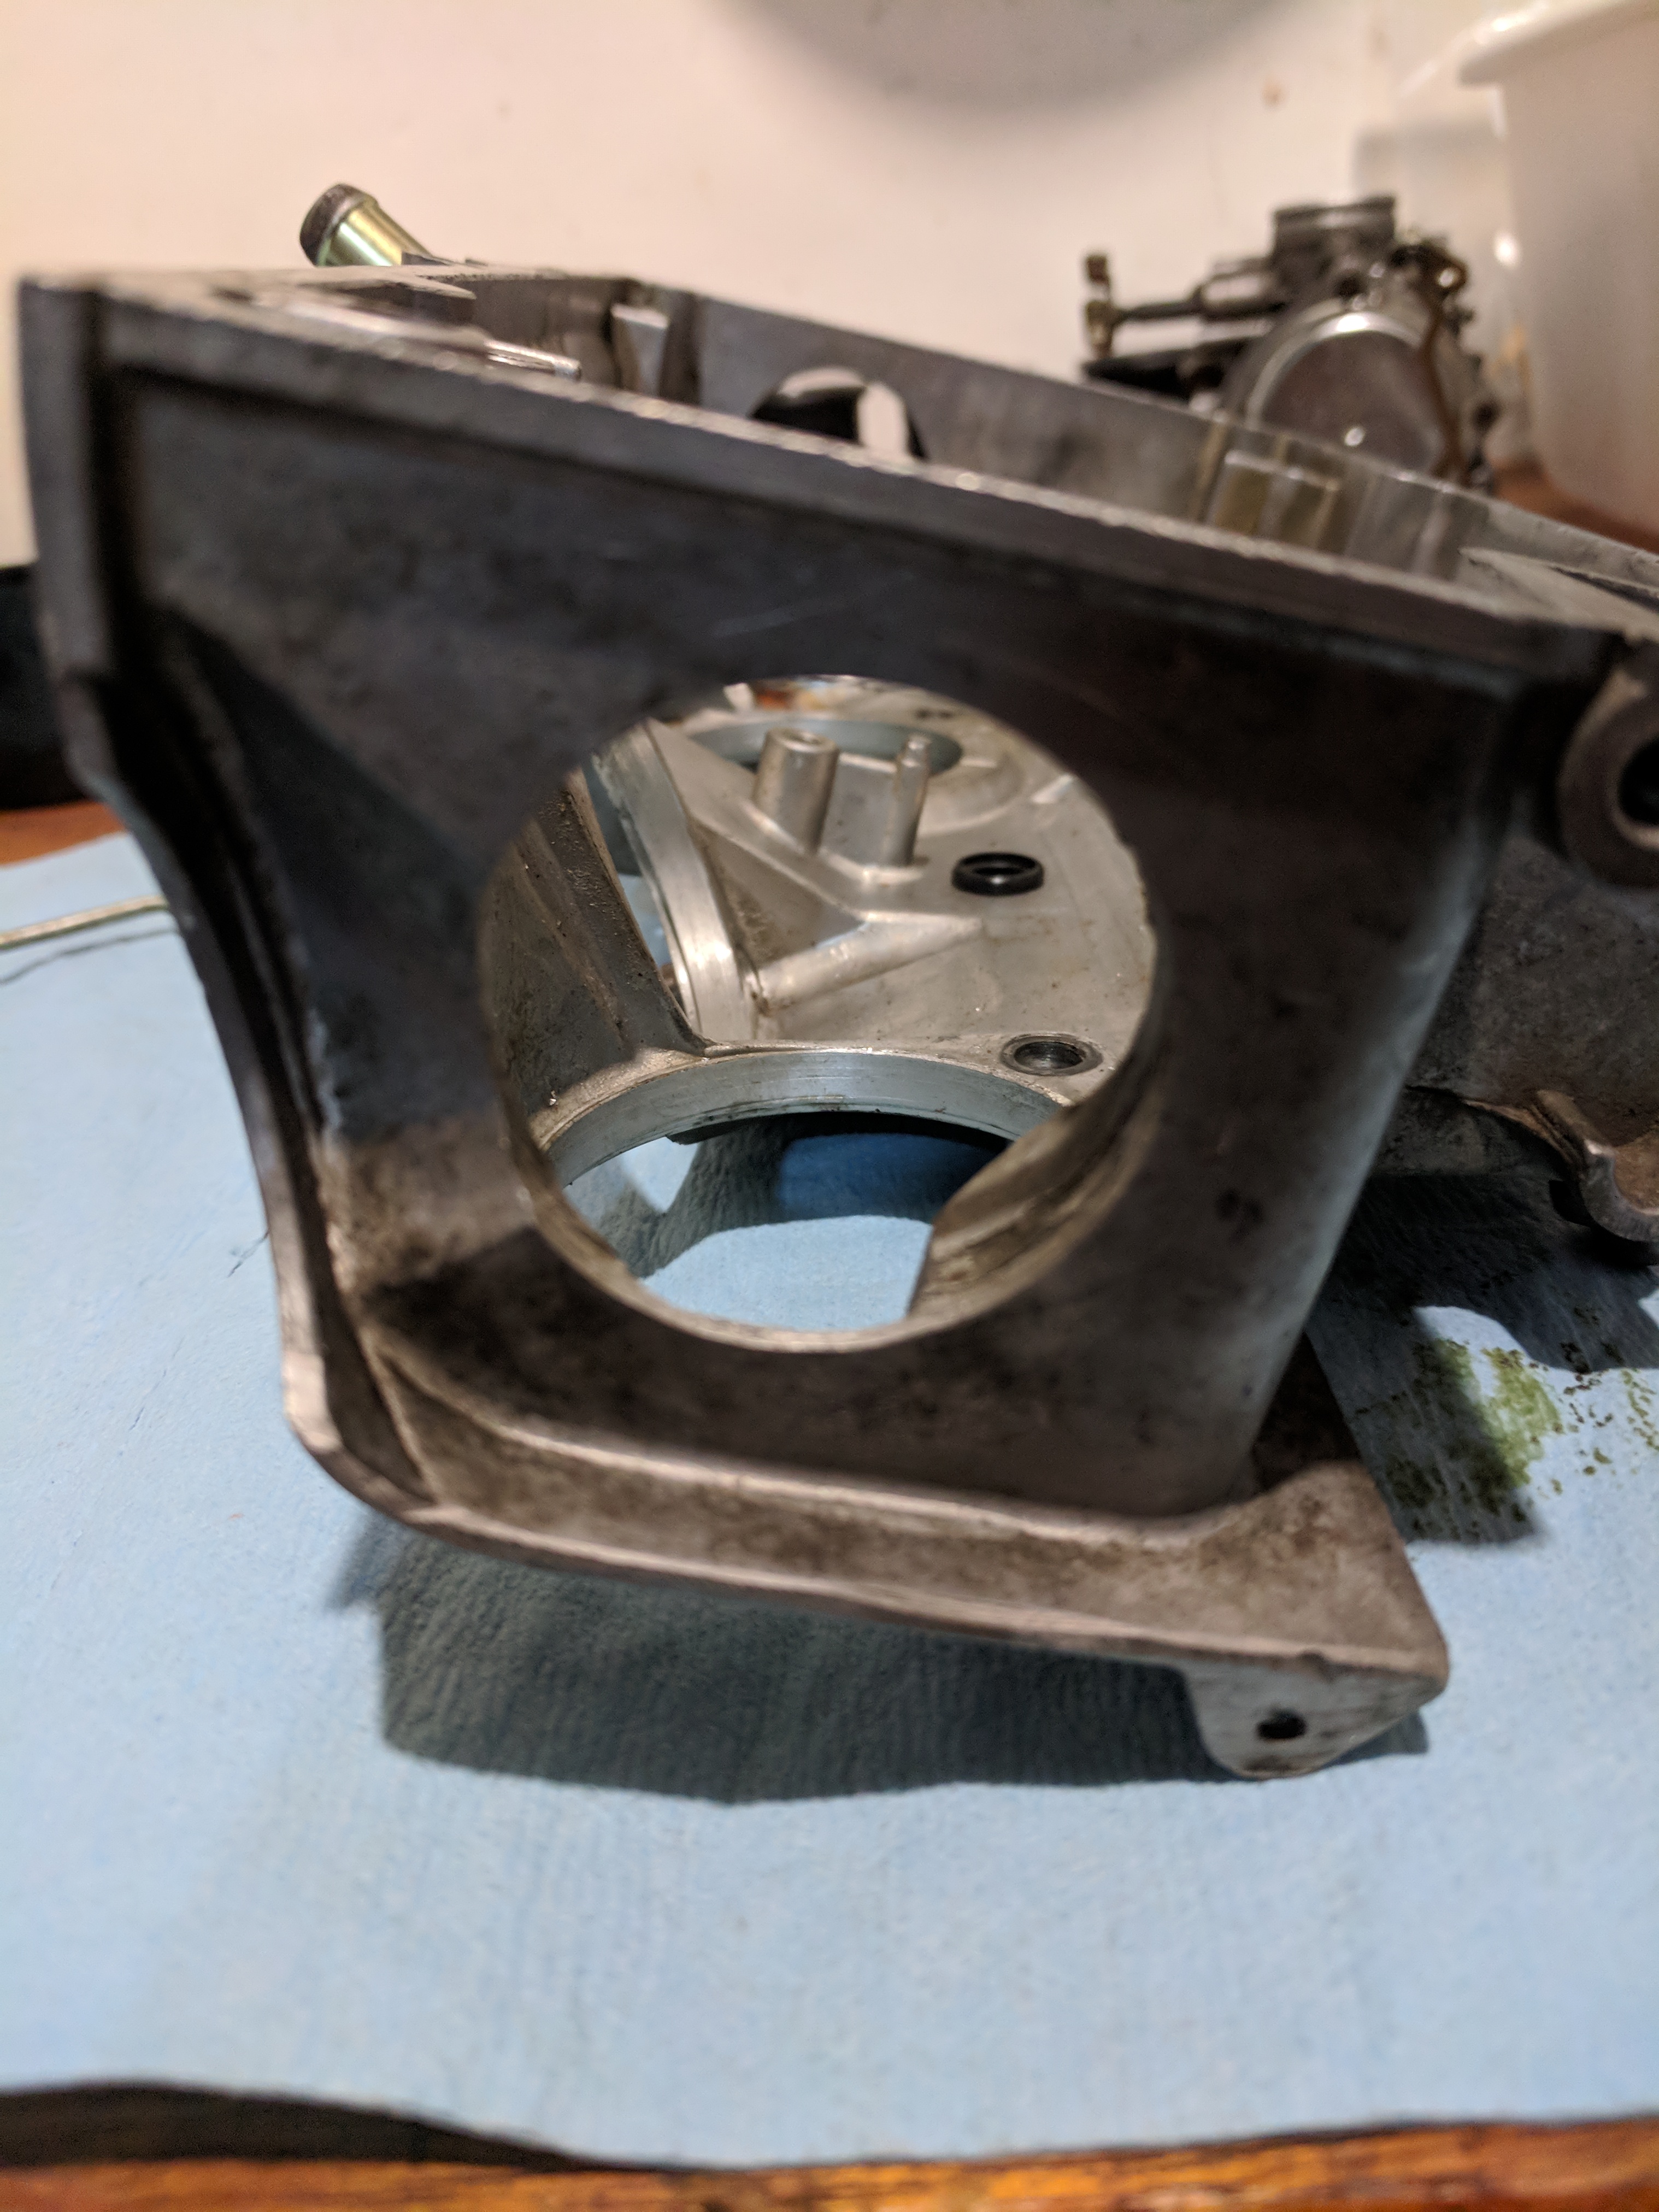
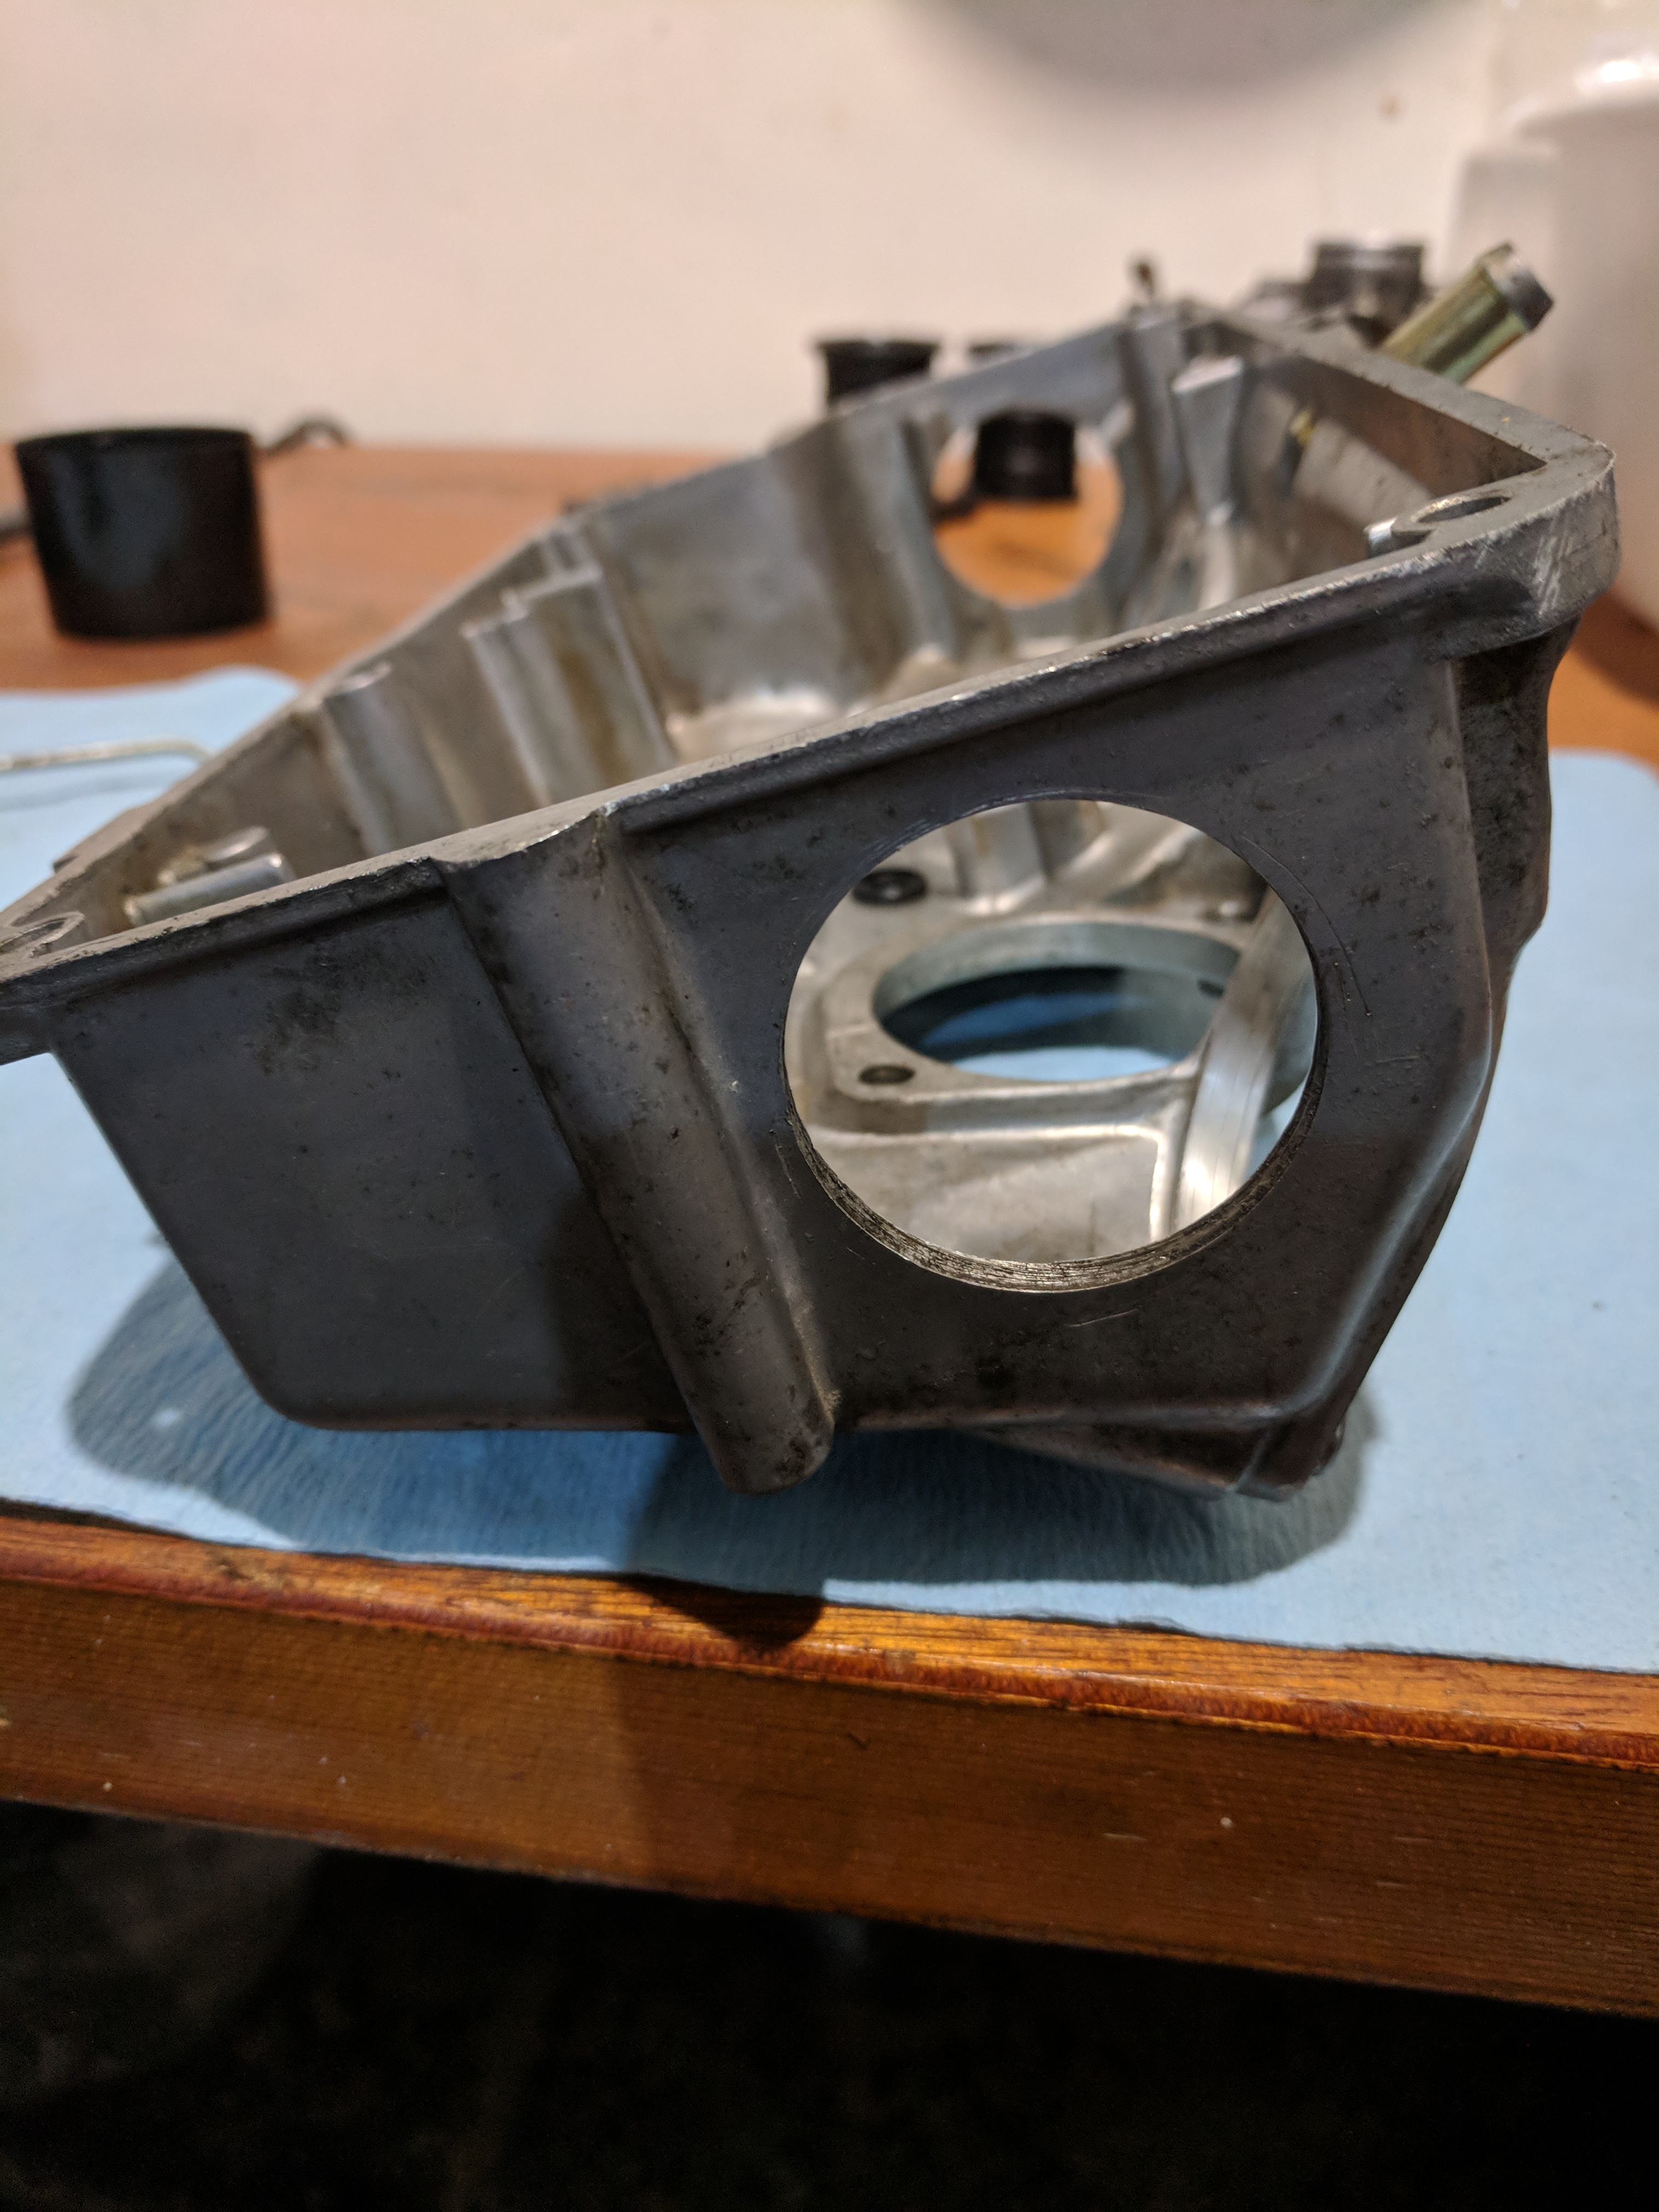
Rubber boots for mounting to the engine
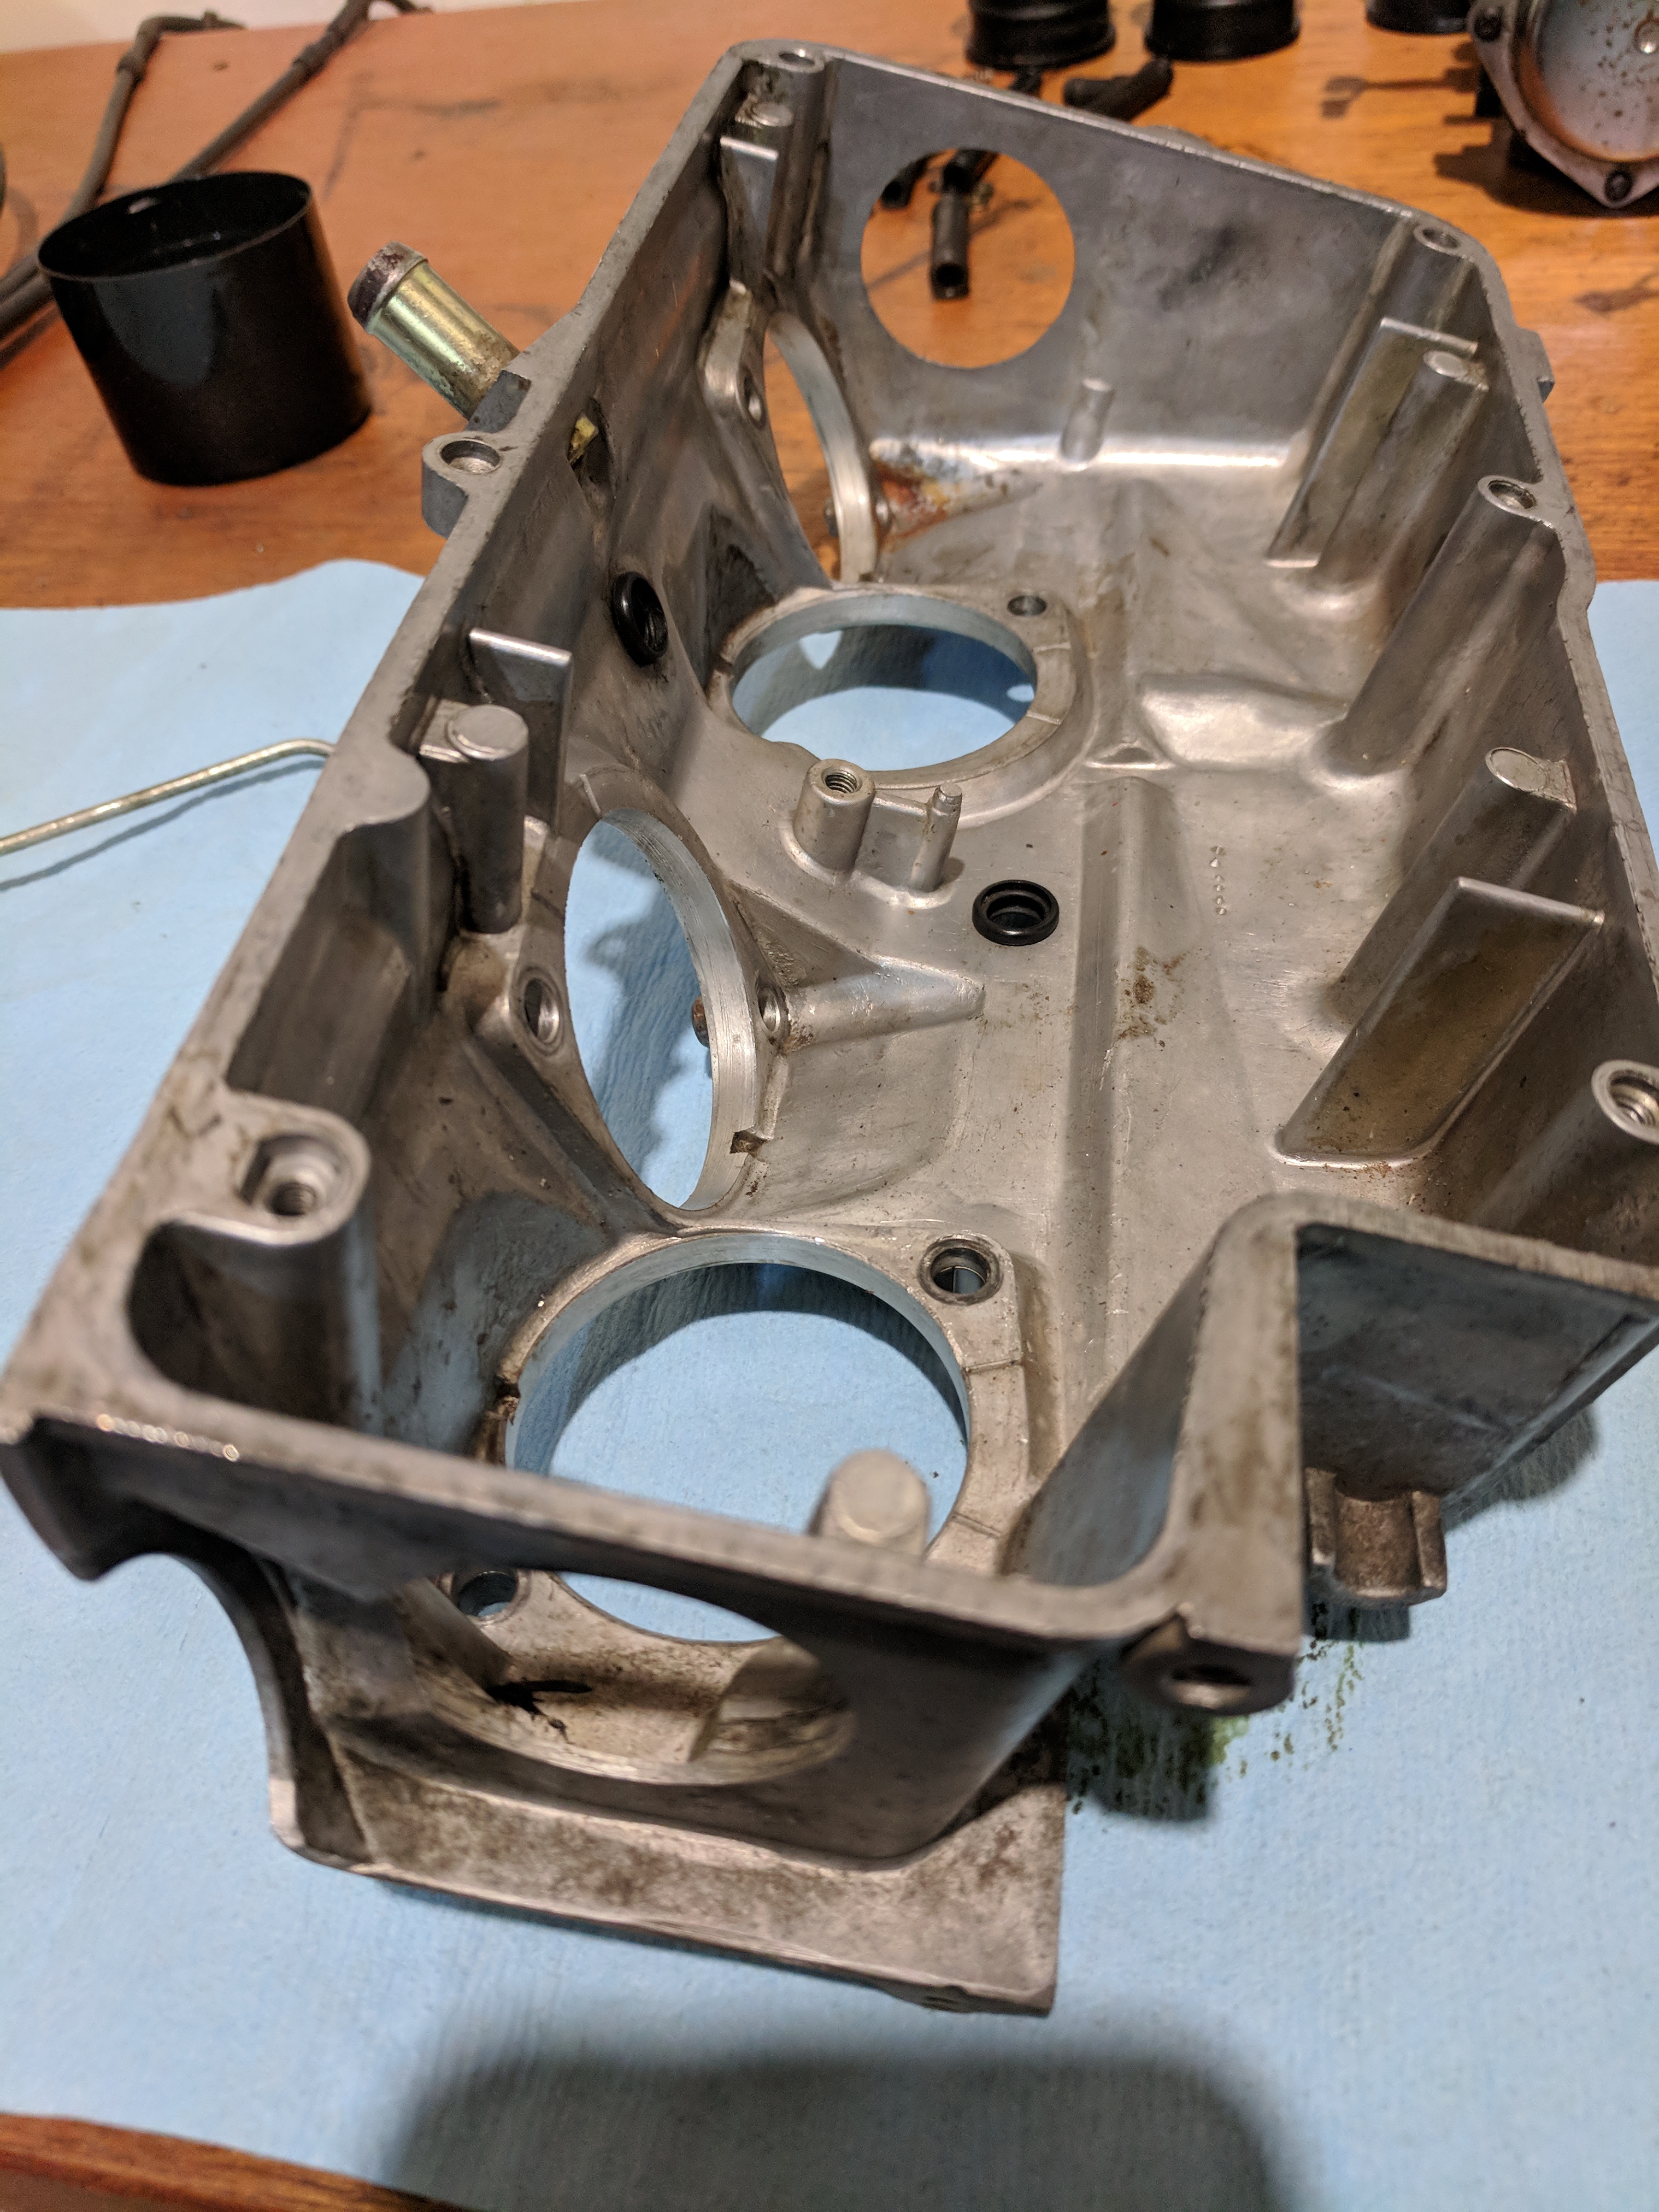
The bottom metal bowl of the air box
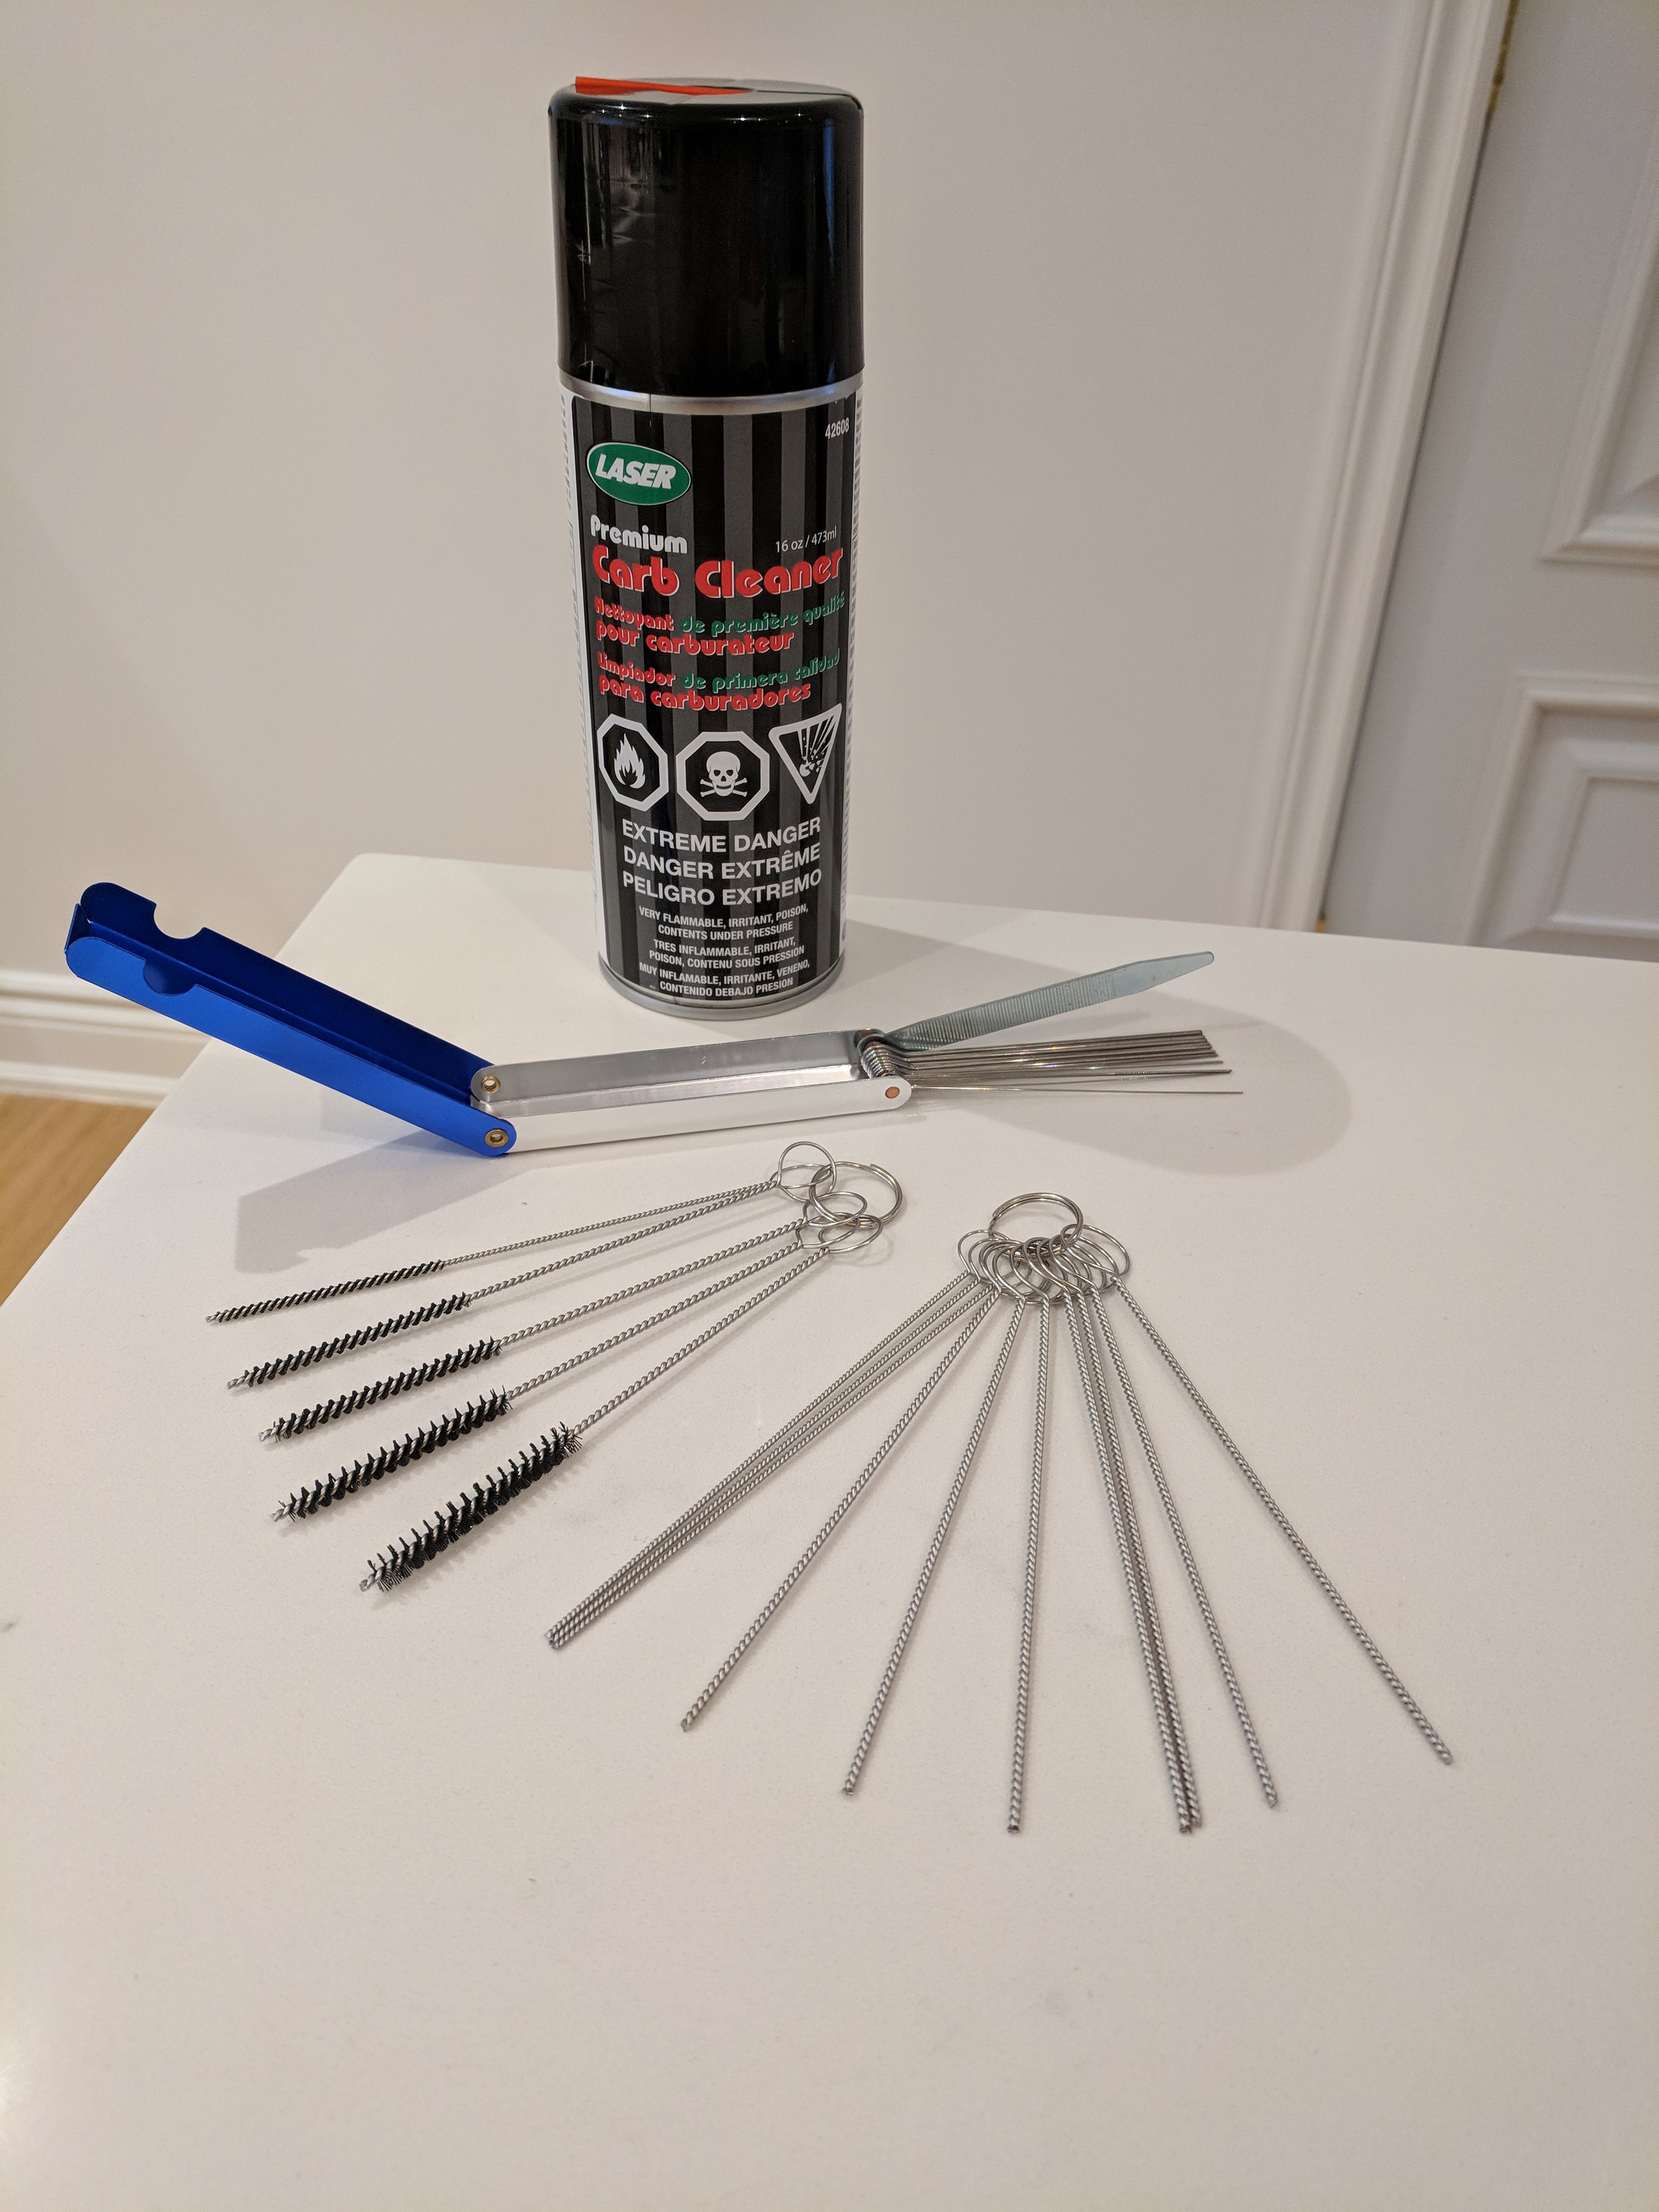
Things all pulled apart i grabbed my cleaning kit, and started scrubbing.
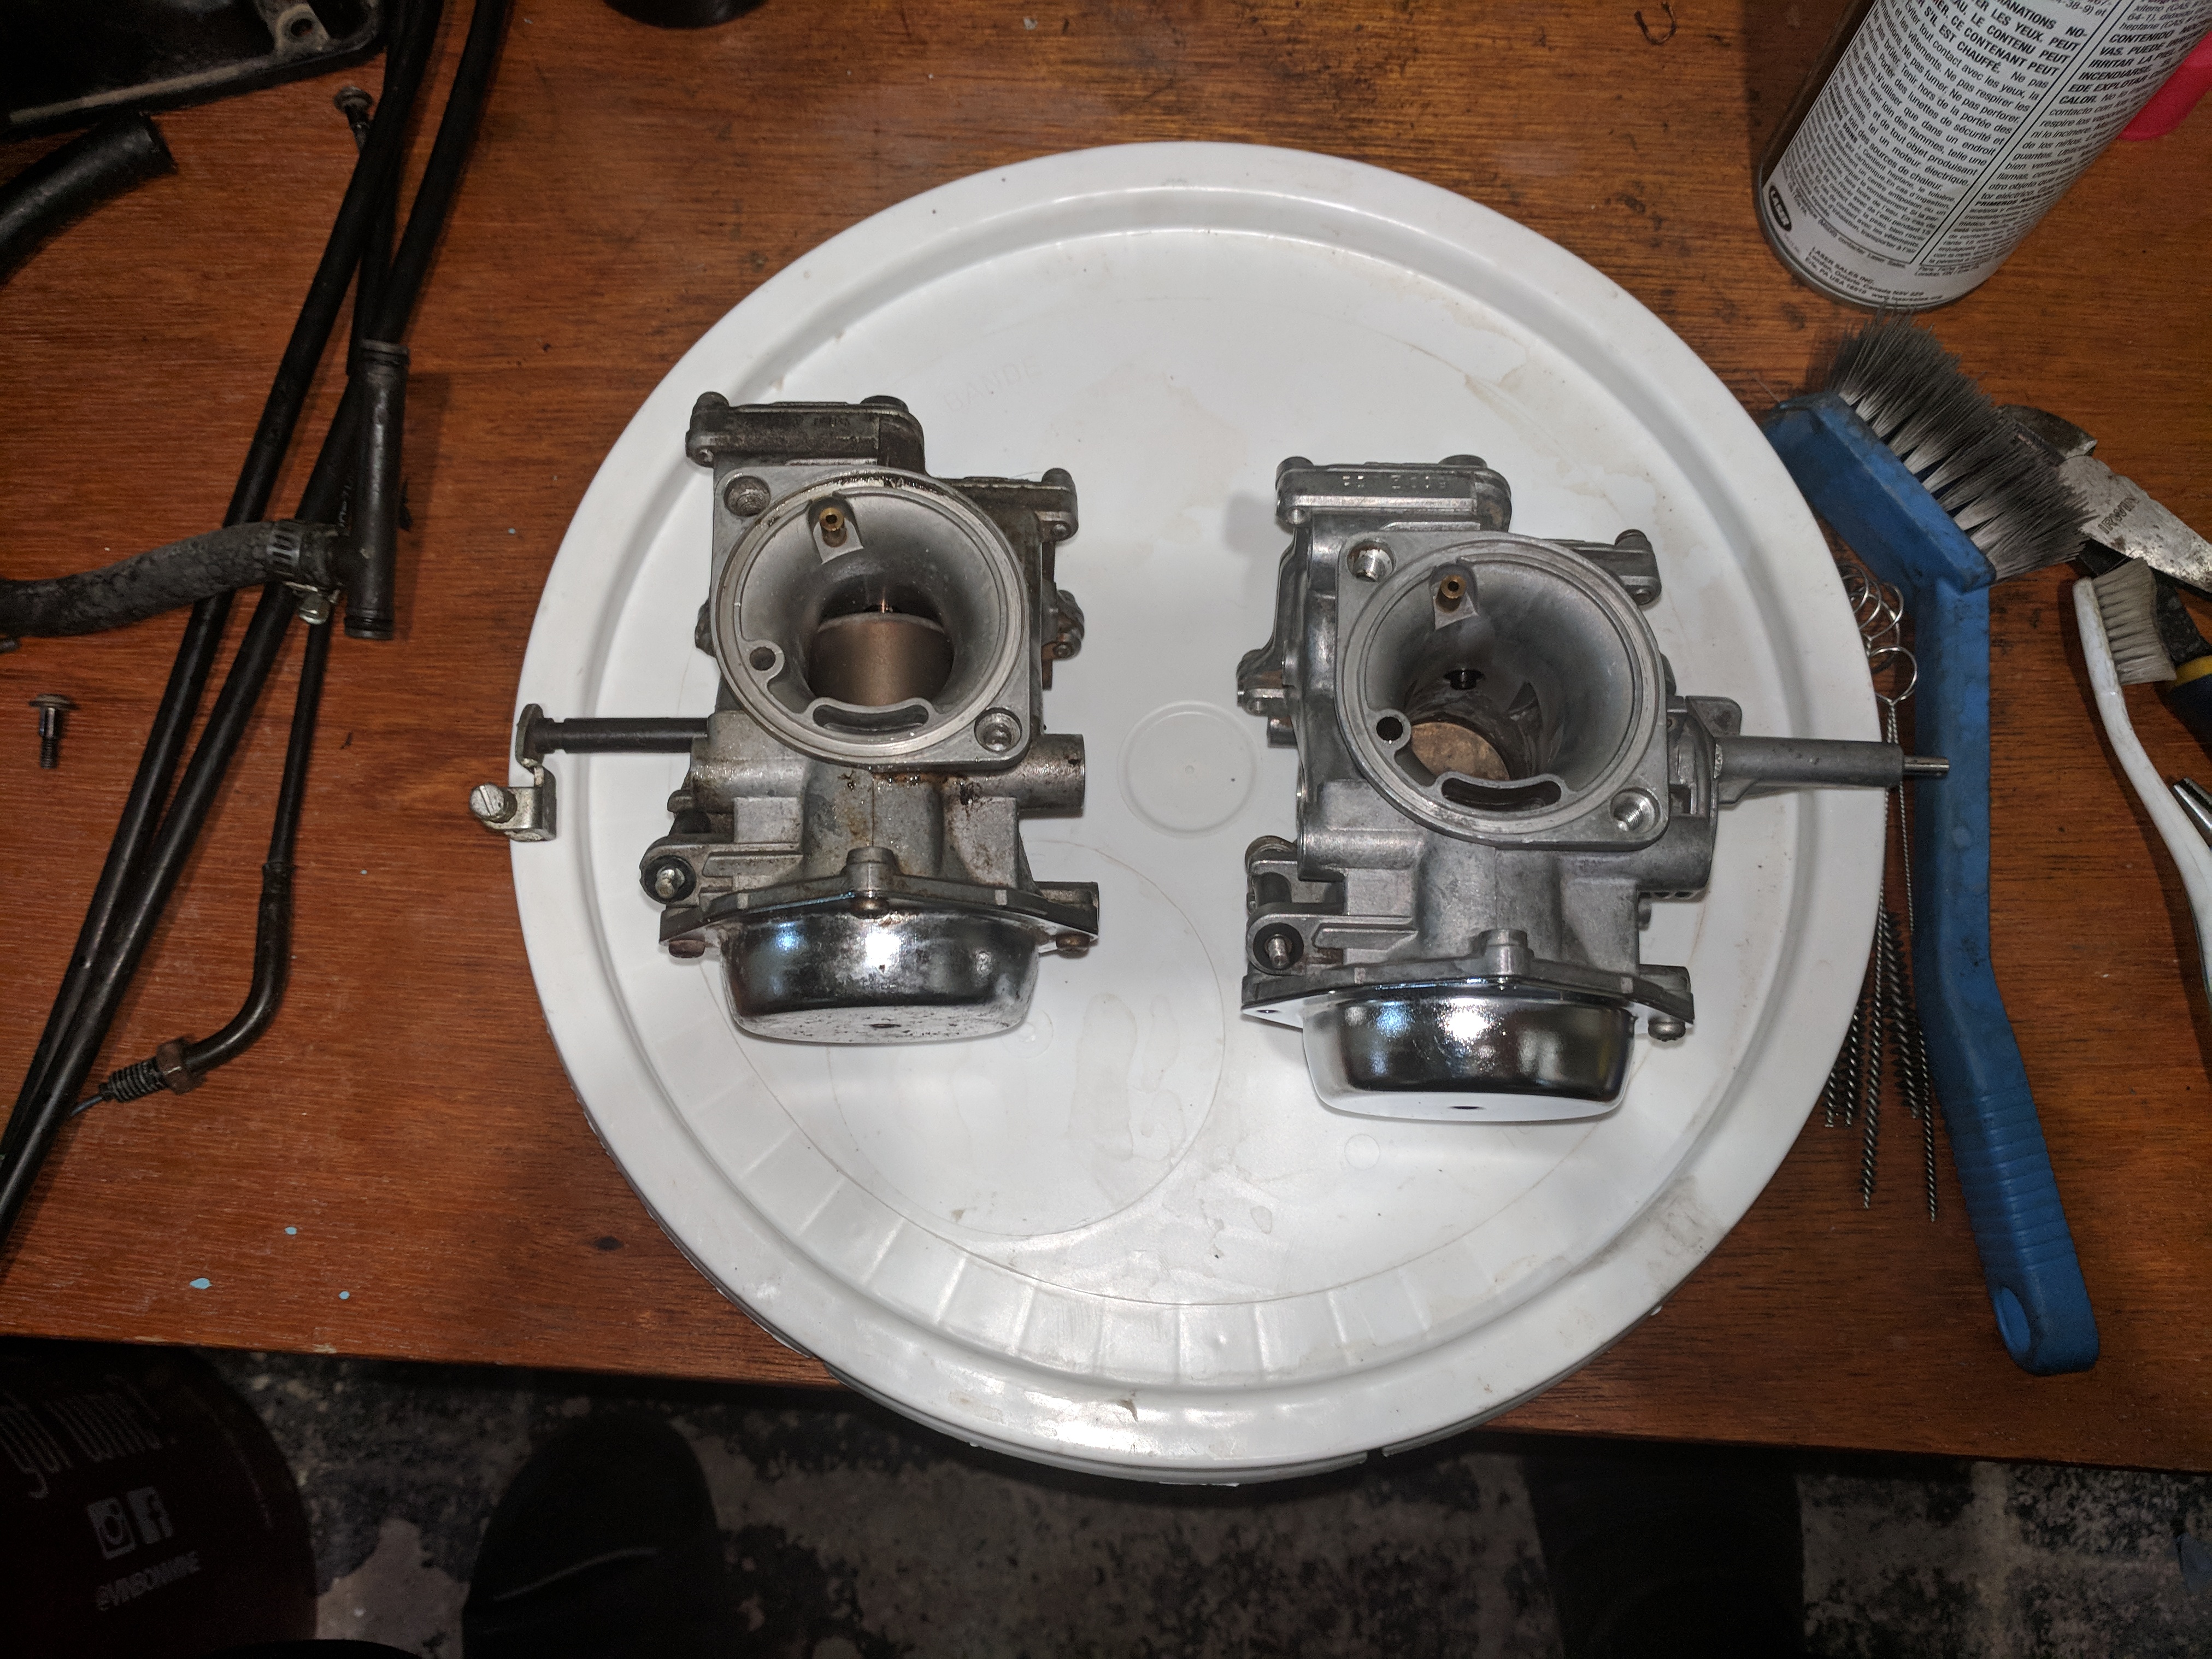
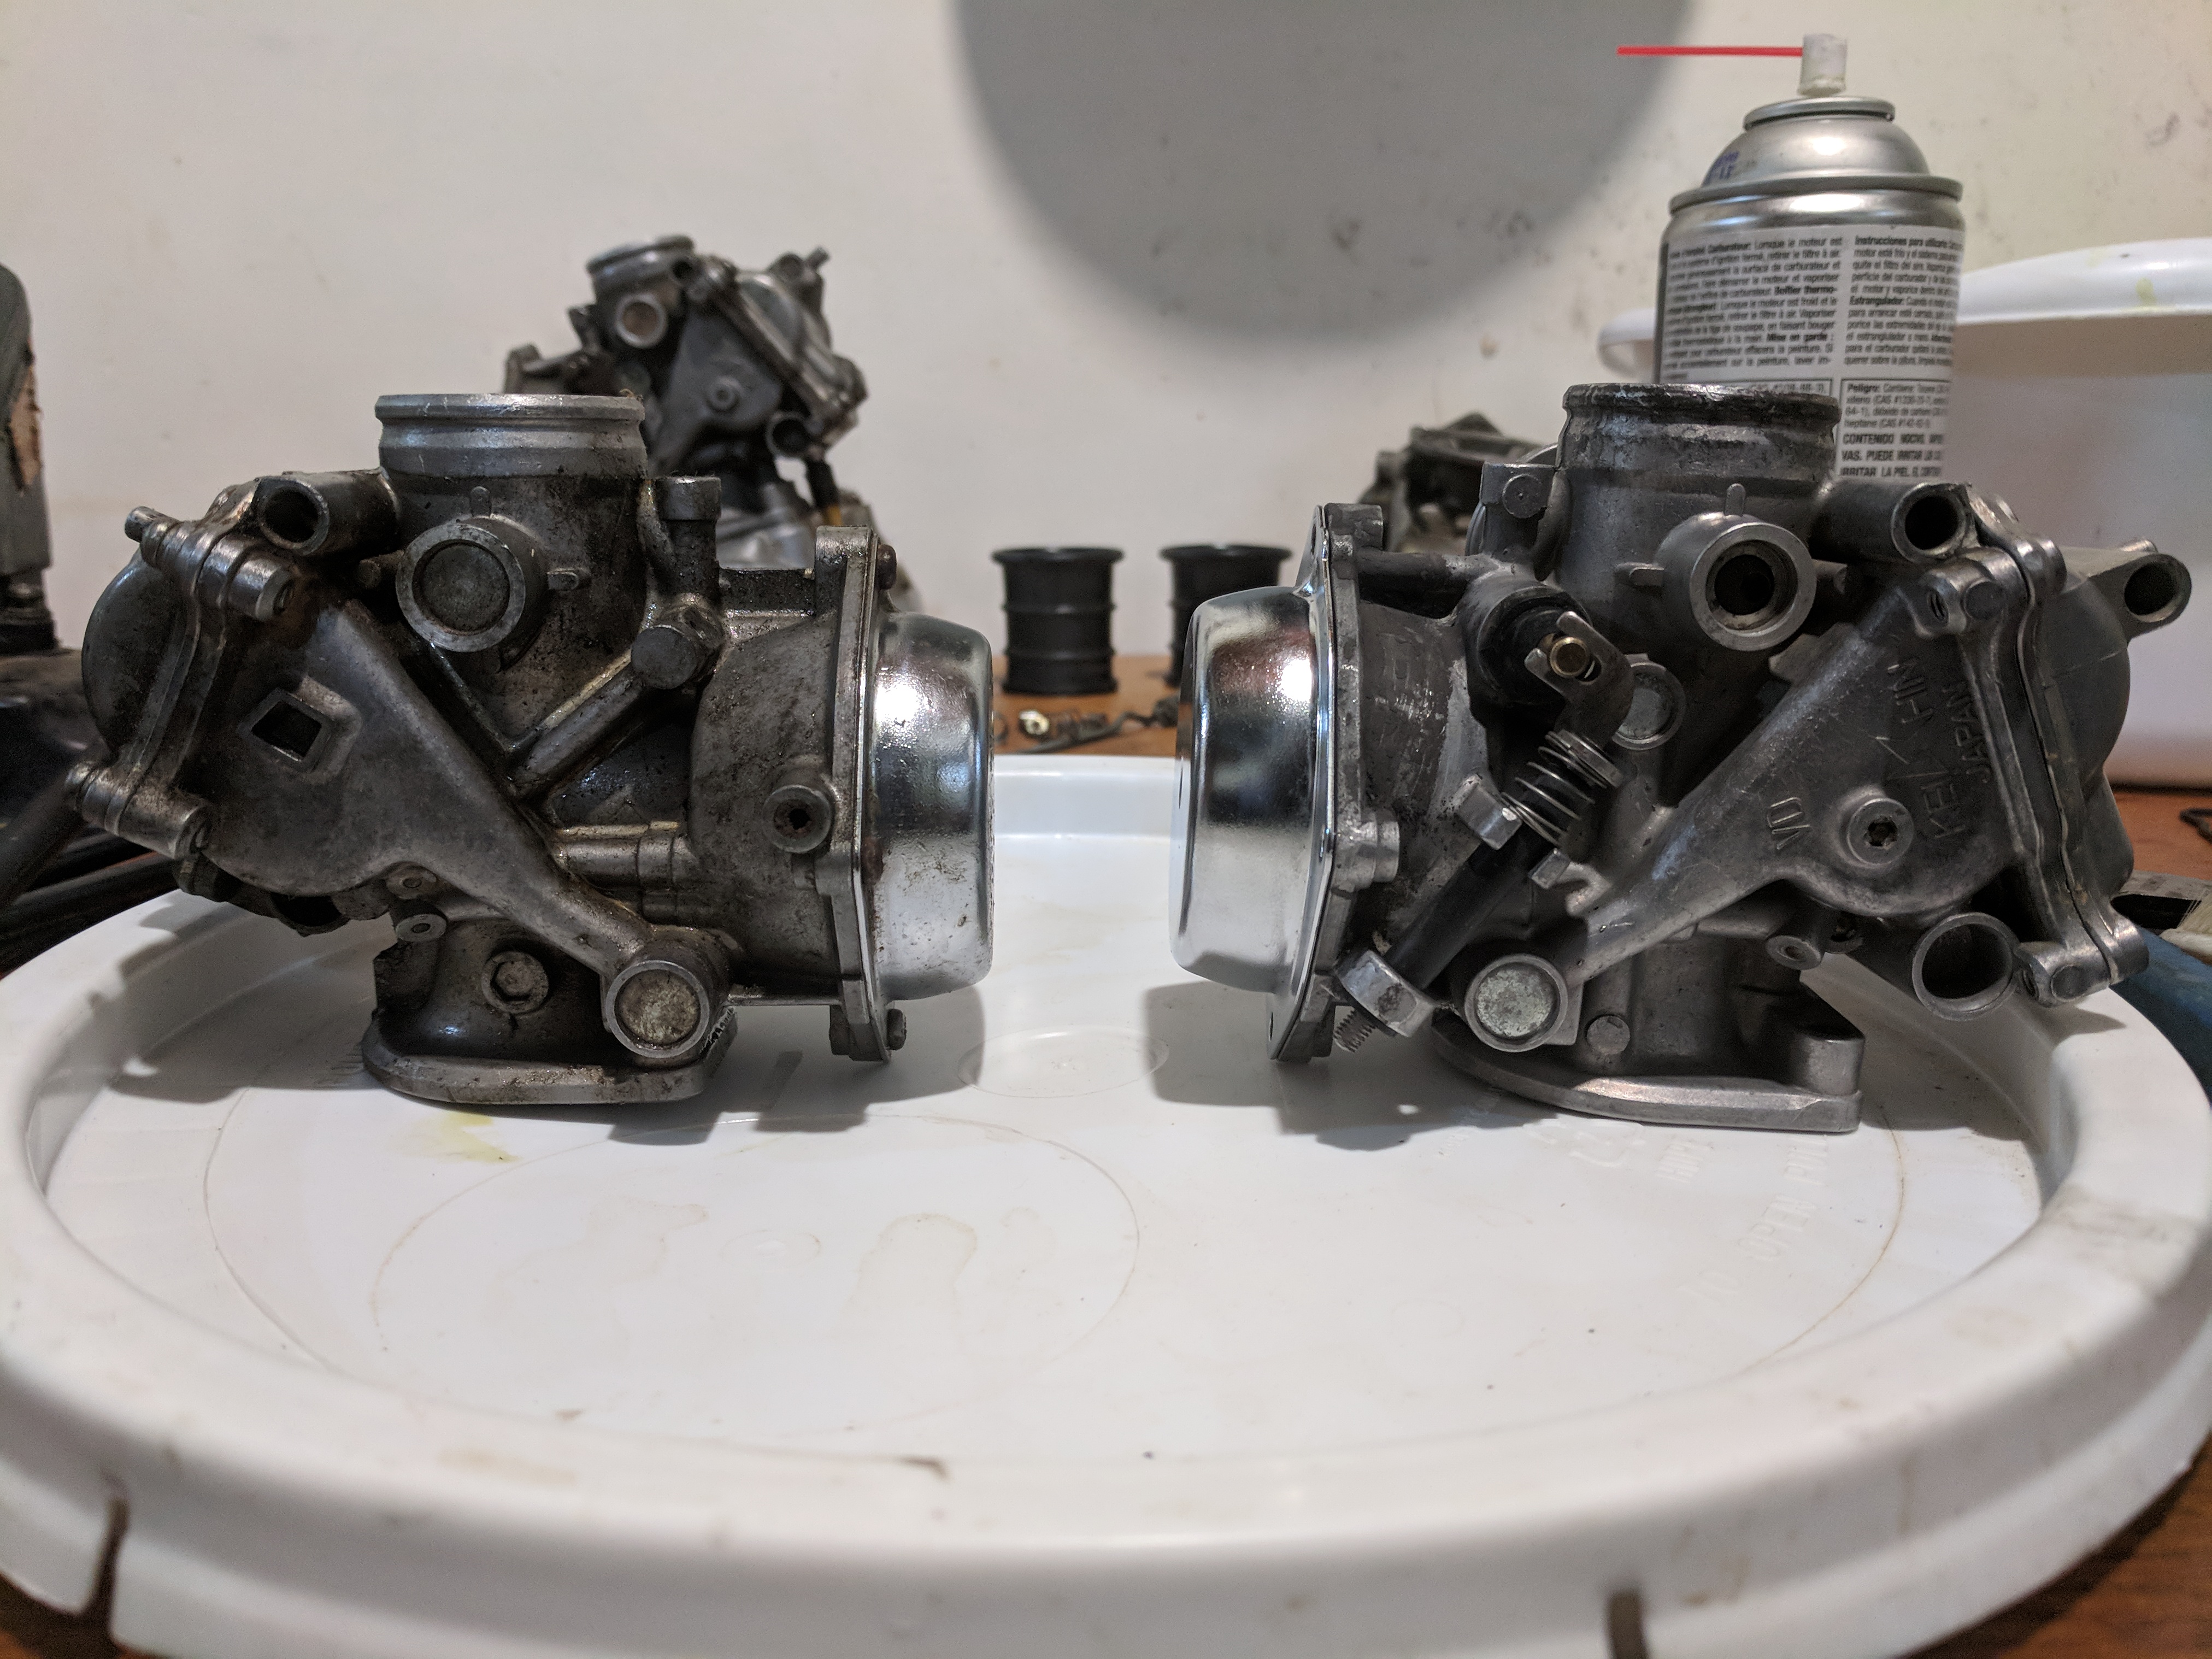
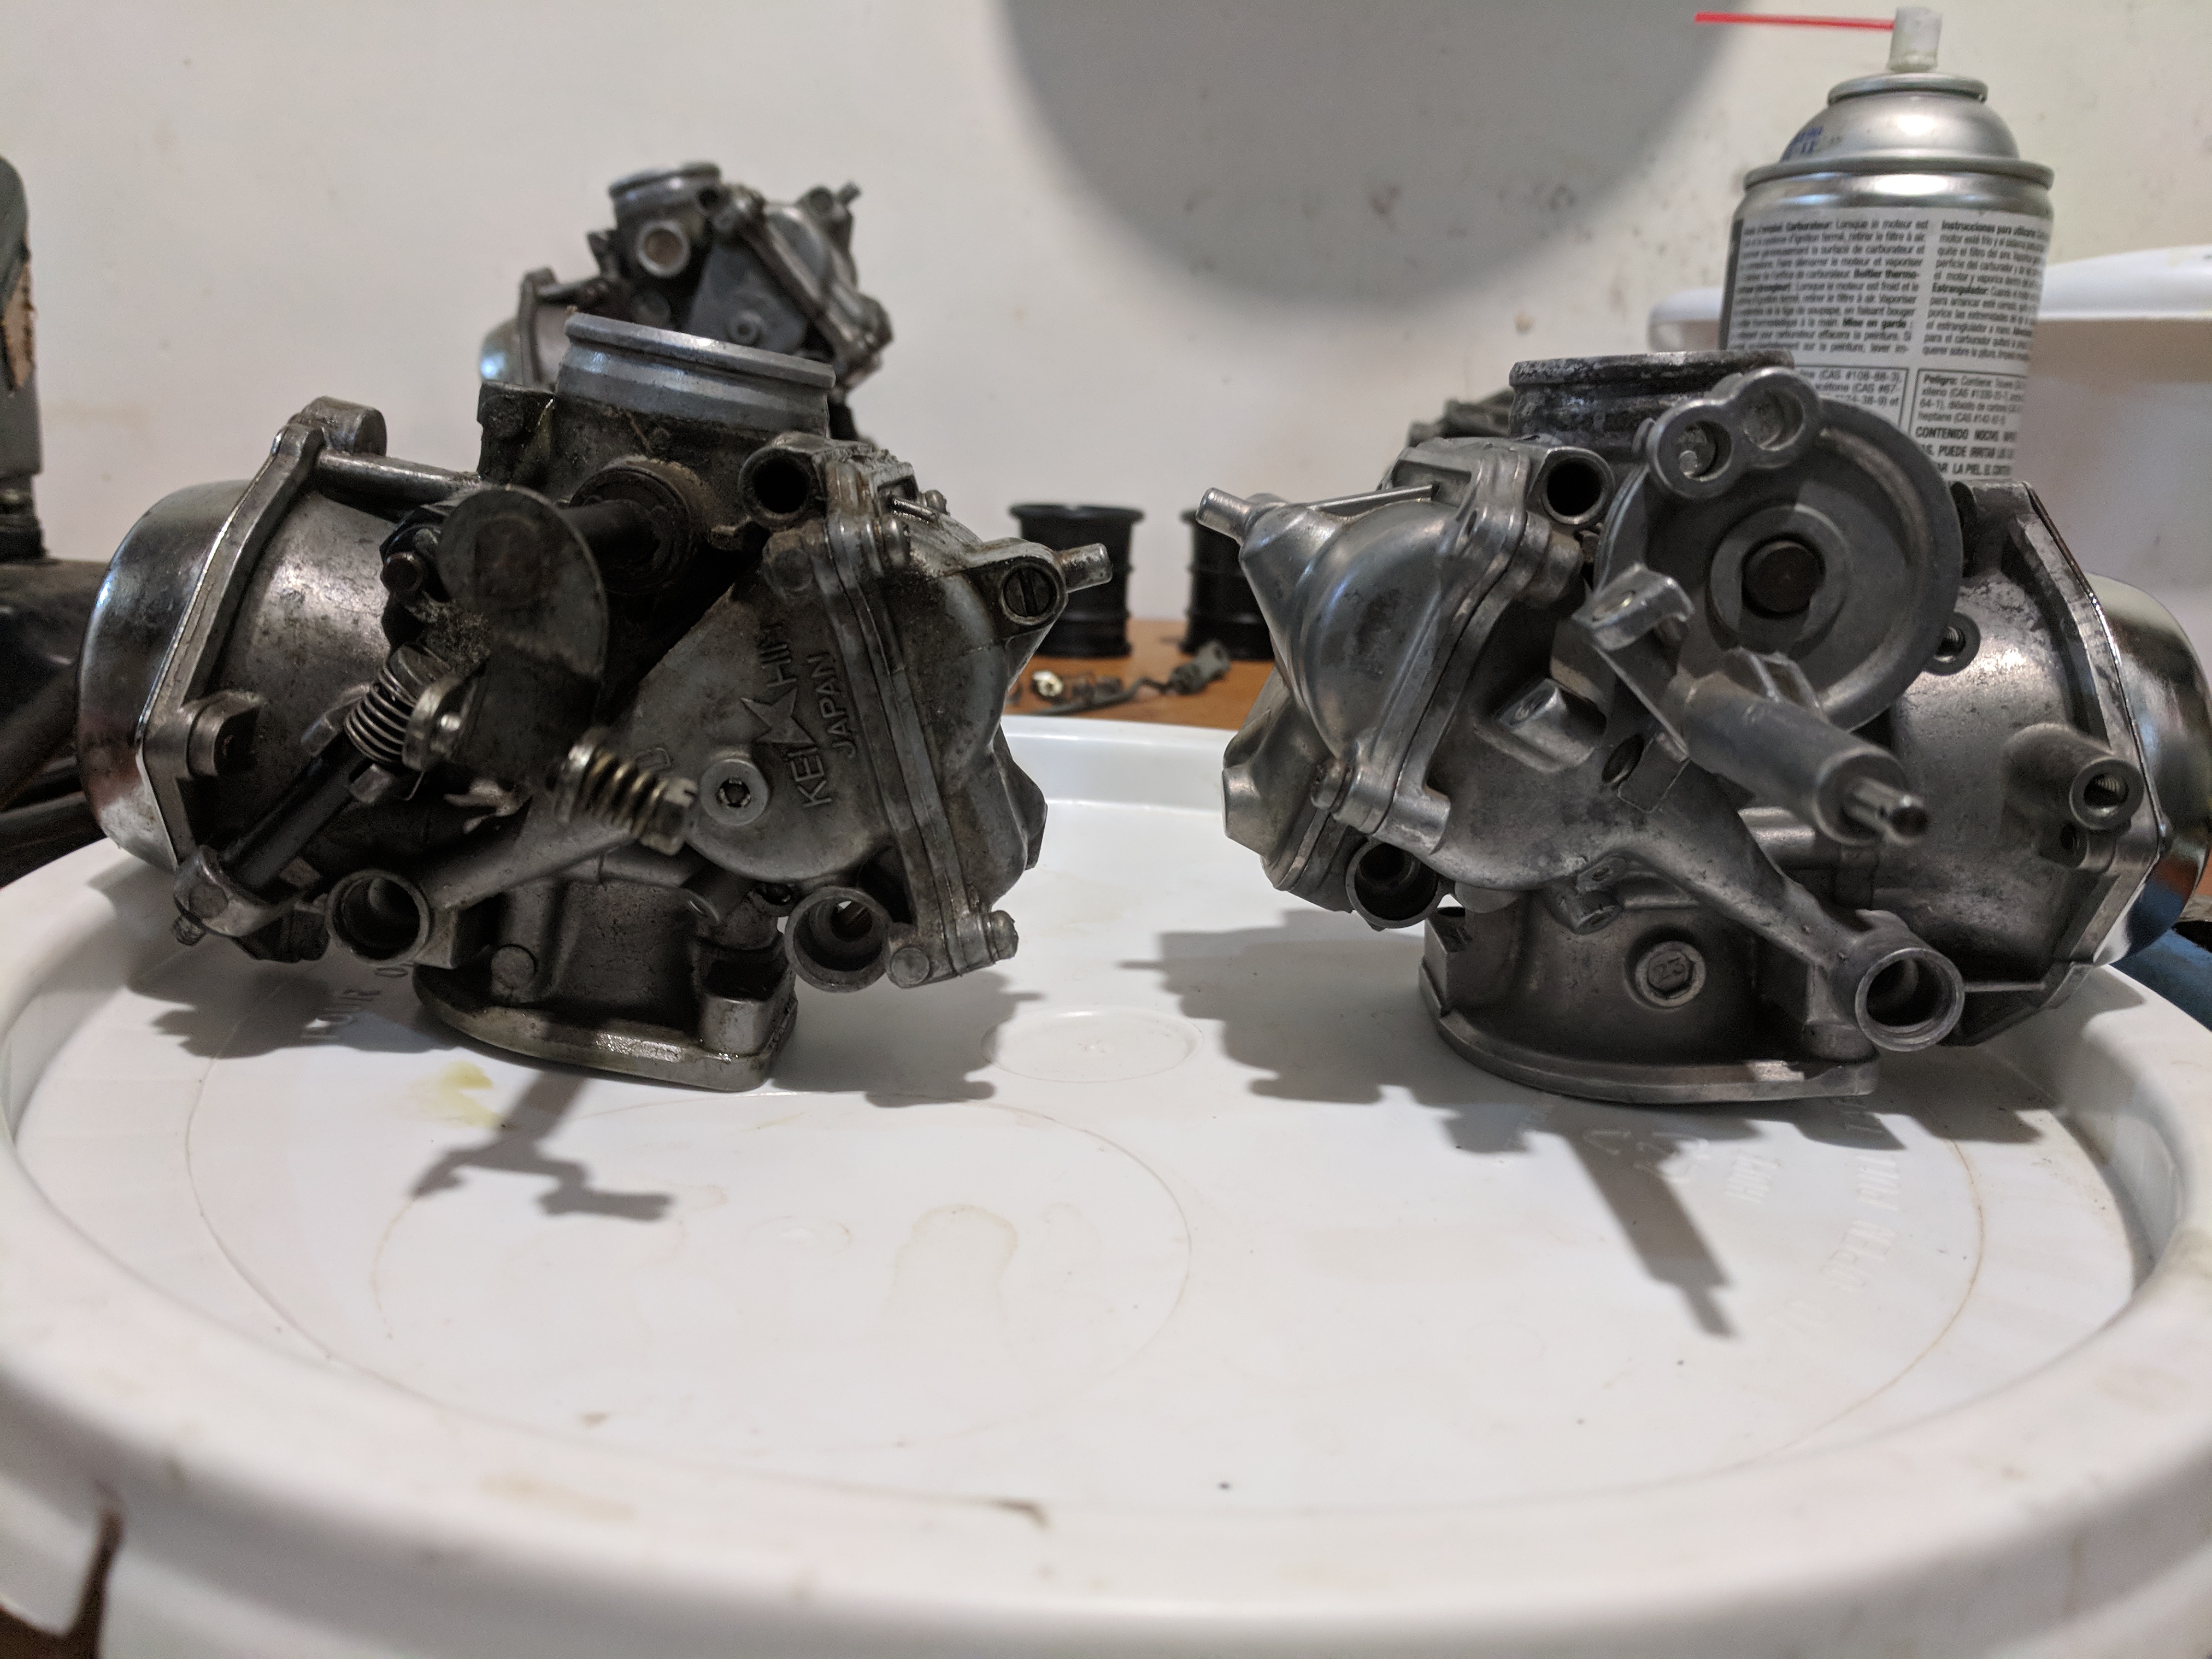
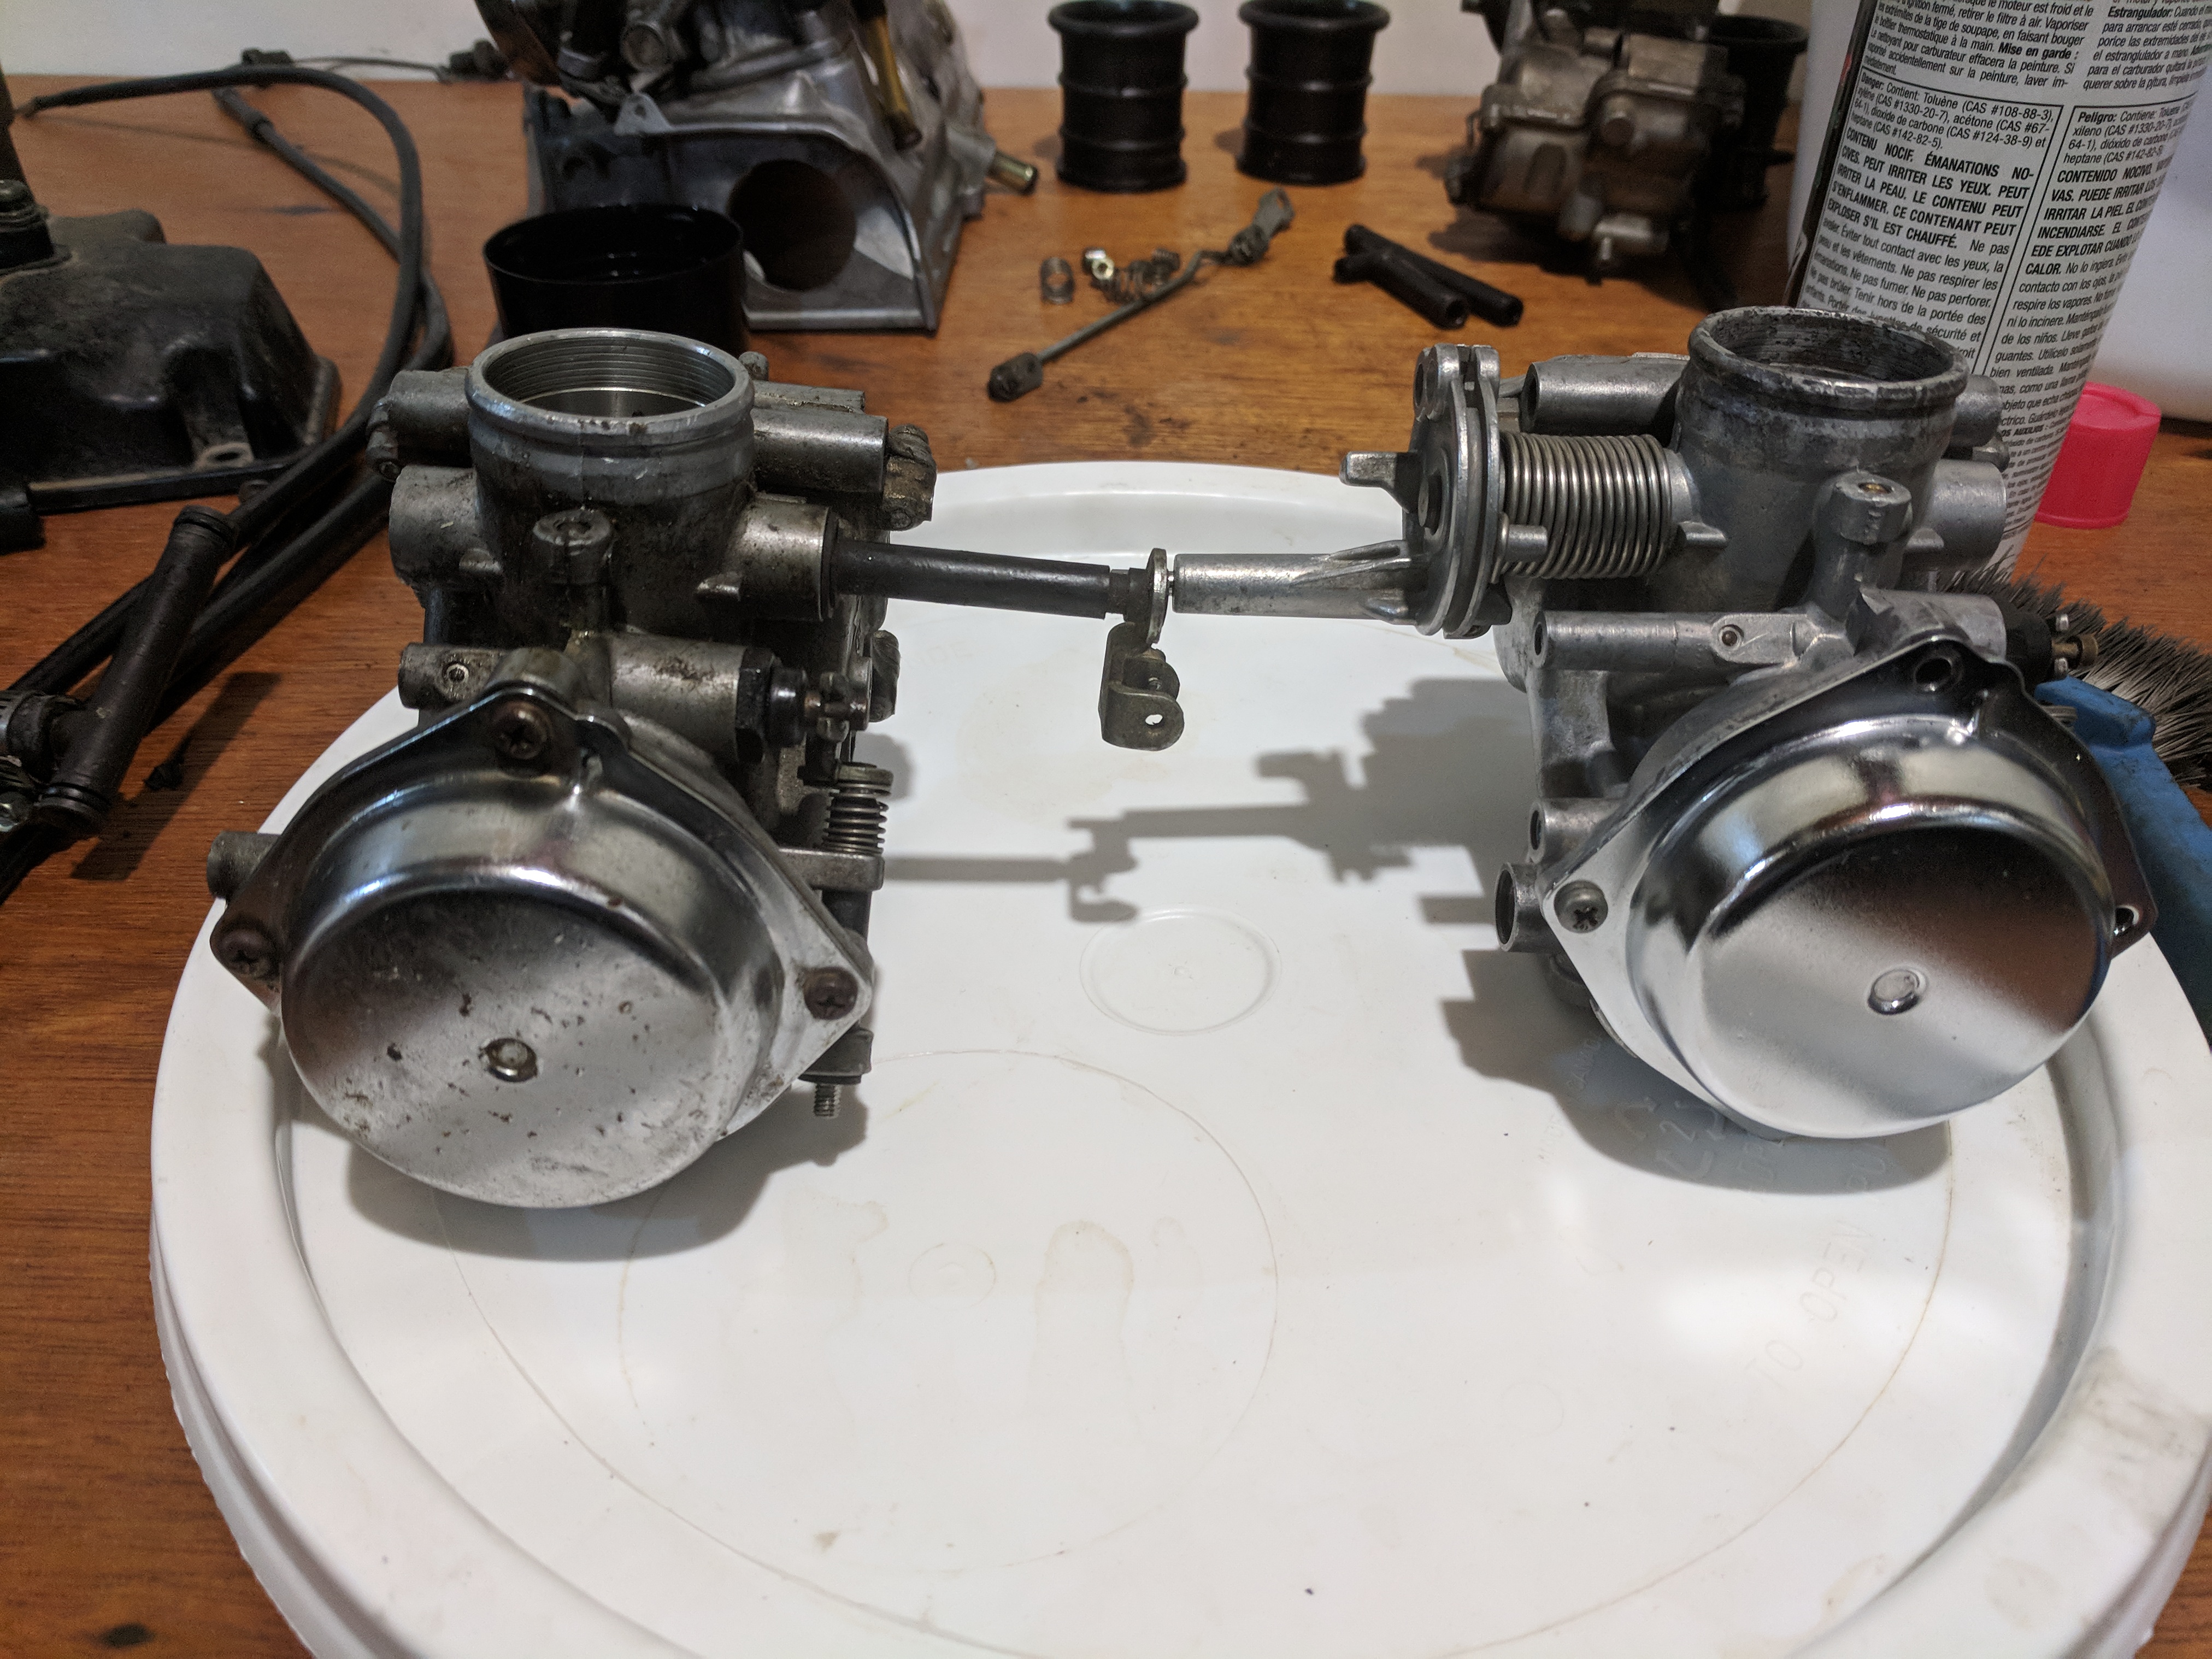
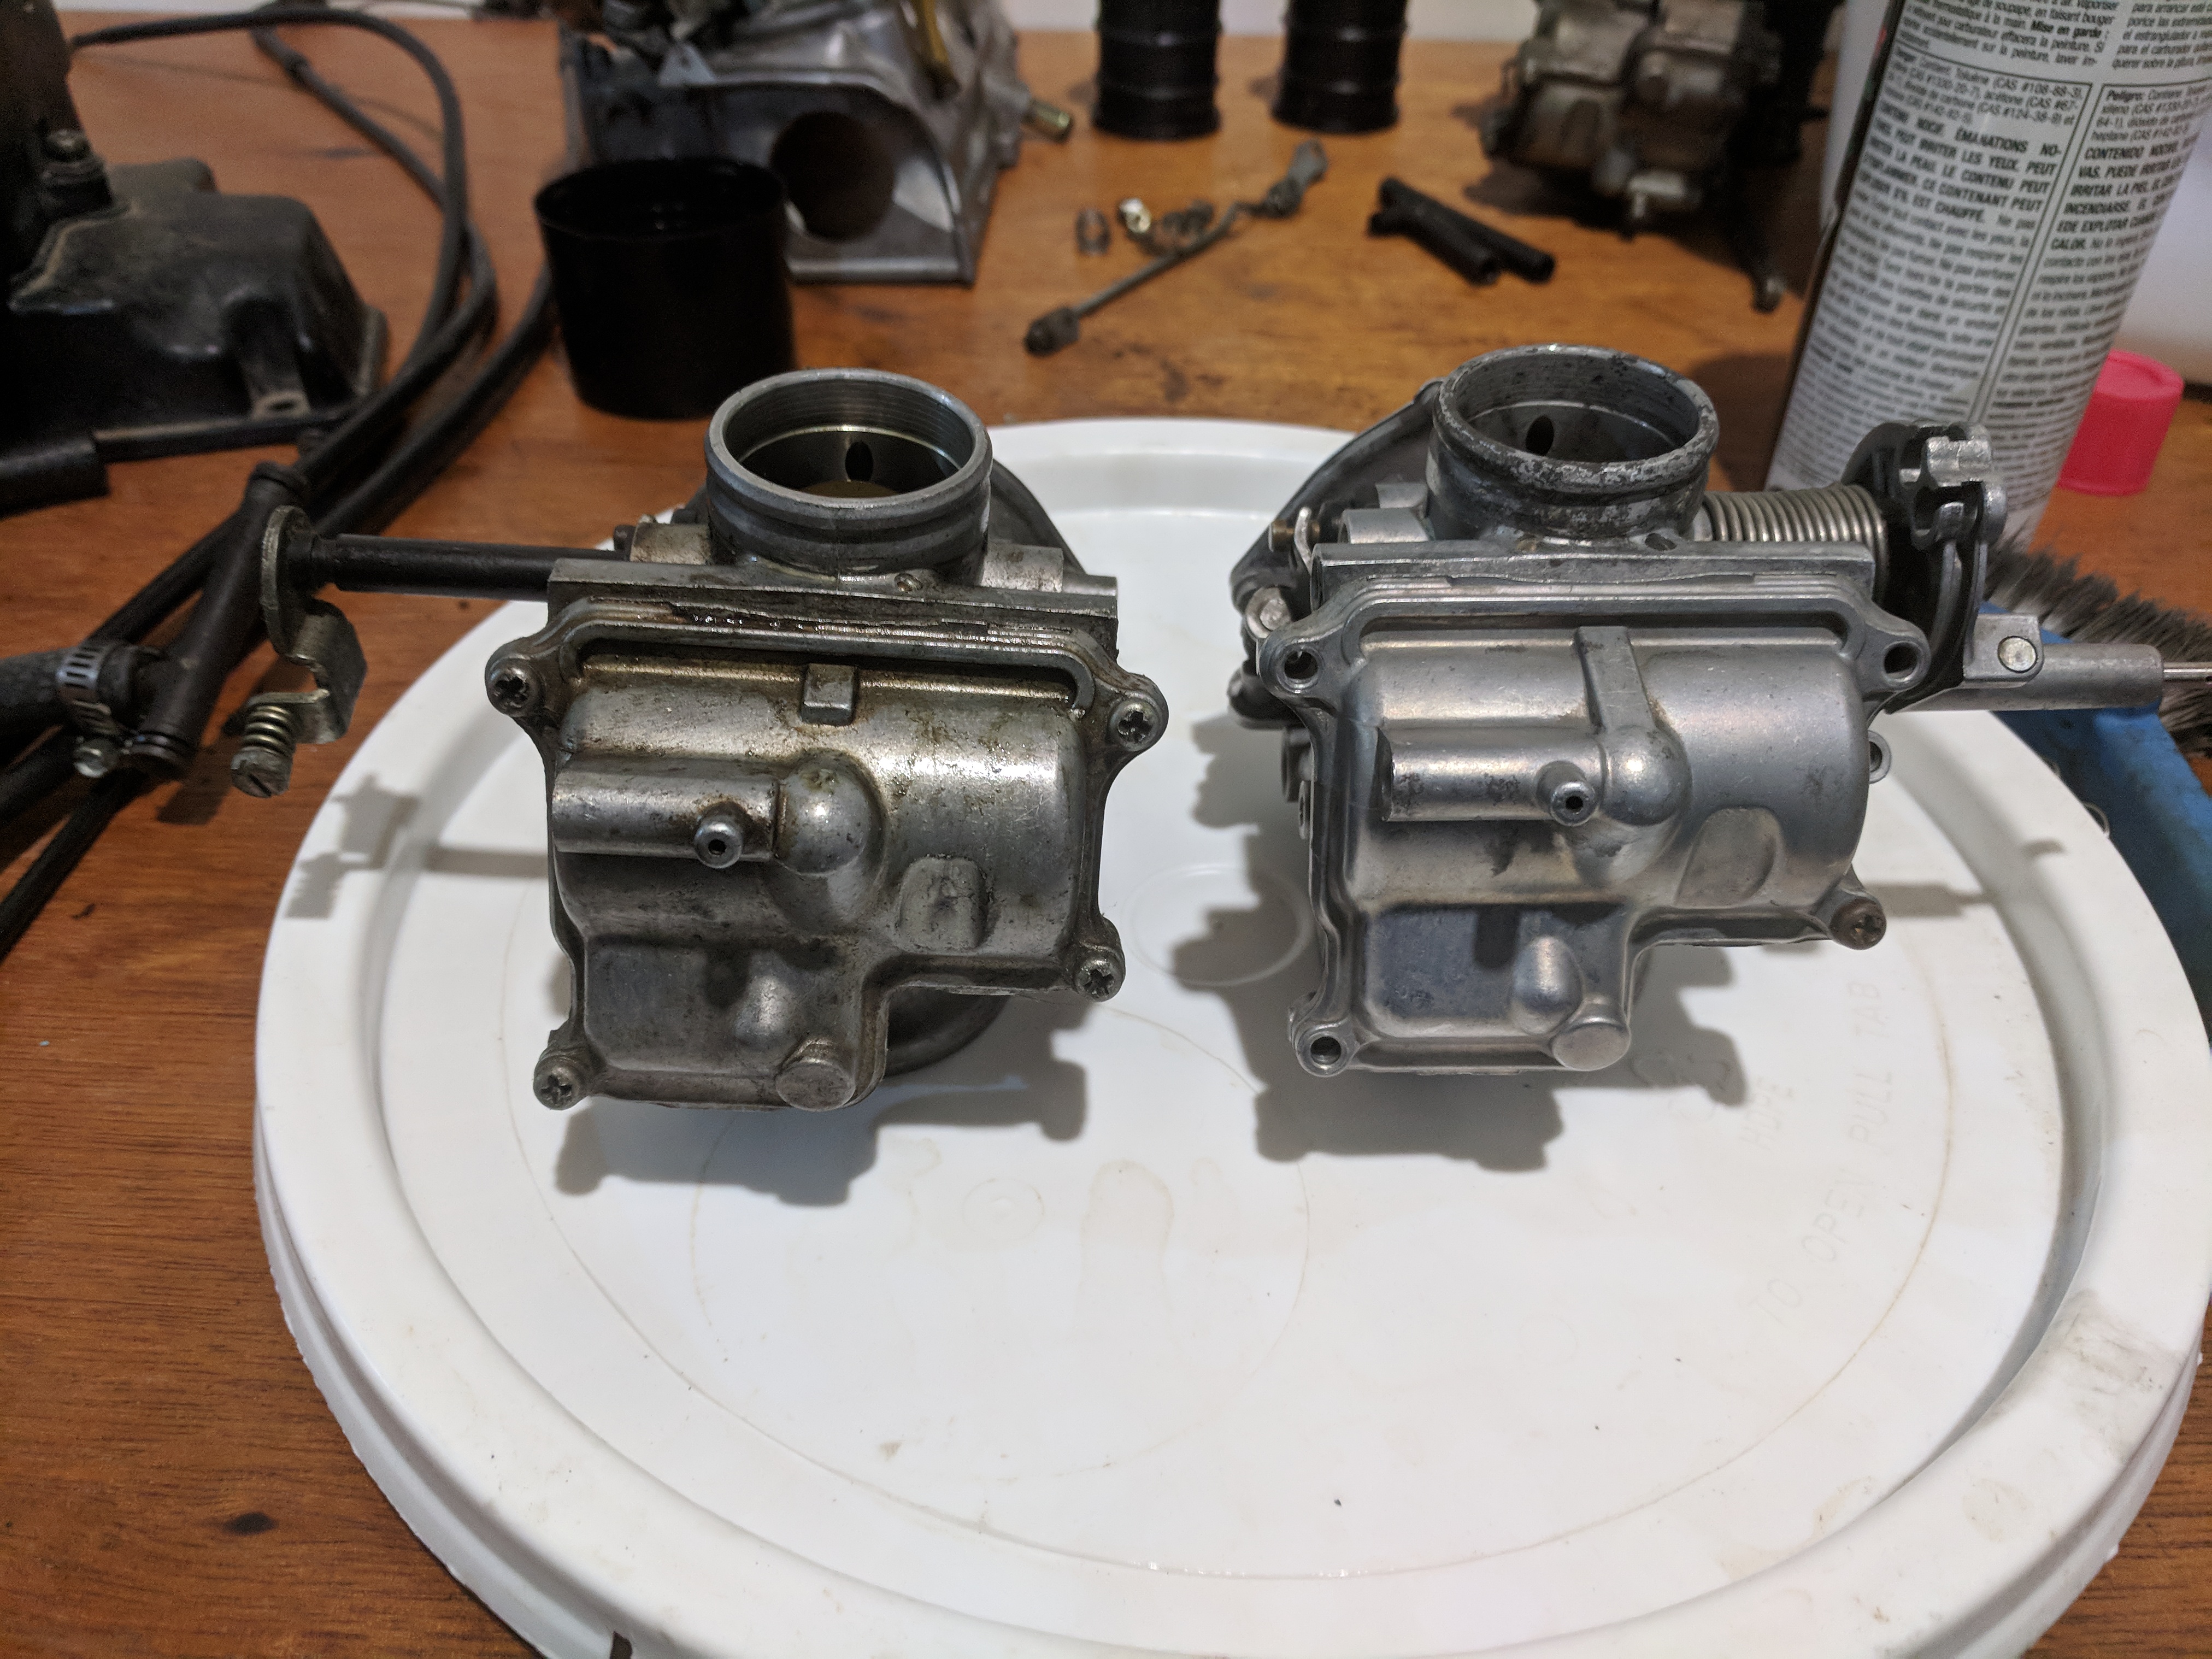
Here is some comparisons of what a relatively clean carburetor looks like next to a dirty one.
In conclusion, these things are not as scary complicated as one might think. Having the right tools, time, and not minding smelling like gasoline for 3 days, will make the process of cleaning you carbs quite enjoyable. One thing I did realize is that I still have no idea on what all the little passageways and other brass bits that I haven't figured out how to remove actually do. I do plan on doing some research and posting a tutorial with some Lore on these things. Make sure to check that out when it becomes available.