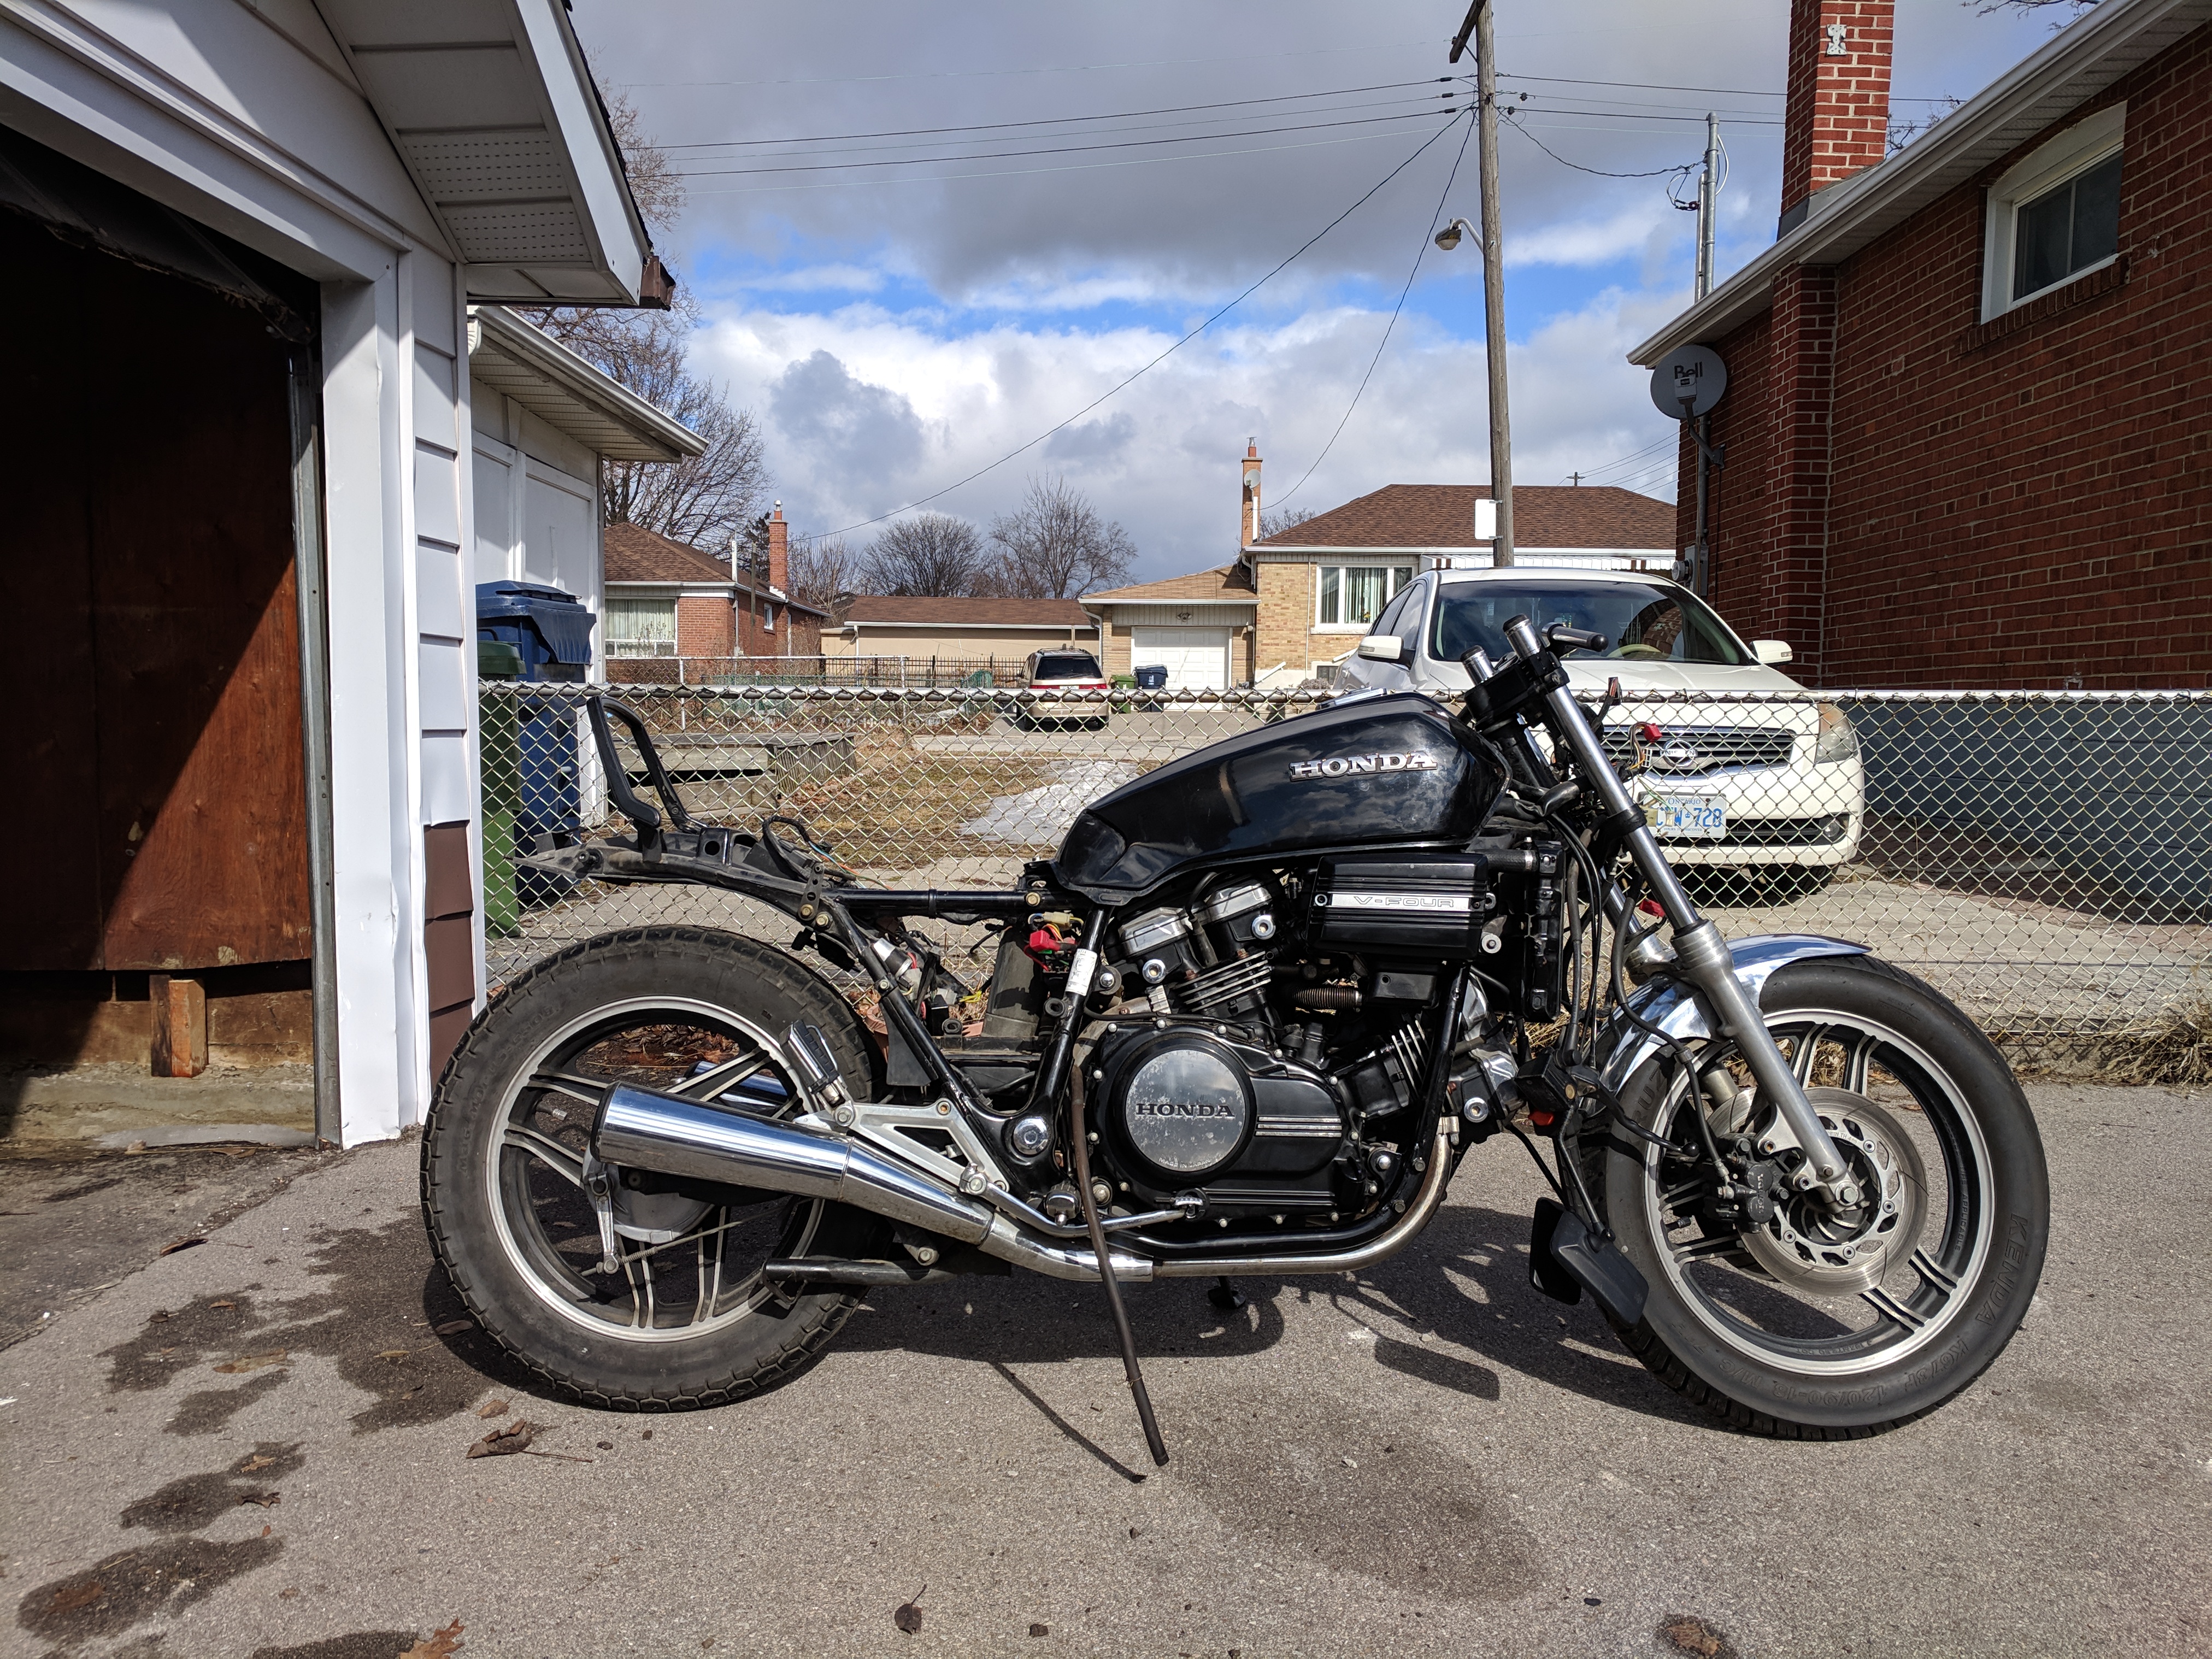
With the winter done I am finally able to focus on the build again. I got the bike setup and started on my journey to install the clip-on handlebars.
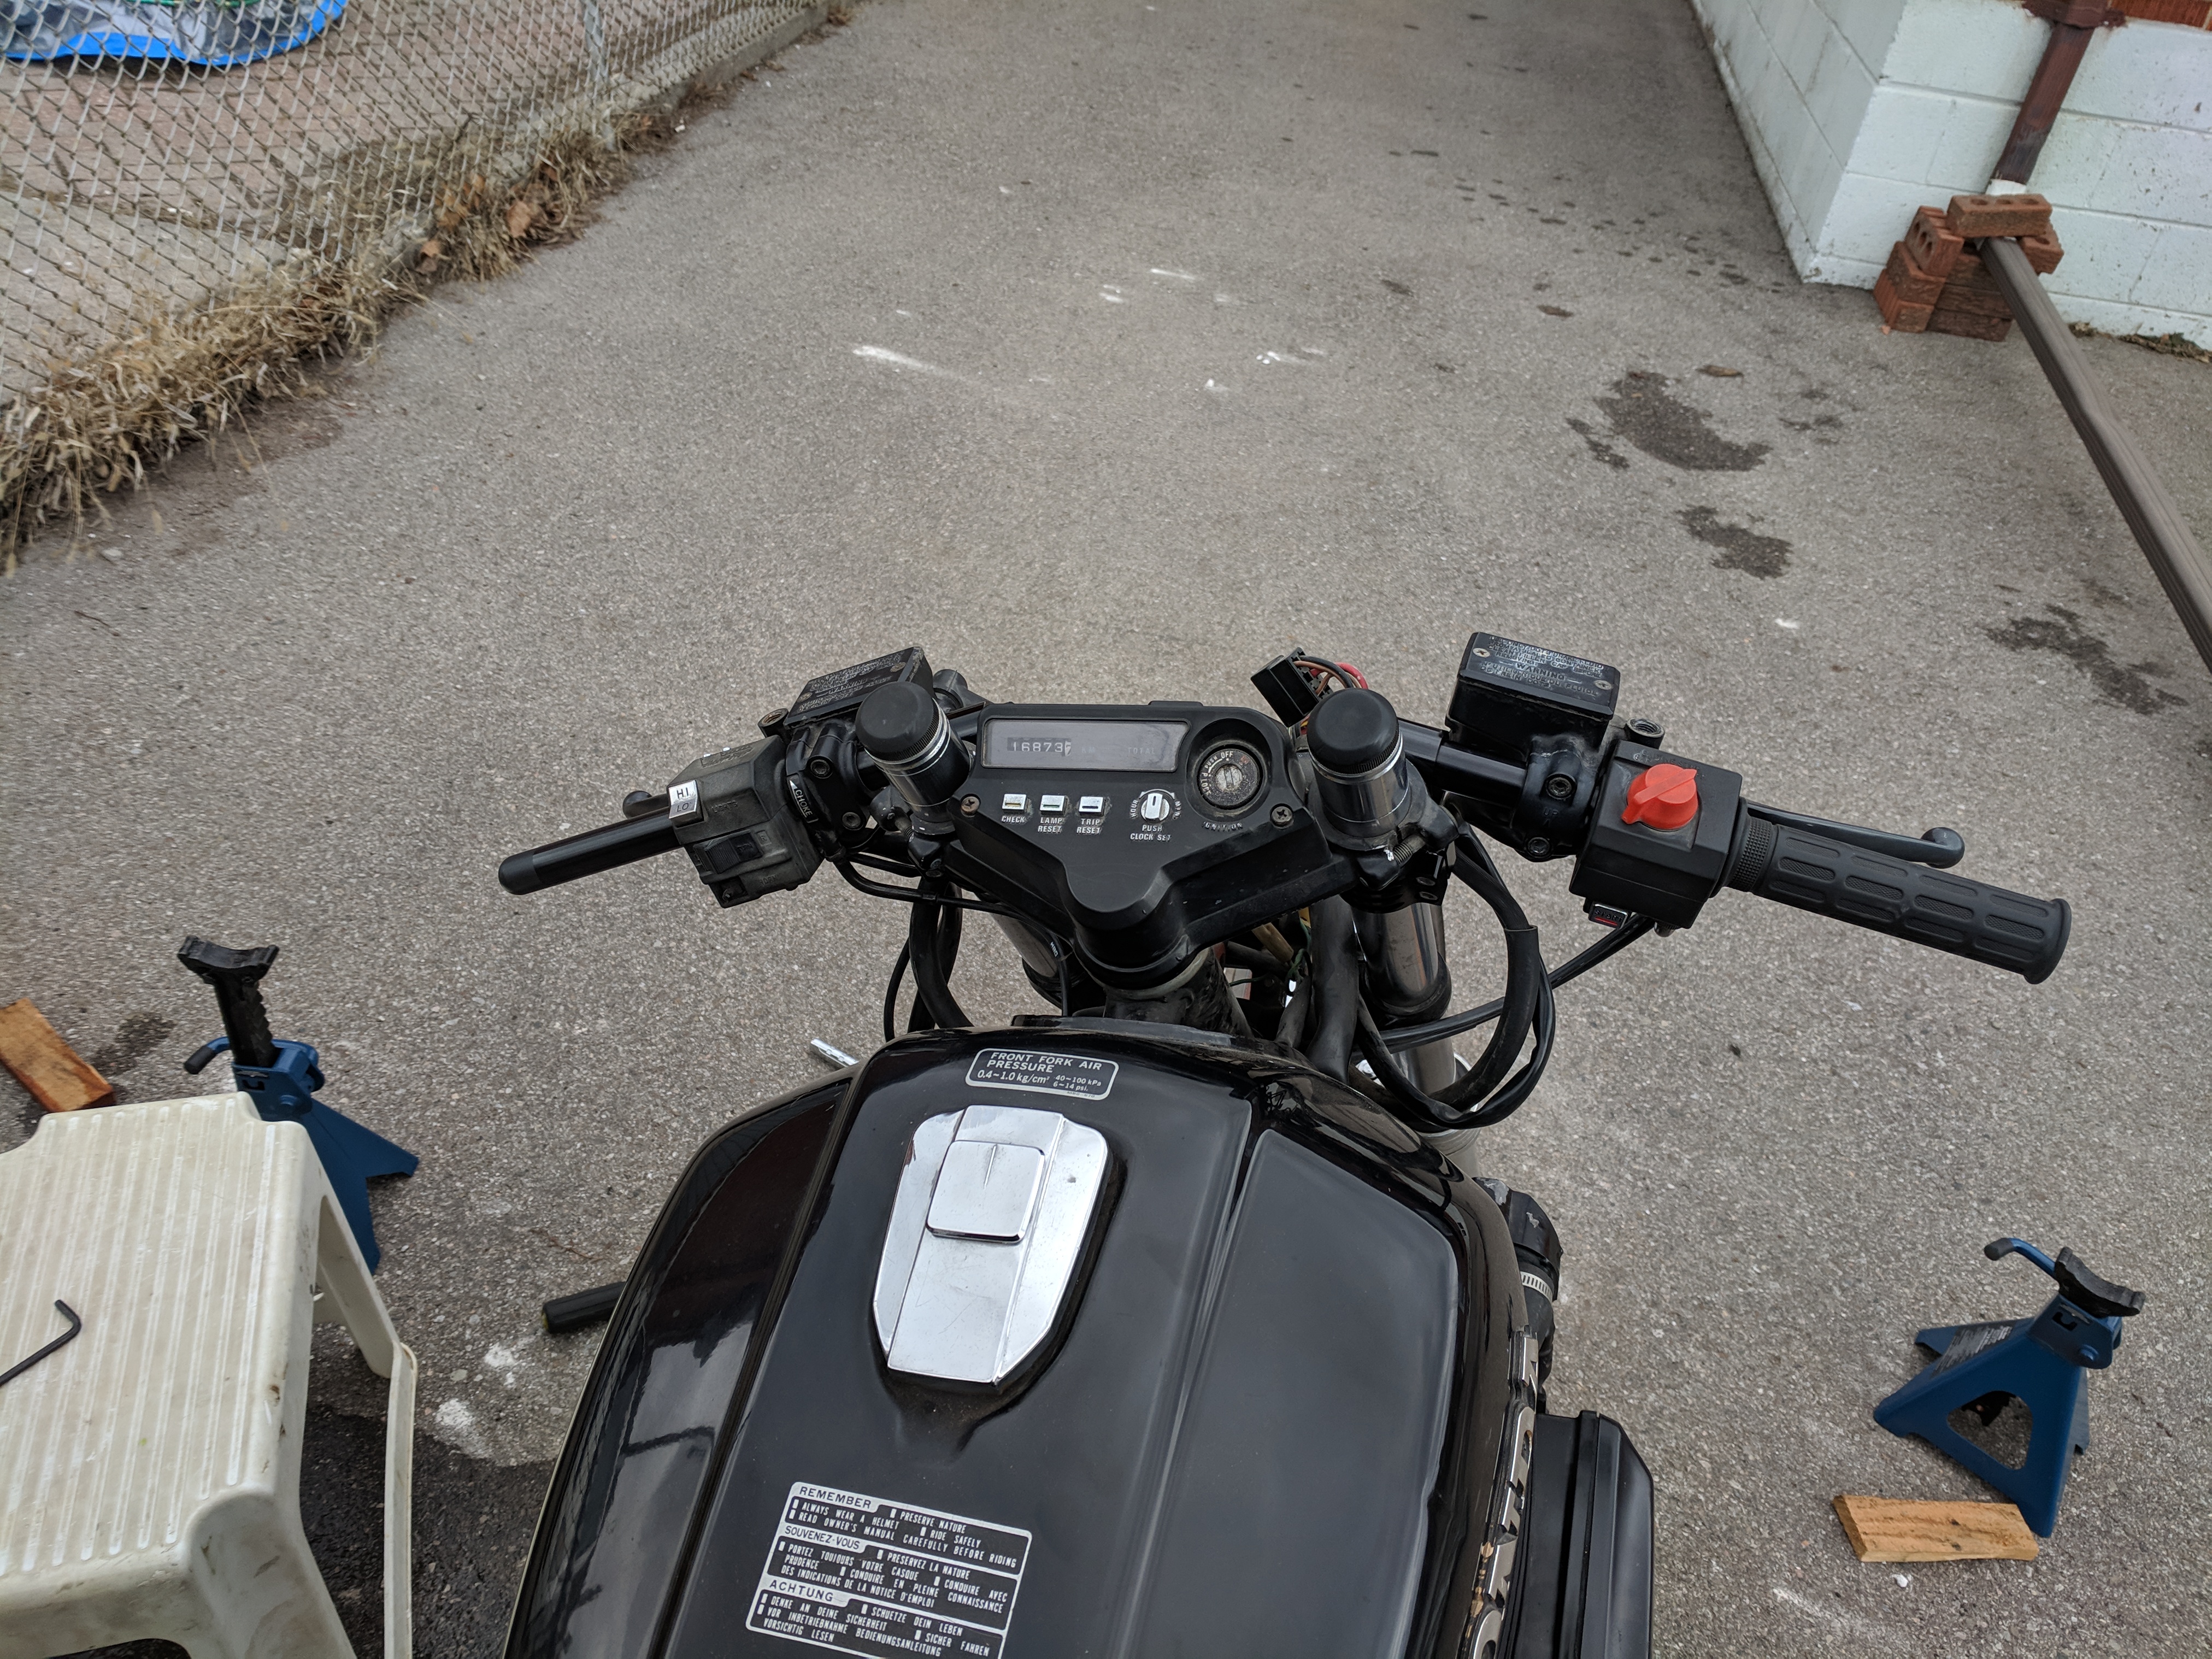
The first order of business was to remove the old handlebars. Pretty straight forward task right...well not really. before i could even consider taking the off i had to remove the hand controls.
On the left handlebar we find the Clutch reservoir and lever (yes this bike actually has a hydraulic clutch), the turn signals, horn, and choke. The clutch controls are held by 2 allen key bolts and pretty easy to take off. That assembly also holds the choke, so once it was off I had to unhook the cable from the assembly in order to let detach things from the handlebars. I didn't bother taking off the left hand grip as it would have taken forever without compressed air.
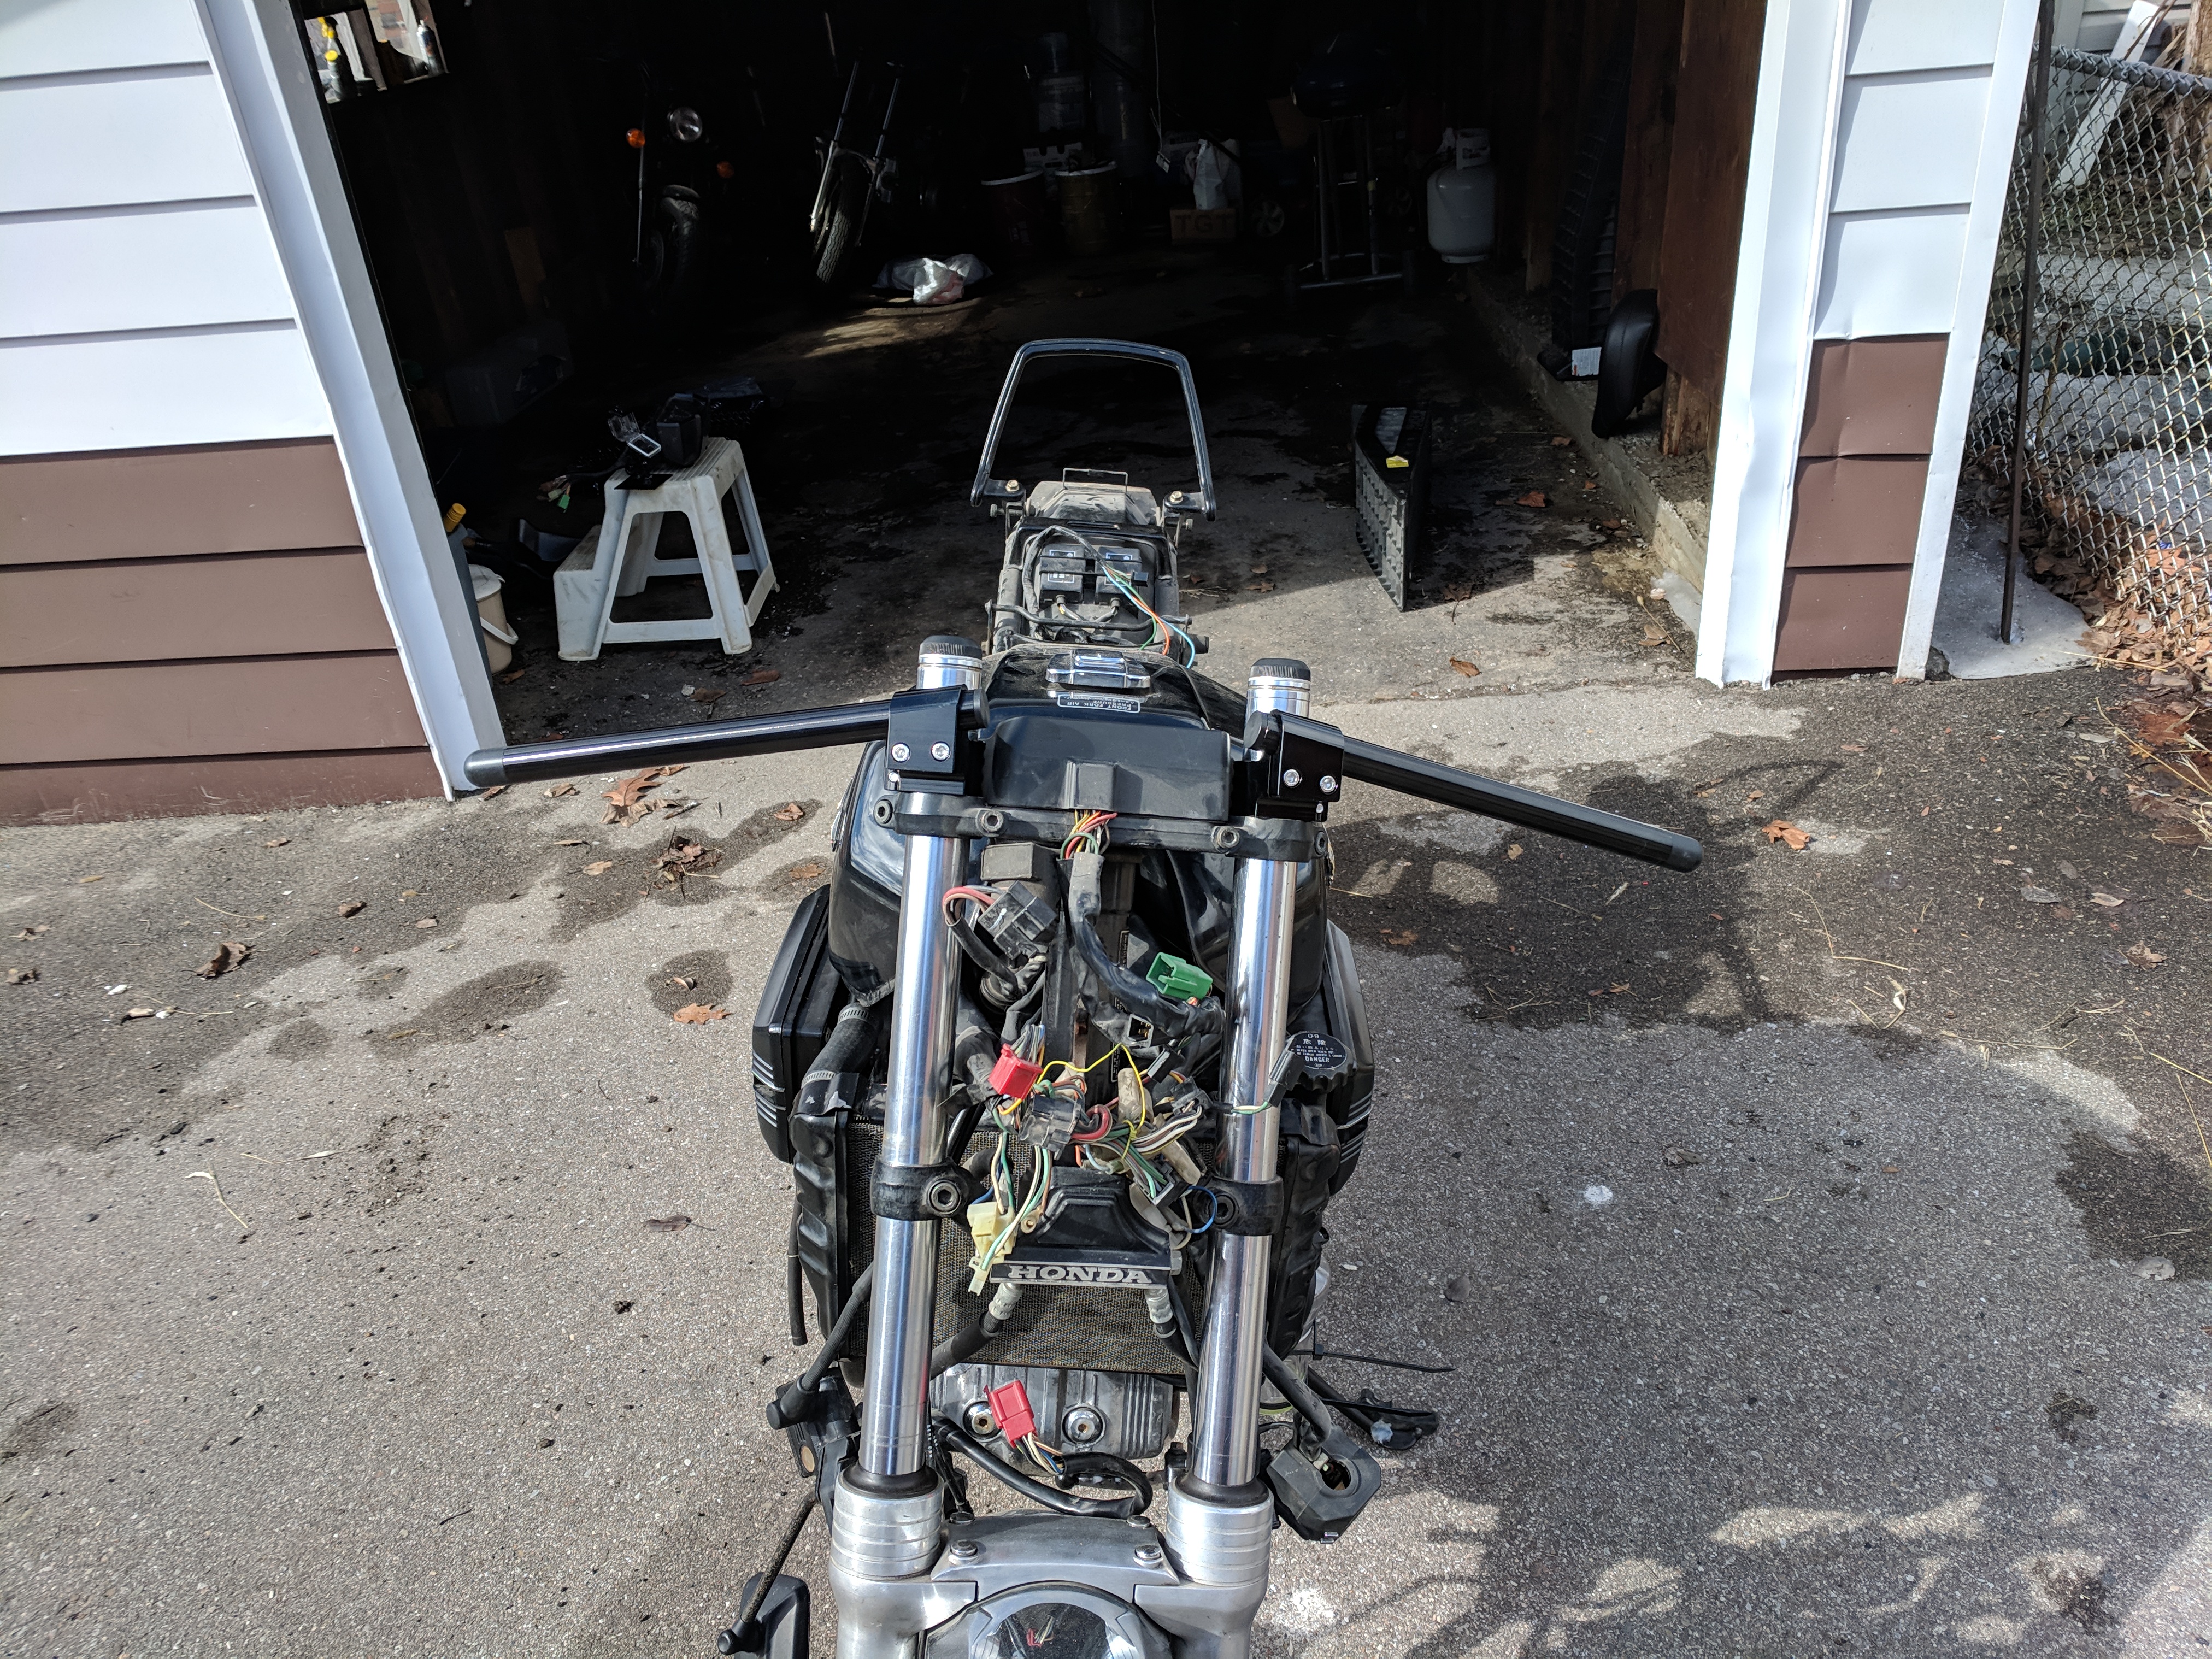
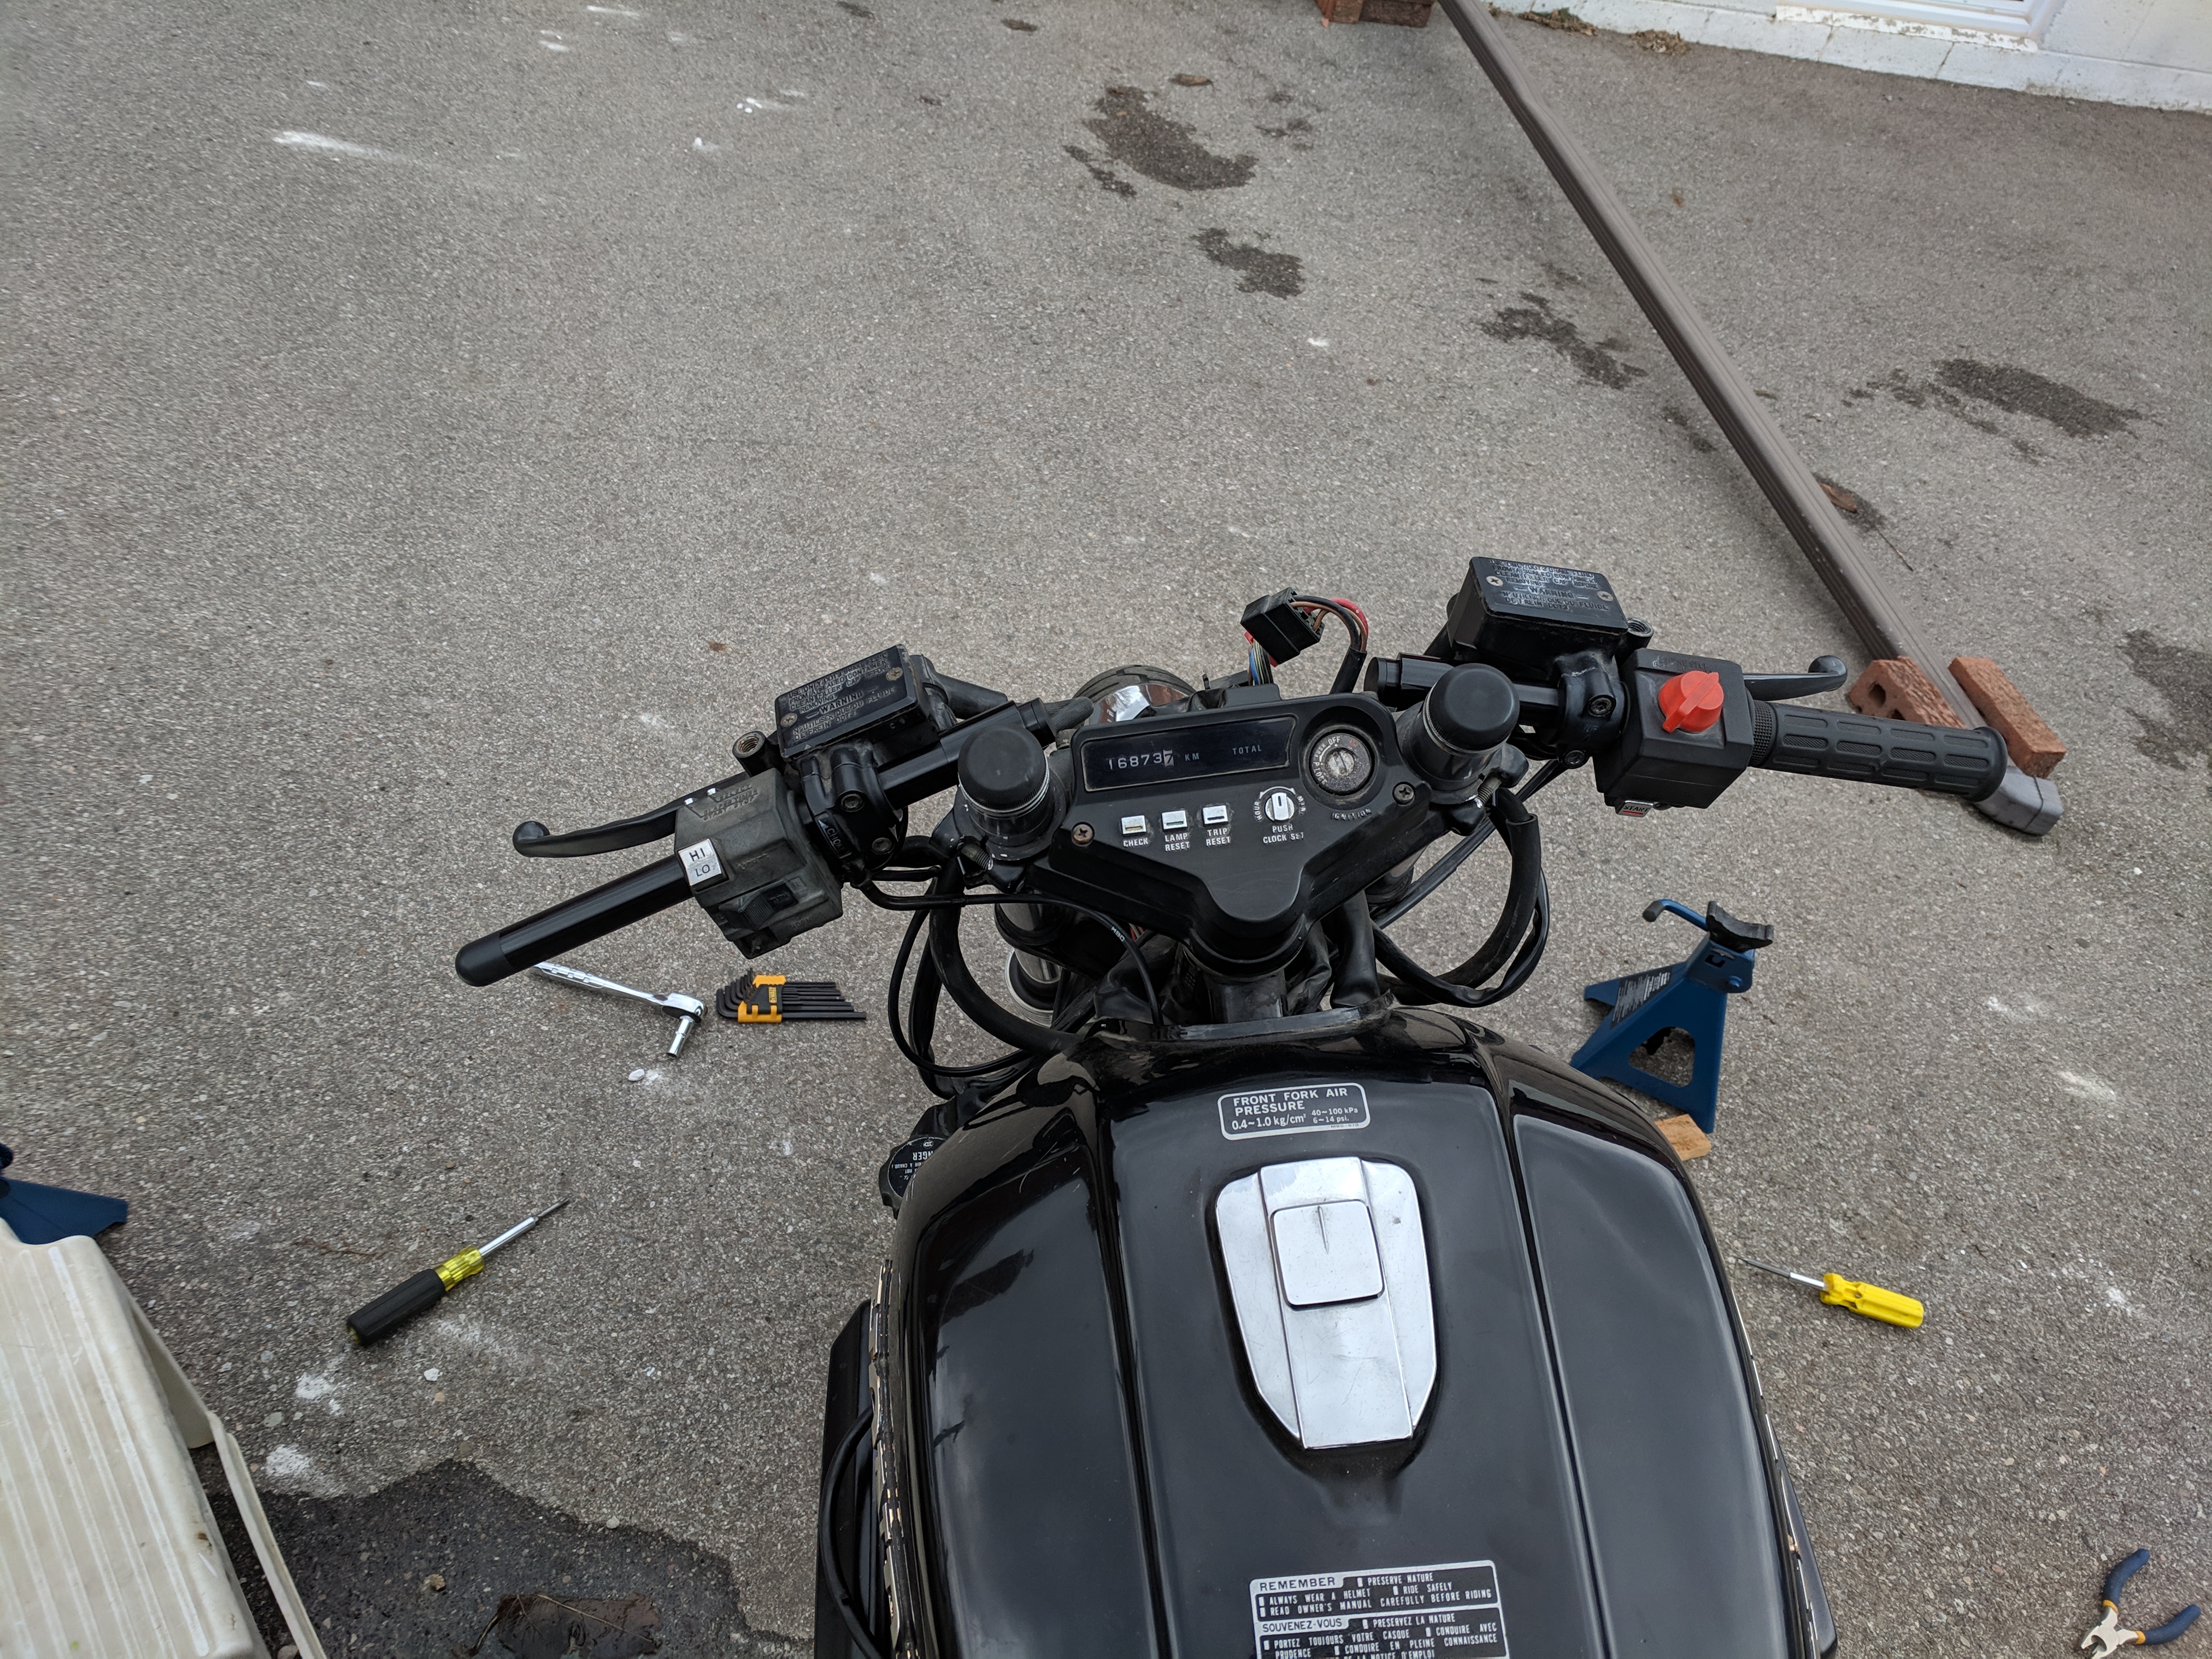
Once the controls are gone there is a safety snap ring on top of the fork tubes that needs to be removed. Having snap ring pliers makes a huge difference taking these off. They may seem like a very simply thing to get off without them but its much more difficult then you think. The handlebars are held in place by a single allen key bolt. Take it out and the handlebars slide out through the top. I also removed the gauge cluster in order to get a better feel for how things will look.
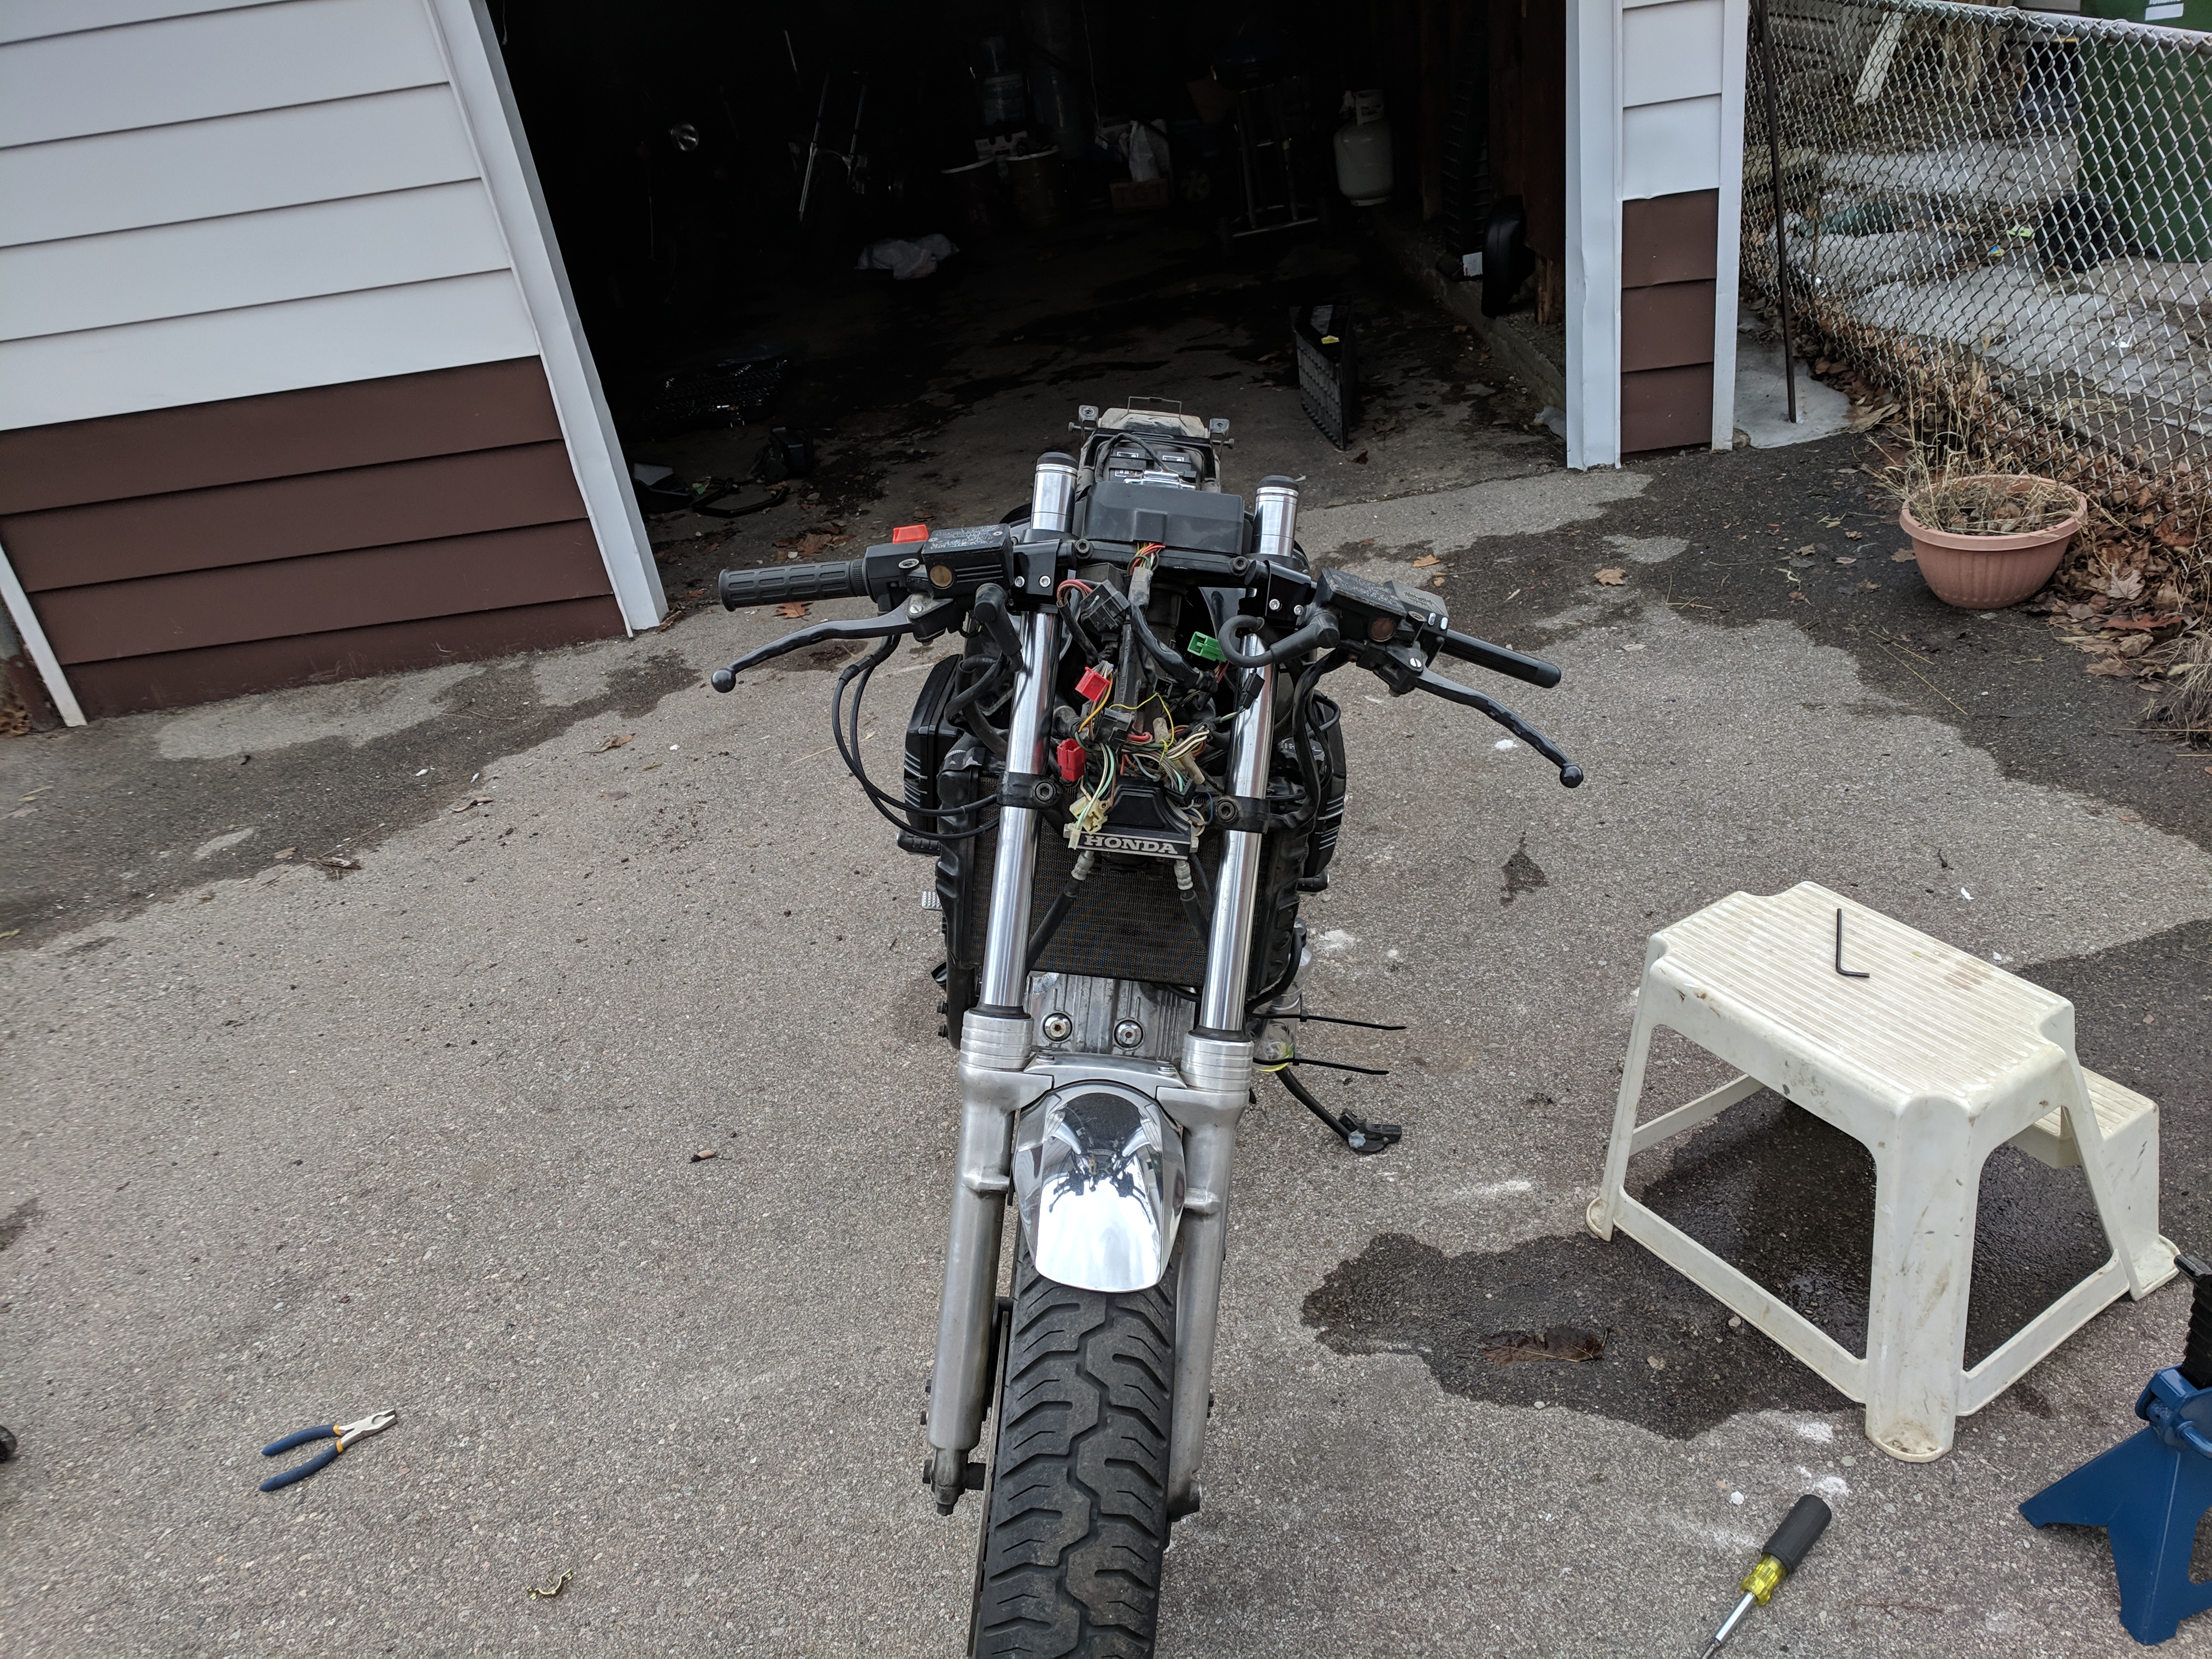
The handlebars off and the controls hanging down, i slid the clip-on handlebars on top to get a test fit and see how the bike looks.
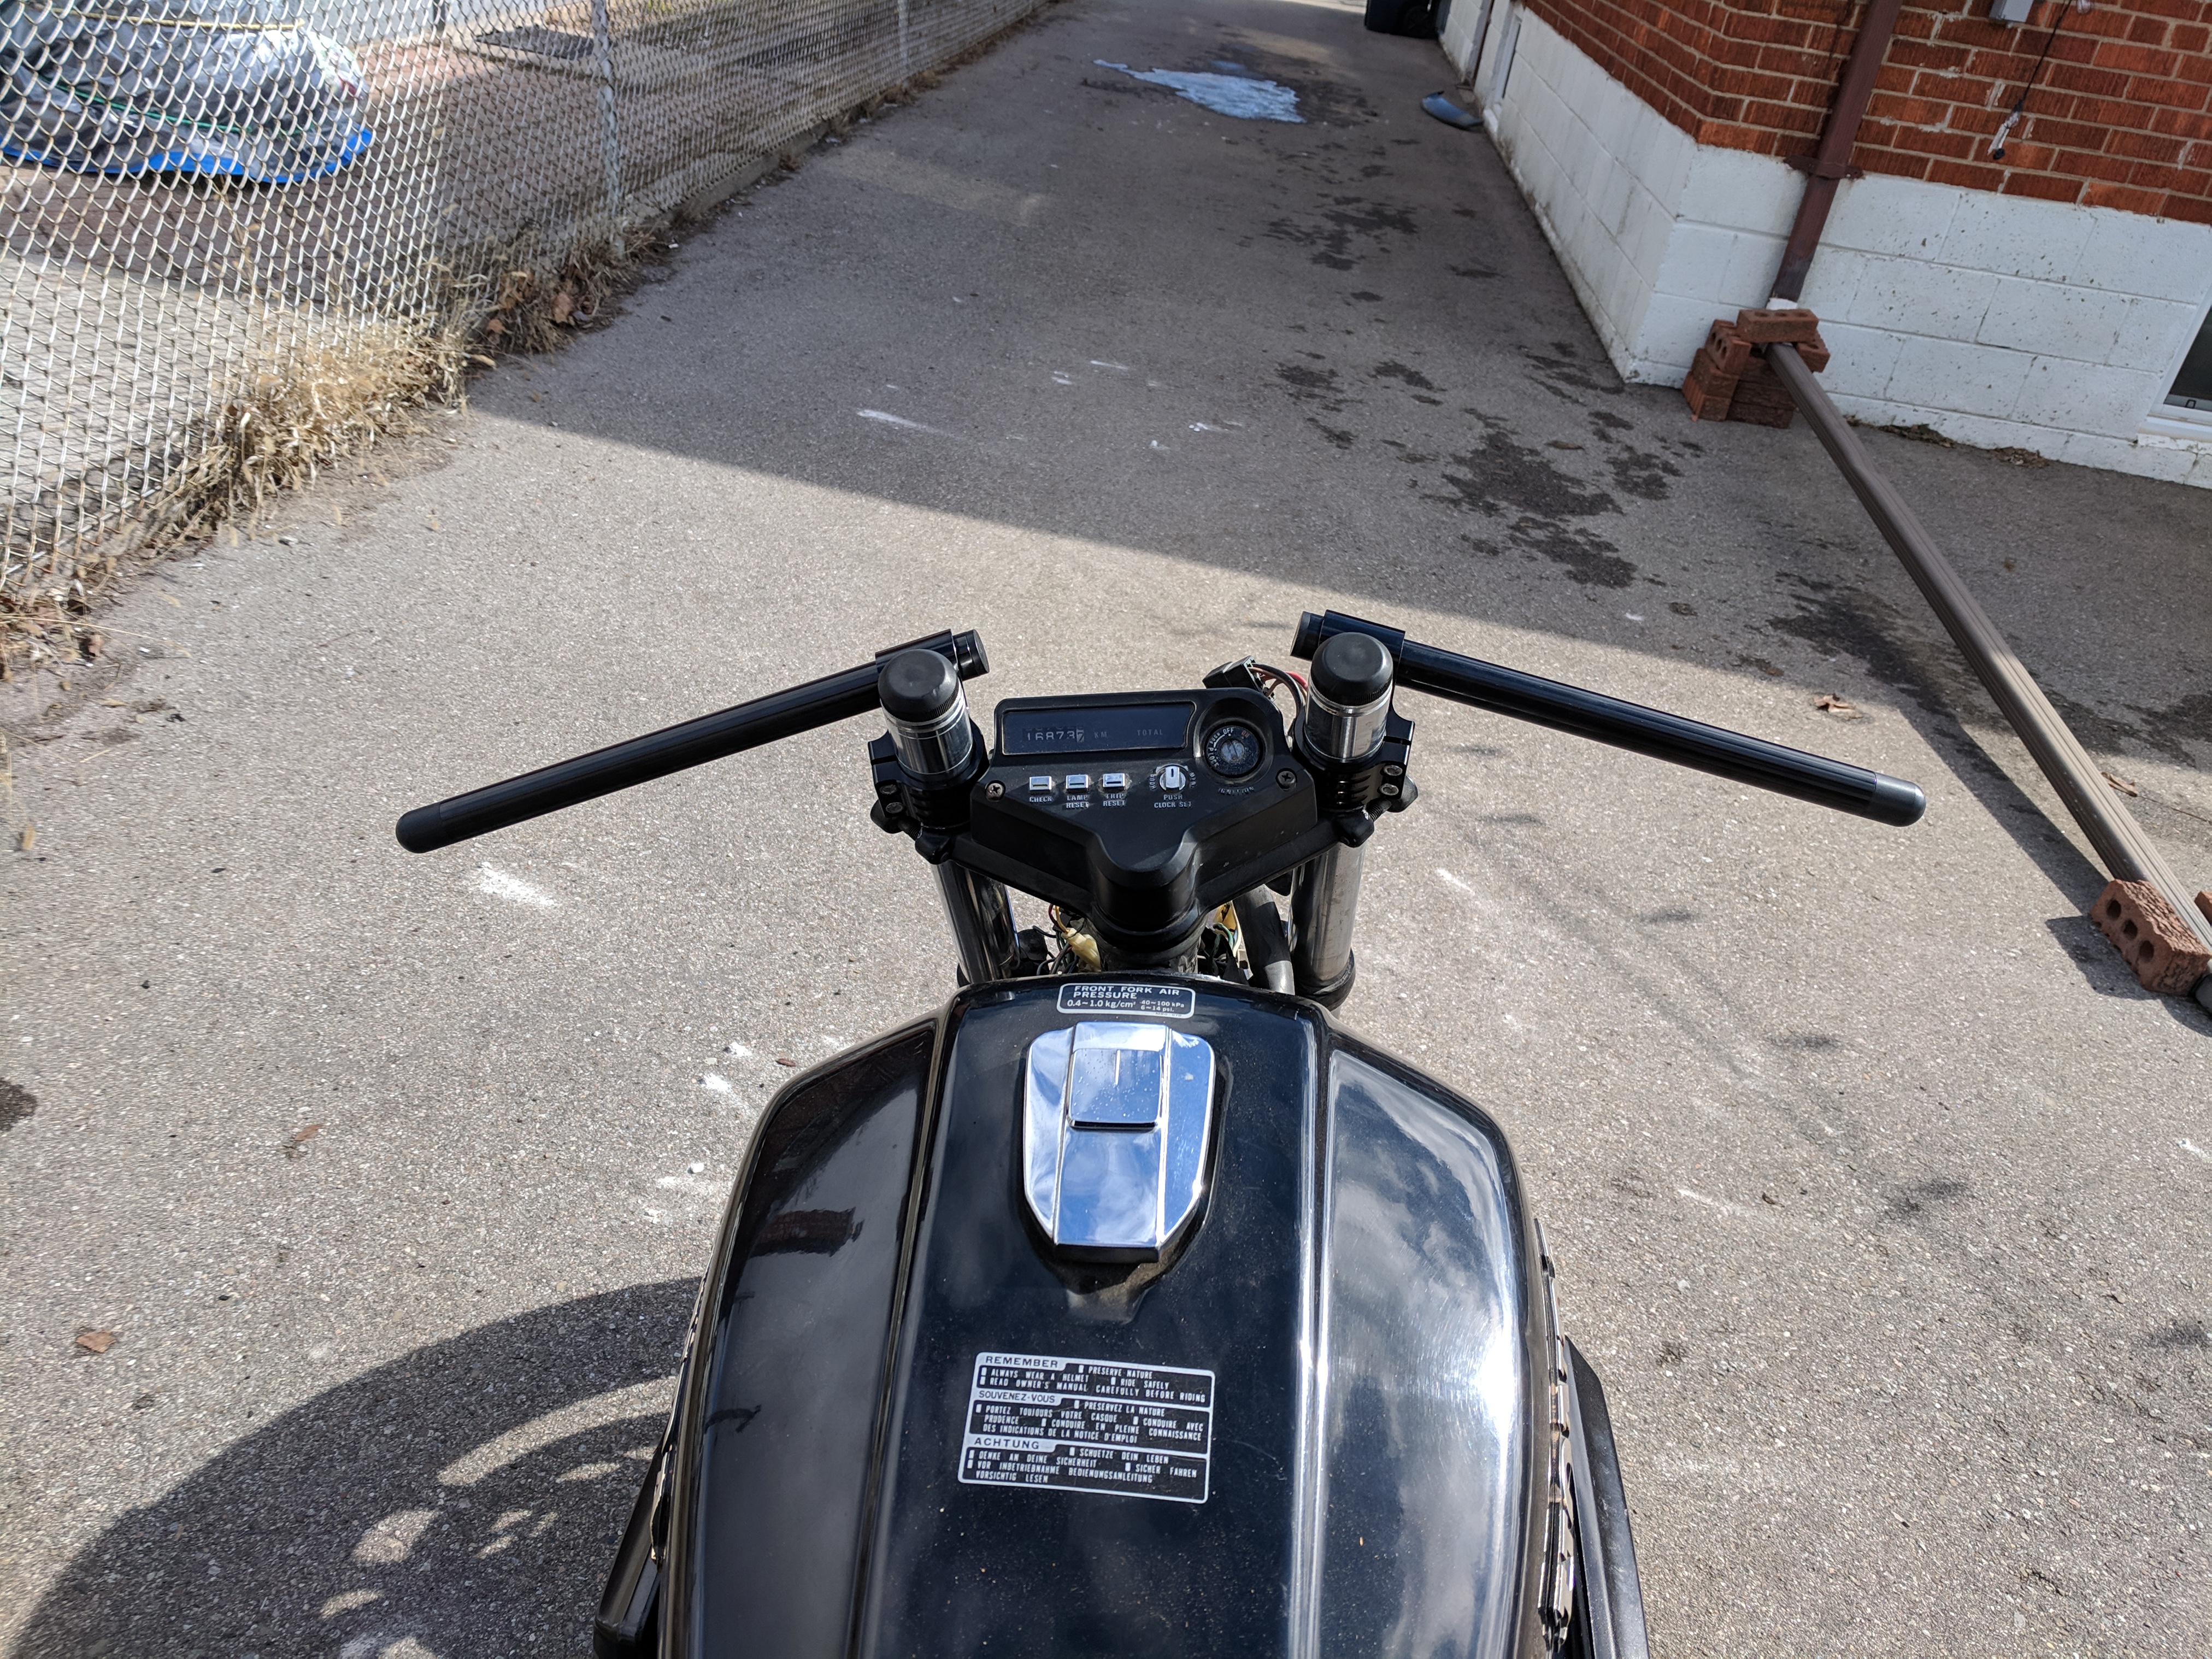
Straight replacing the handlebars the bike did not look right. The handlebars were too high and the whole thing looked like an old chopper then a cafe racer. So i pulled out the car jack and started to raise the front end in order to slide the forks out of the triple trees and get the clip-on handlebars under the top yolk. Just when i was about to slide the last inch of the forks out, they stopped sliding down. The front break lines were at their full stretch and would not go any further. I had to un mount the break line bracket that holds them to the bottom yolk in order to get the clearance needed. Once the two 10mm bolts were out the forks slid out without a problem.
I threw the clip-on handlebars on there, pushed things back up and tightened the allen key bolts. I had to remove the metal safety pins from inside of the controls in order to fit them onto the clip-on handlebars. Things looked much better now.
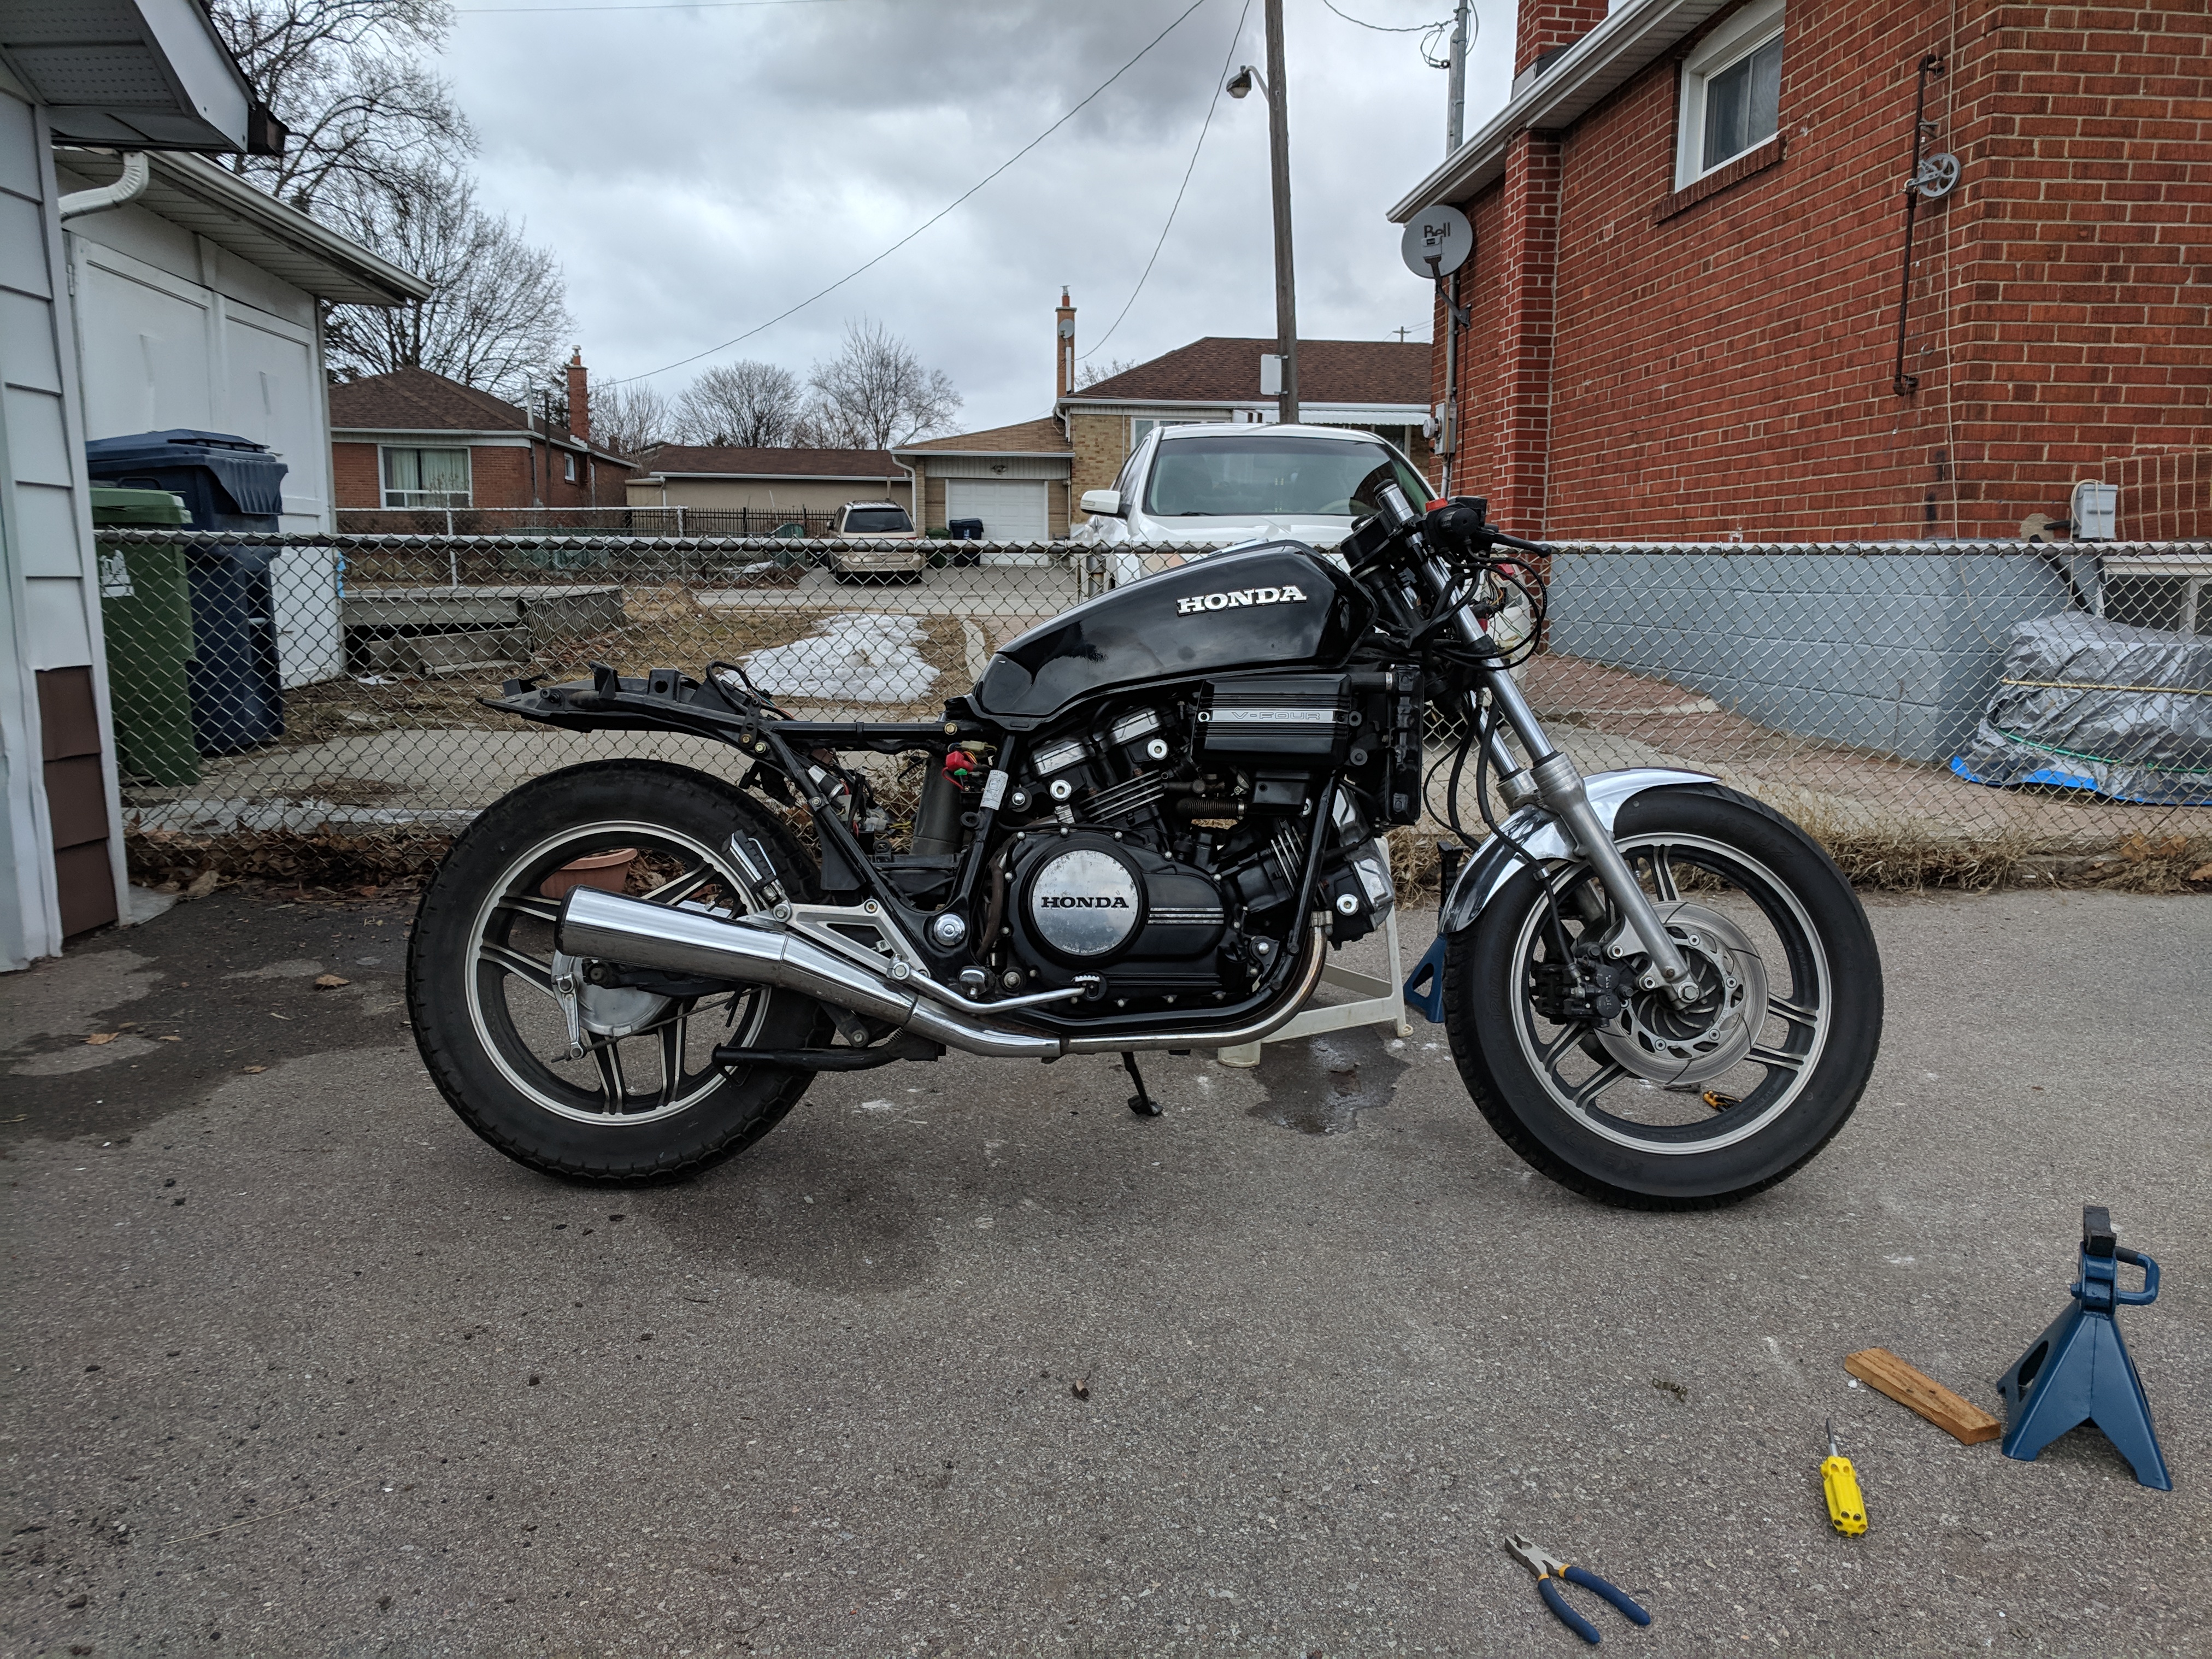
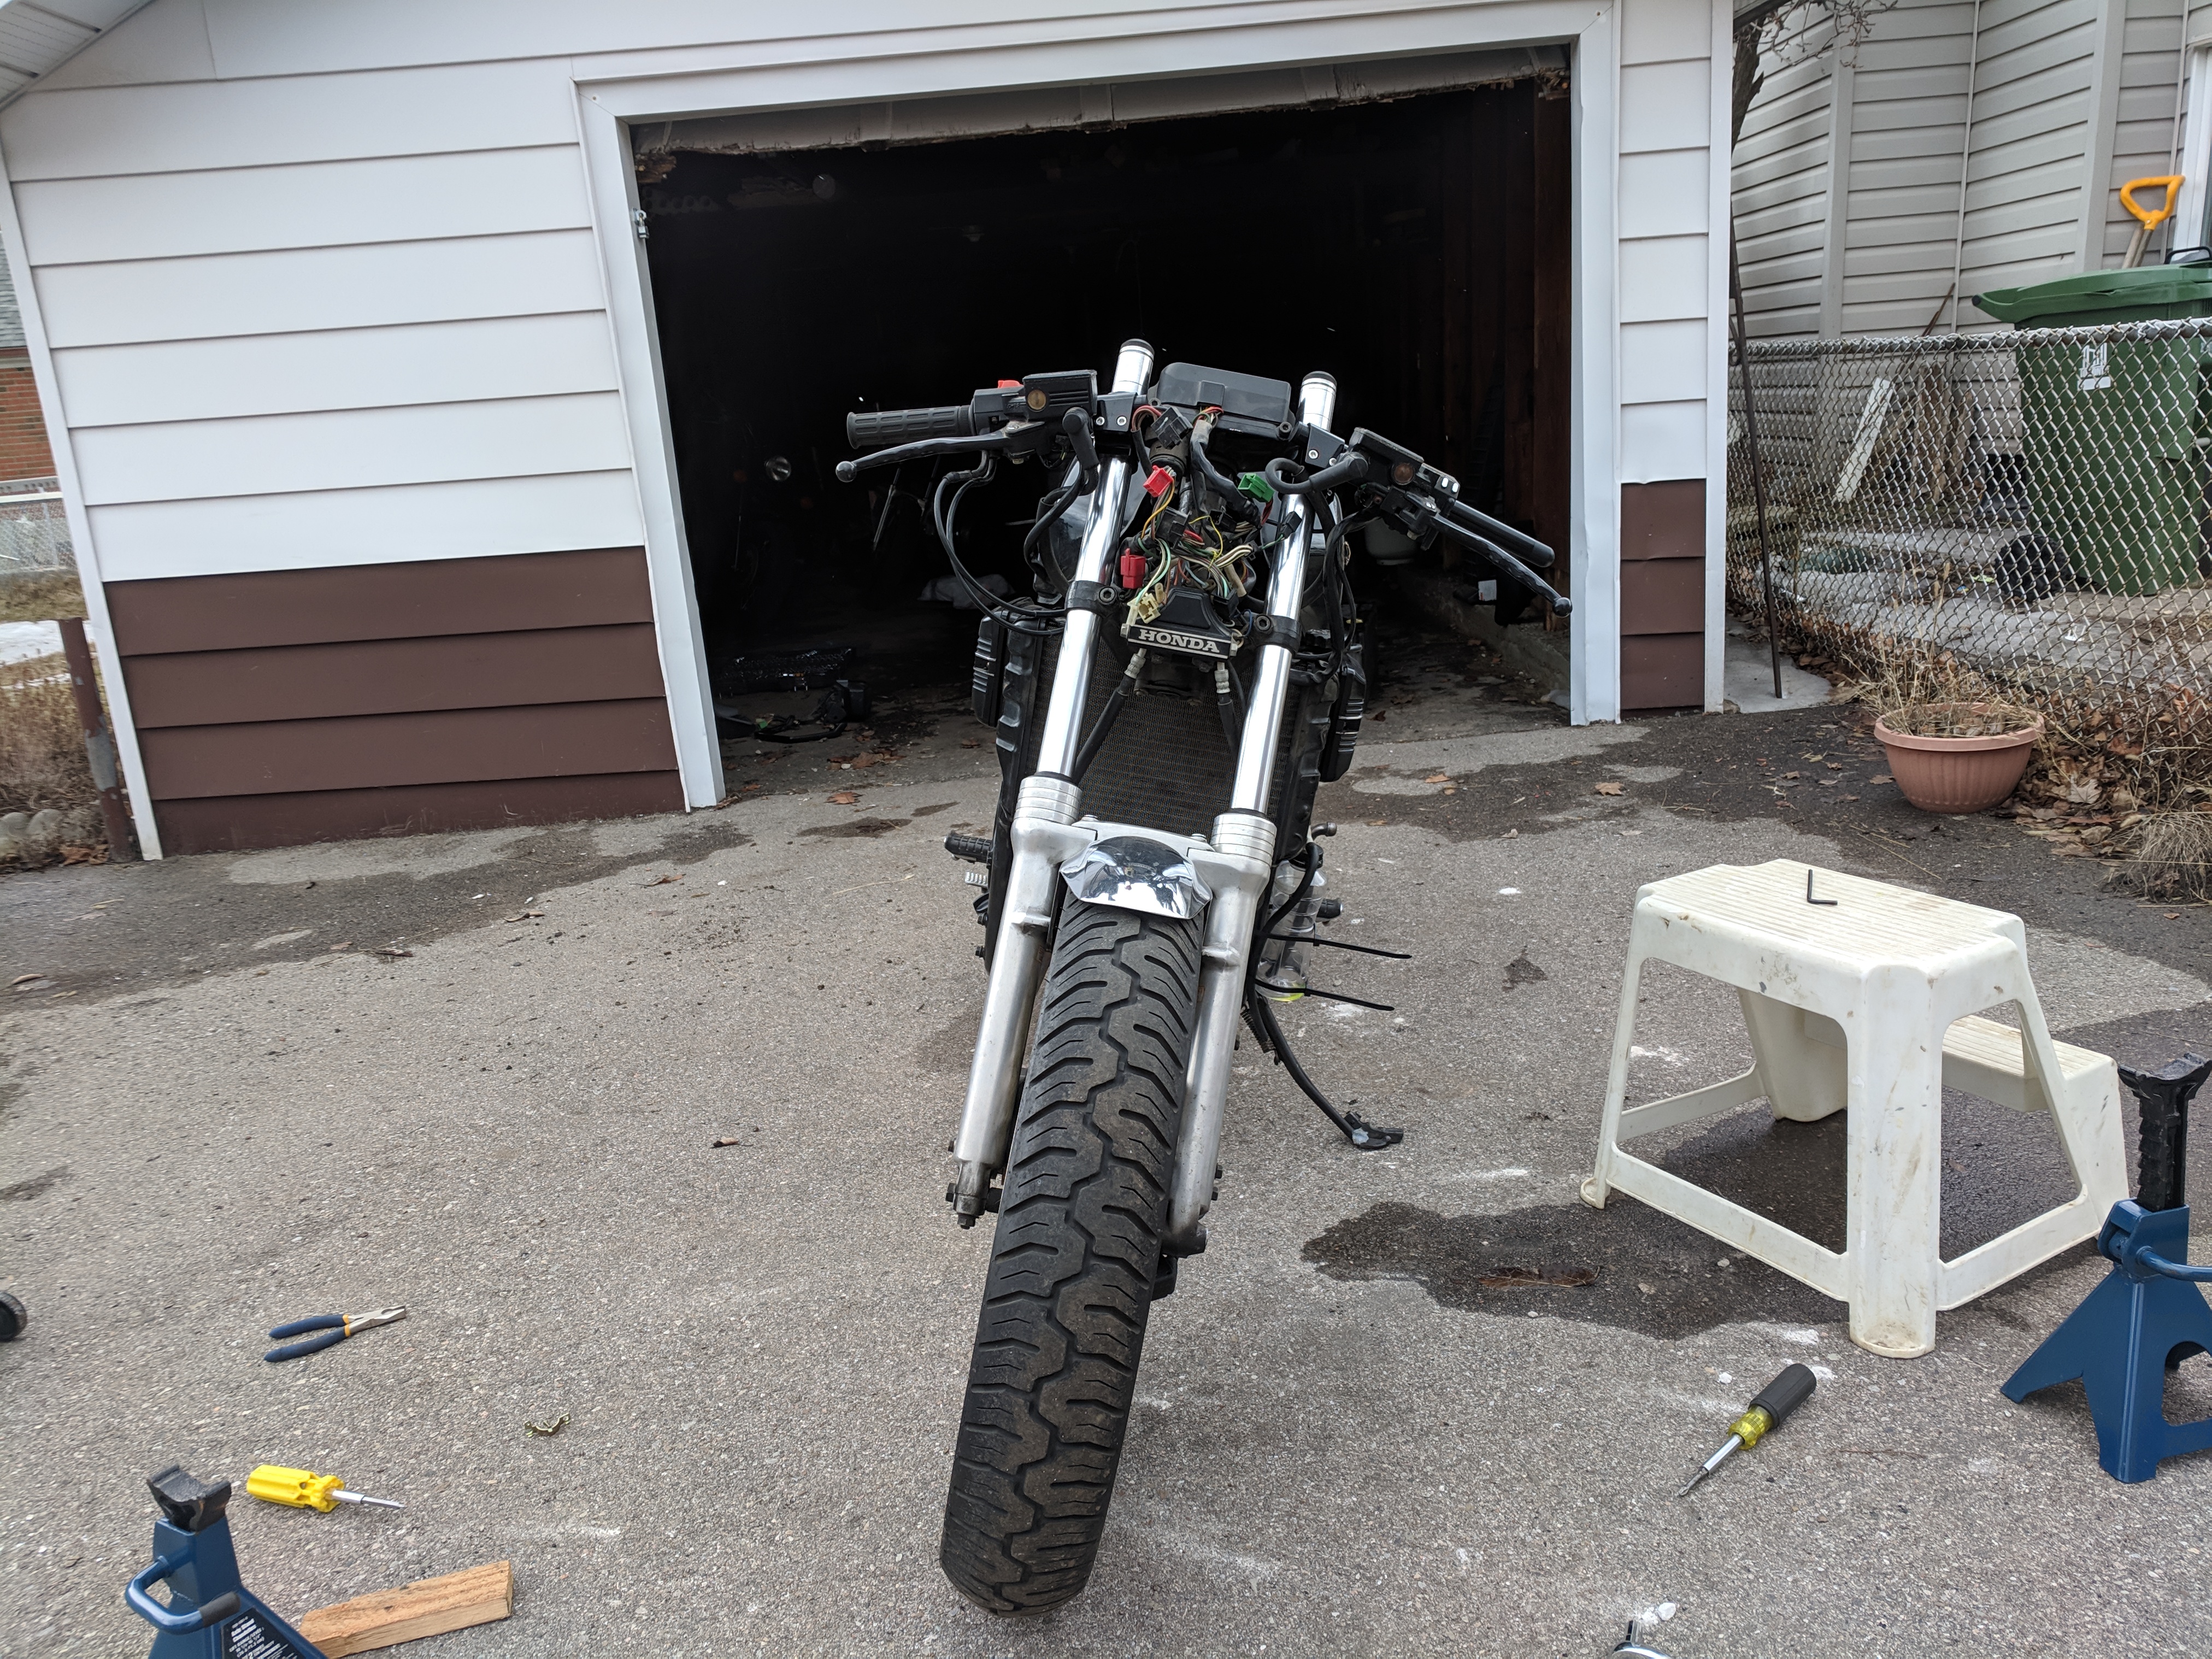
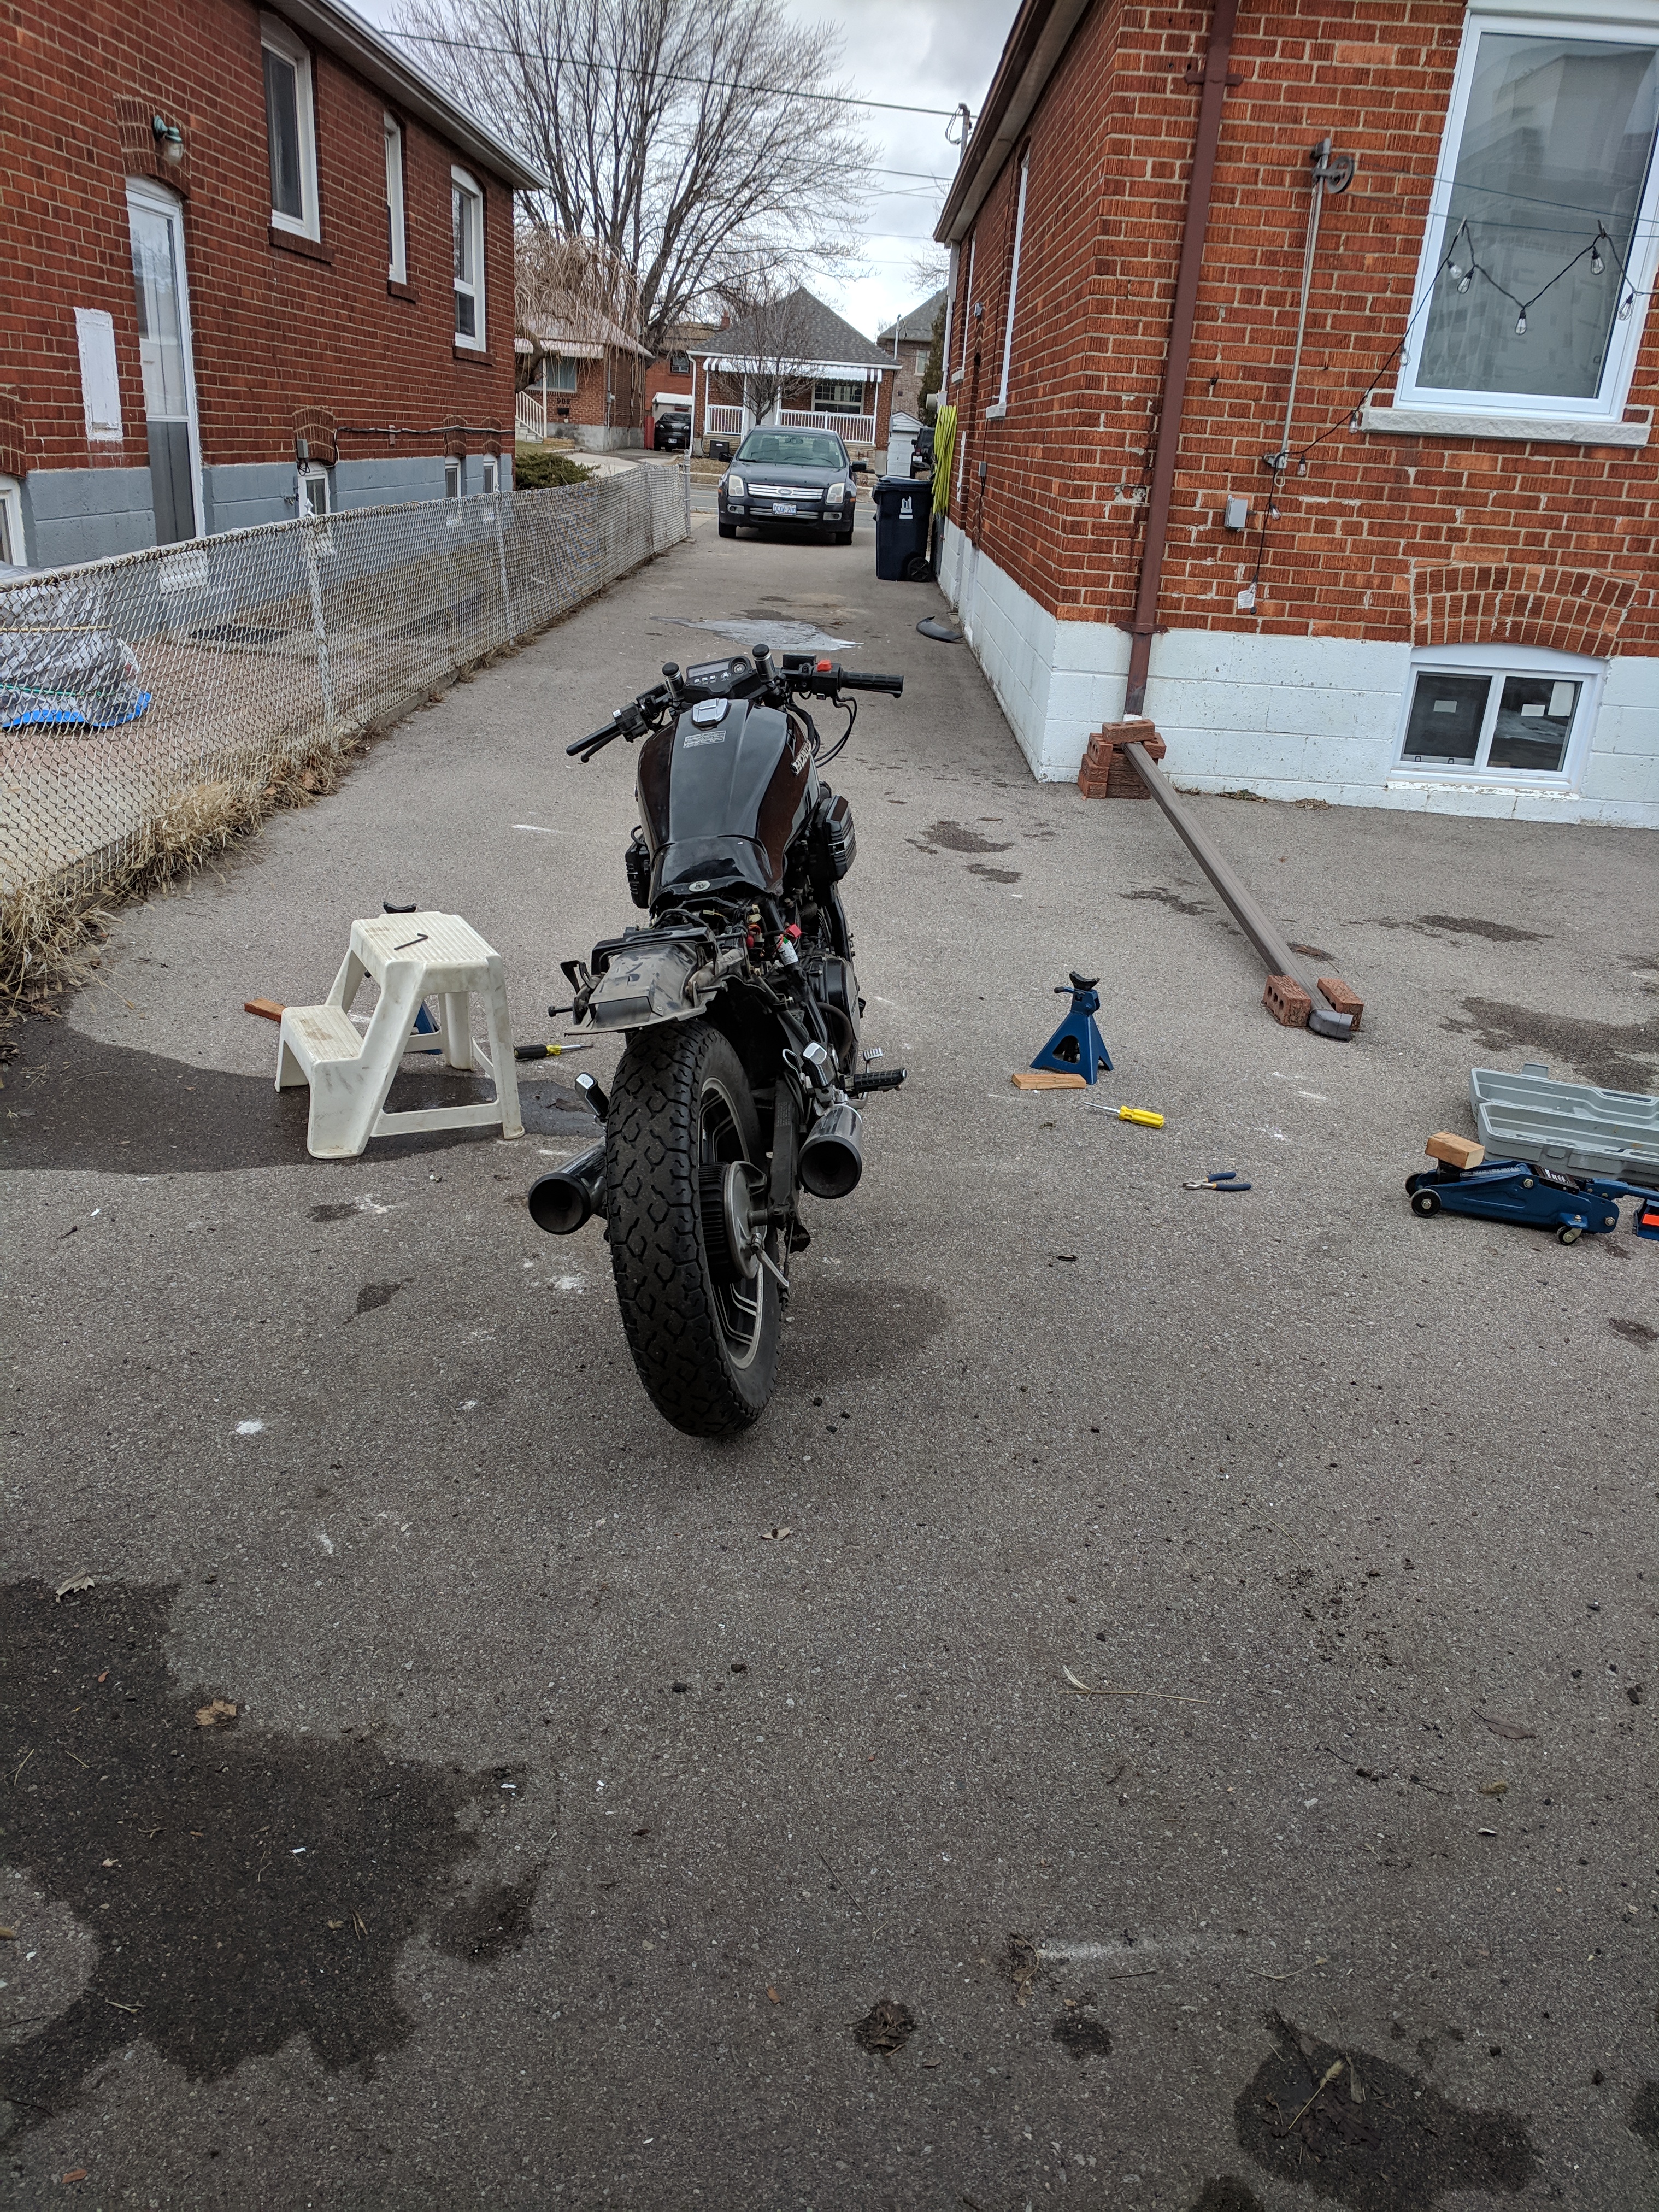
The bike is actually starting to look like a proper cafe racer. Now that I have the clin-on handlebars on there I am toying with the idea of potentially keeping the rear fender on there as is, and building a seat cowl on there. I think that might be a much better look for the cafe racer of this configuration. I will likely go through doing some concept drawing to see how things will go.
Next in the project will be the electronics, so stay tuned.